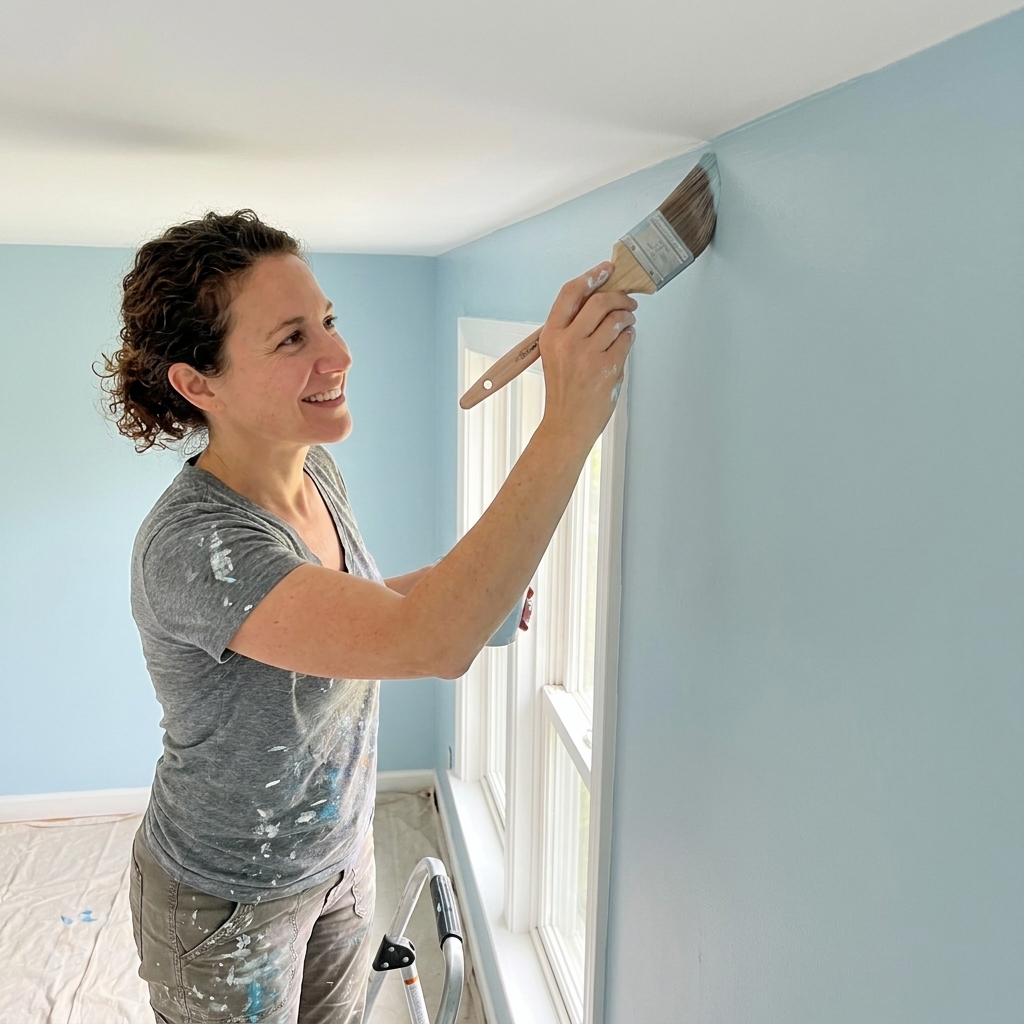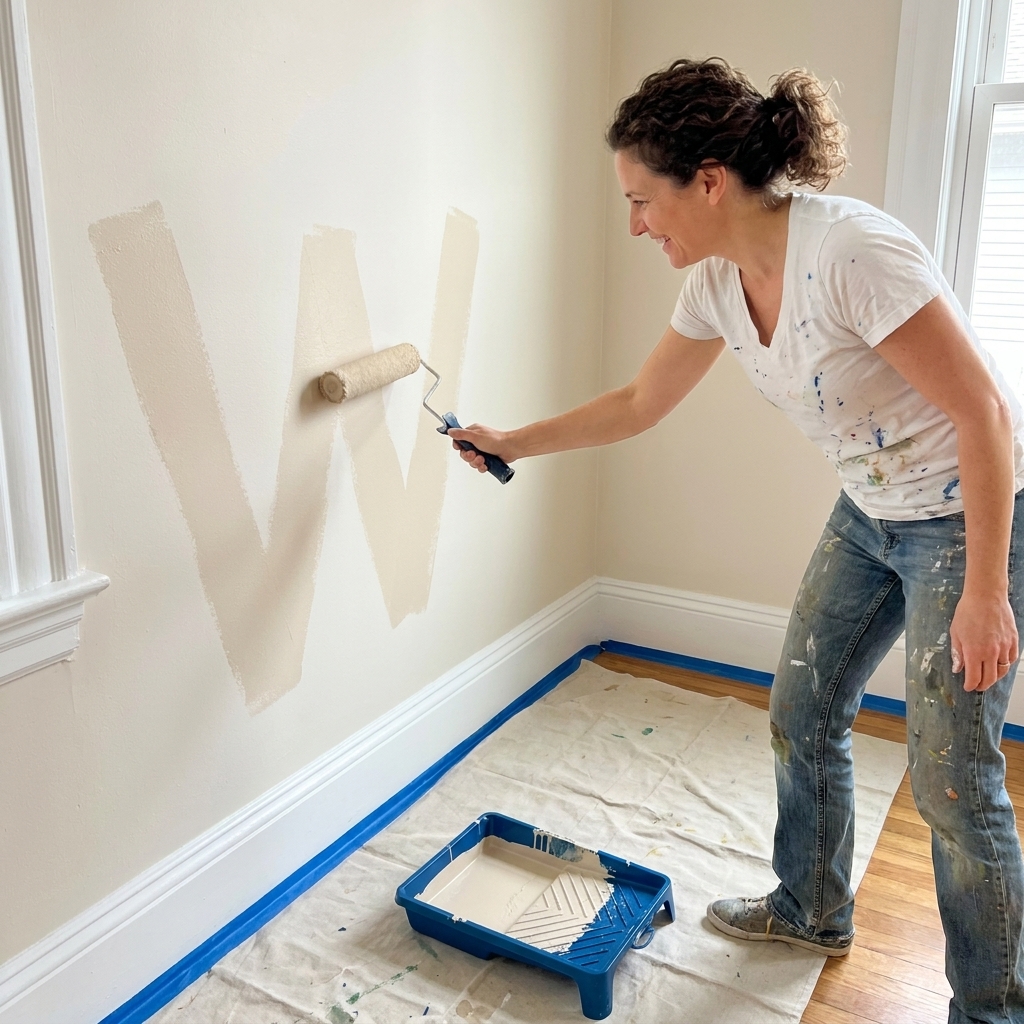
If you have ever stood at the sink, staring down a brush that feels like it is full of oatmeal, you are in good company. I used to treat brushes and rollers like disposable tools, mostly because cleaning felt like an annoying extra chapter at the end of a long painting day.
Then I did the math. A good angled sash brush and a couple of quality roller covers add up fast, and they paint better every time you keep them in shape. The good news is that for water-based interior wall paint, you do not need fancy chemicals or a workshop setup. You need a routine and about 10 to 20 minutes of focused effort for most small to medium jobs.
Quick scope note: Everything here is for water-based (latex/acrylic) paint and primers. If you used oil-based paint, you will need mineral spirits or paint thinner and different cleanup and disposal steps.
Before you wash: remove as much paint as possible
The biggest secret to easy cleanup is removing paint before you introduce water. The less paint that goes down your drain, the faster your tools clean up and the longer they last.
For brushes
- Scrape the brush on the inside lip of the can or a paint pail grid until it stops dripping.
- Wipe and flex: pinch the bristles with a folded paper towel or rag and pull from ferrule to tip. Rotate and repeat until you are mostly getting residue, not globs.
- Keep the shape: do not mash the tips against the can. Bent tips are forever.
For rollers
- Use a 5-in-1 tool (or a stiff putty knife) to scrape paint off the roller cover back into the tray.
- Roll it out on the tray ridges until the nap looks damp, not saturated.
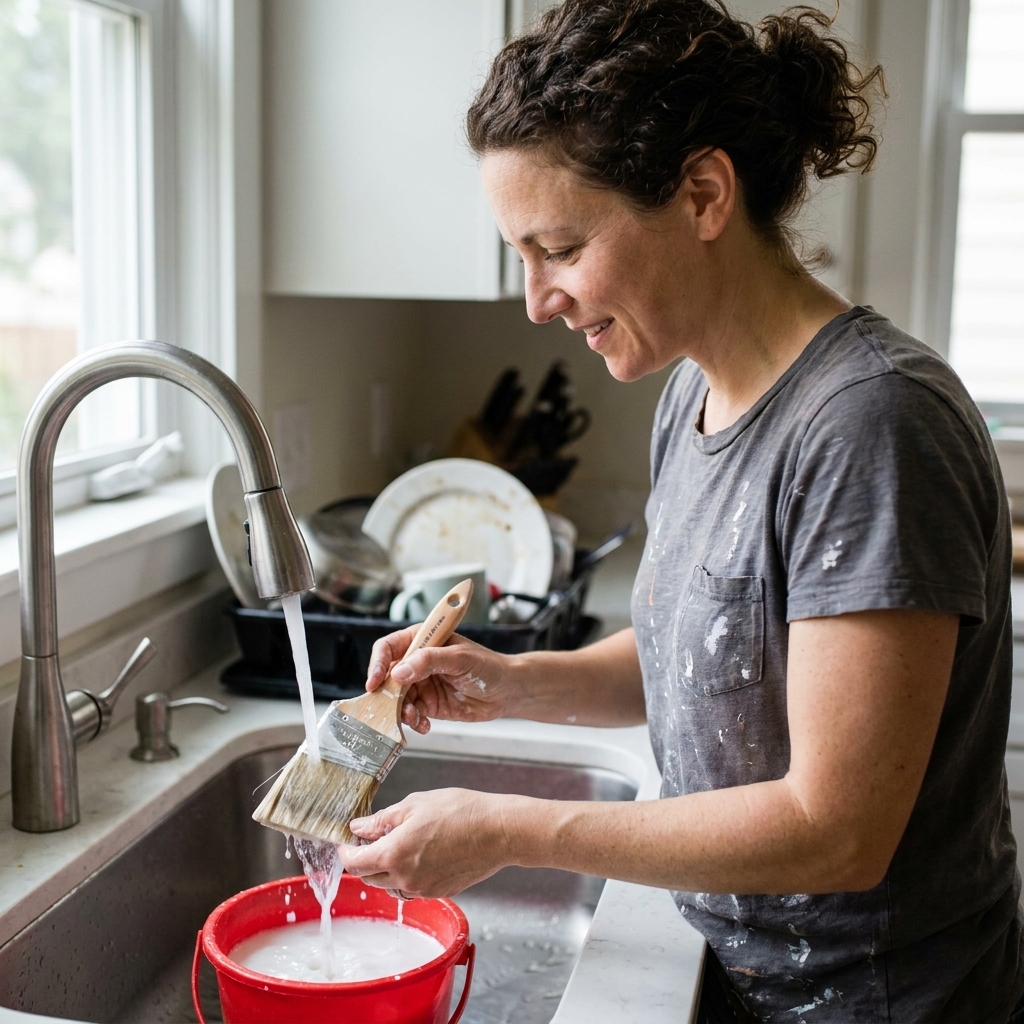
Plumbing save: If you are working at a sink, set a cheap sink strainer in the drain or rinse into a bucket first. Catching the solids now is easier than dealing with clogs later.
That two-minute step is what separates “quick rinse” from a 30-minute battle.
How to clean brushes (water-based wall paint)
This method works for acrylic latex interior paints and most water-based primers. Your goal is to get paint out of the base of the bristles, right where they meet the metal ferrule, because that is where brushes get crunchy.
What you need
- Warm water (not hot)
- A drop of dish soap
- A brush comb or an old wide-tooth comb (optional but very helpful)
- A small bucket or bowl
- Clean rags or paper towels
Water temp matters: Warm water loosens latex. Hot water can soften glues and finishes, and it is rough on brush ferrules and some roller cores.
Step-by-step
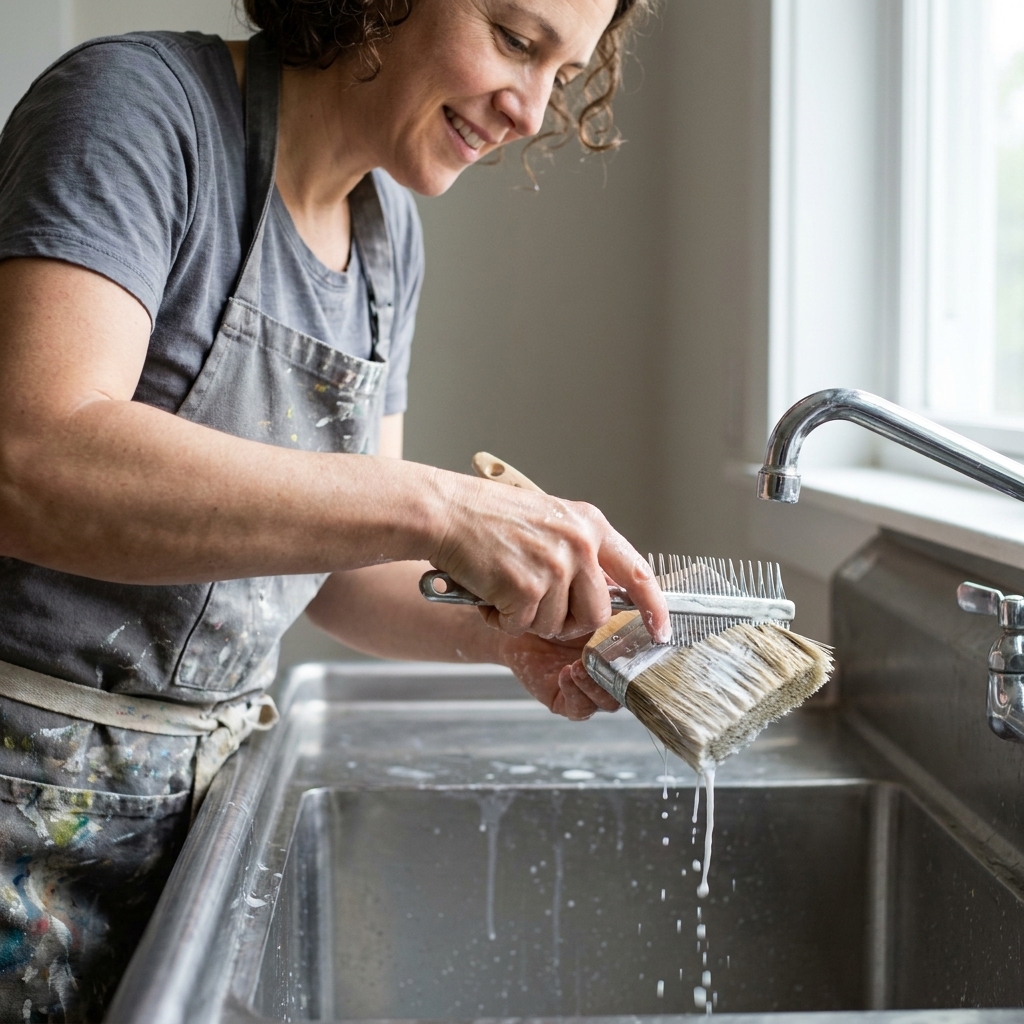
- Rinse from ferrule to tip. Hold the brush with bristles pointing down and rinse under warm running water. Avoid blasting water up into the ferrule.
- Add soap and work it in. Put a drop of dish soap in your palm or bucket and gently massage the bristles, especially near the ferrule.
- Comb it out. Use a brush comb to pull paint out from the inside of the bristles. You will be shocked what comes out, even when the water looks clear.
- Rinse until no suds and no color. Keep going until the rinse water stays clear and the brush no longer feels slippery with paint.
- Spin out water. Flick the brush (carefully) or tap the handle lightly against your palm to remove excess water. If you have a brush spinner, this is a great time to use it.
How to clean rollers (water-based wall paint)
Rollers hold a surprising amount of paint in the nap. The trick is to rinse and squeeze in cycles. If you only rinse, you will be rinsing forever.
What you need
- A utility sink, bathtub, or large bucket
- Warm water
- A little dish soap (optional)
- Gloves (optional, but your hands will thank you)
Step-by-step
- Remove the cover from the frame. Cleaning is easier when you can squeeze and rinse freely.
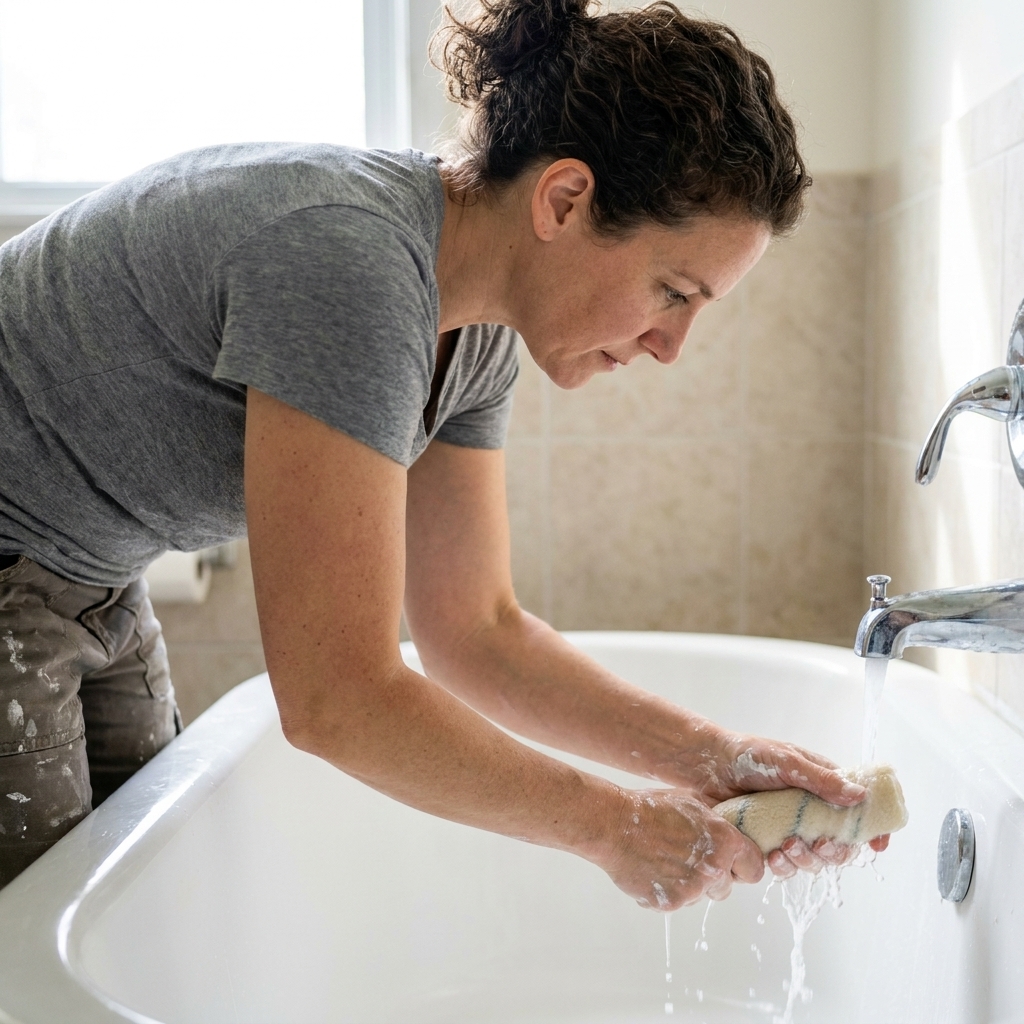
- Rinse while you “milk” the nap. Run warm water through the roller and squeeze from one end to the other. Rotate and repeat.
- Soap only if needed. If paint is clinging, add a tiny amount of dish soap and work it through, then rinse again.
- Final rinse and spin. When water runs clear, shake the cover outside or in the tub to remove water. If you have a roller spinner tool, this is where it shines.
Tip from my own trial and error: If you used a high-quality microfiber cover, be gentle with squeezing. Crushing the nap repeatedly can make it less fluffy next time.
Between coats: store tools overnight
If you are coming back in a few hours or even the next day, you do not need to fully wash everything. You just need to keep paint from drying out and keep your tools from getting misshapen.
The plastic wrap method (my go-to)
- Scrape off excess paint.
- Wrap the brush or roller tightly in plastic wrap, then slide it into a zip-top bag.
- Squeeze out excess air and seal.
Store it in a cool spot out of direct sun. If you want extra insurance, lay brushes flat so the bristles are not bent.
Fridge or not?
For water-based paint, you can store tightly wrapped tools in the refrigerator overnight. It slows drying, especially in hot weather. Keep them sealed inside a second bag or lidded container, and keep them away from food. This is a short-term trick, not a multi-day storage plan. Let tools come back to room temperature before painting so the paint flows normally.
What not to do between coats
- Do not leave a brush soaking in water. It can swell the handle, loosen the ferrule, and flare the bristles.
- Do not stand brushes bristles-down in a cup. You will bend the tips.
- Do not leave rollers sitting in a tray uncovered. The edges dry first and you get crunchy ridges.
Long-term storage: keep tools usable for years
Once your brush or roller is truly clean and dry, storage is what makes it last. Your goal is to protect the shape and keep dust and grime off the fibers.
Brush storage that works
- Dry fully first. Lightly blot with a towel, then let the brush air dry flat or hanging with bristles down.
- Restore the shape. Use your fingers to straighten bristles while damp. This is your chance to undo a tough painting day.
- Use the original sleeve if you have it. That cardboard cover is not packaging, it is a brush’s best friend.
- If you do not have a sleeve, make one. Wrap bristles in clean paper (like kraft paper) and tape it lightly so it holds shape without crushing.
- Store flat or hanging. A hook through the handle hole is great. Avoid storing a brush jammed bristles-up in a tight jar where tips can bend.

Roller storage
Roller covers are easiest to ruin during storage. If they get flattened or dusty, you will feel it on the wall.
- Dry completely. Stand the cover on its end in a well-ventilated area or hang it so air can circulate.
- Keep the nap from getting crushed. Store covers in a clean bin or large zip-top bag where nothing presses on them.
- Label by nap and use. A quick note like “3/8 in walls” or “1/2 in textured” saves you from grabbing the wrong one mid-project.
If you are the organized type (I am), a small lidded tote labeled “Painting Tools” keeps everything dust-free and ready for the next room.
Common problems
My brush feels stiff after washing
Usually that means paint dried near the ferrule. Try soaking only the bristles (not the whole handle) in warm soapy water for 20 to 30 minutes, then comb and rinse again. For stubborn latex buildup, a dedicated brush cleaner can help, but most of the time it is a ferrule issue, not a “needs harsher chemicals” issue.
My roller has fuzzy lint on it now
That can happen if the nap got roughed up during cleaning or stored where it picked up dust. Before you paint again, wrap painter’s tape around your hand sticky-side out and lightly dab the roller to lift lint. If the nap is matted flat, it may be time to replace it.
There is paint in the sink. Is that bad?
Small residue from cleaning water-based paint is normal, but you should avoid washing large amounts of paint down the drain. Scrape and wipe first, and if you have a bucket rinse setup, let the water sit so solids settle. Pour off the clearer water (where allowed) and let the sludge dry, then dispose of it according to your local rules. Many places do not want paint solids going into plumbing at all, so when in doubt, keep the solids out of the drain from the start.
Quick routine to remember
If you want the simplest version, here is the routine I follow almost every weekend project:
- Scrape and wipe first (less paint in water, faster cleaning).
- Warm water, a drop of soap, and patience near the ferrule and nap.
- Rinse, squeeze, repeat until water runs clear.
- Reshape while damp, then let tools dry fully.
- Store to protect the shape (brush sleeve, roller nap not crushed).
Do that consistently and you will notice something underrated: your tools start making your paint jobs look better. A crisp brush line and a smooth roller finish are not just technique. They are also maintenance.