If you want a paint job that looks expensive, the secret is not the color. It is the prep. I learned this the hard way in my twenties, sprinting through “quick” weekend refreshes for friends and then staring at every ridge, crater, and lint bump once the paint dried. Good wall prep is not glamorous, but it is the difference between “freshly painted” and “why does this look bumpy in the afternoon light?”
This guide walks you through patching, sanding, cleaning, and priming interior drywall so your finish looks smooth, even, and intentional.
Before you start
Paint is thin. It will not hide texture problems and it loves to spotlight them, especially with:
- Sheen: the higher the sheen, the more it highlights flaws. Eggshell, satin, and semi-gloss are the biggest truth-tellers.
- Side lighting: lamps, sconces, and late-day sun raking across a wall make every bump look like a mountain range.
- Color shifts: patchy porosity on drywall causes dull and shiny spots, often called flashing.
Your goal is a surface that is flat, sound, and consistently porous so primer and paint dry evenly.
Tools and materials
You do not need a garage full of gear. Here is what I reach for on almost every interior wall prep:
- Drop cloths (canvas is best) and plastic for furniture
- Painter’s tape (optional, but helpful for protecting trim during messy steps)
- Bright light (a handheld work light or lamp you can move around)
- Putty knife (2-inch and 6-inch are a great pair)
- Spackle for small holes and dings
- Setting-type joint compound (often labeled “hot mud”) for bigger repairs or deeper fills
- All-purpose joint compound for wider skim coats and feathering
- Drywall tape (paper or fiberglass mesh) for cracks and seam repairs
- Sanding sponge (fine and medium) and or sandpaper (120, 150, 220 grit)
- Vacuum with brush attachment
- Microfiber cloths
- Cleaning solution (mild dish soap, degreaser, or a TSP substitute)
- Caulk (paintable acrylic latex) for small gaps at trim and corners
- Stain-blocking primer (for water stains, marker, knots, or mystery spots)
- PVA drywall primer (best for new drywall or large patched areas)
- Bonding primer (helpful over glossy paint)
Step 1: Protect the room
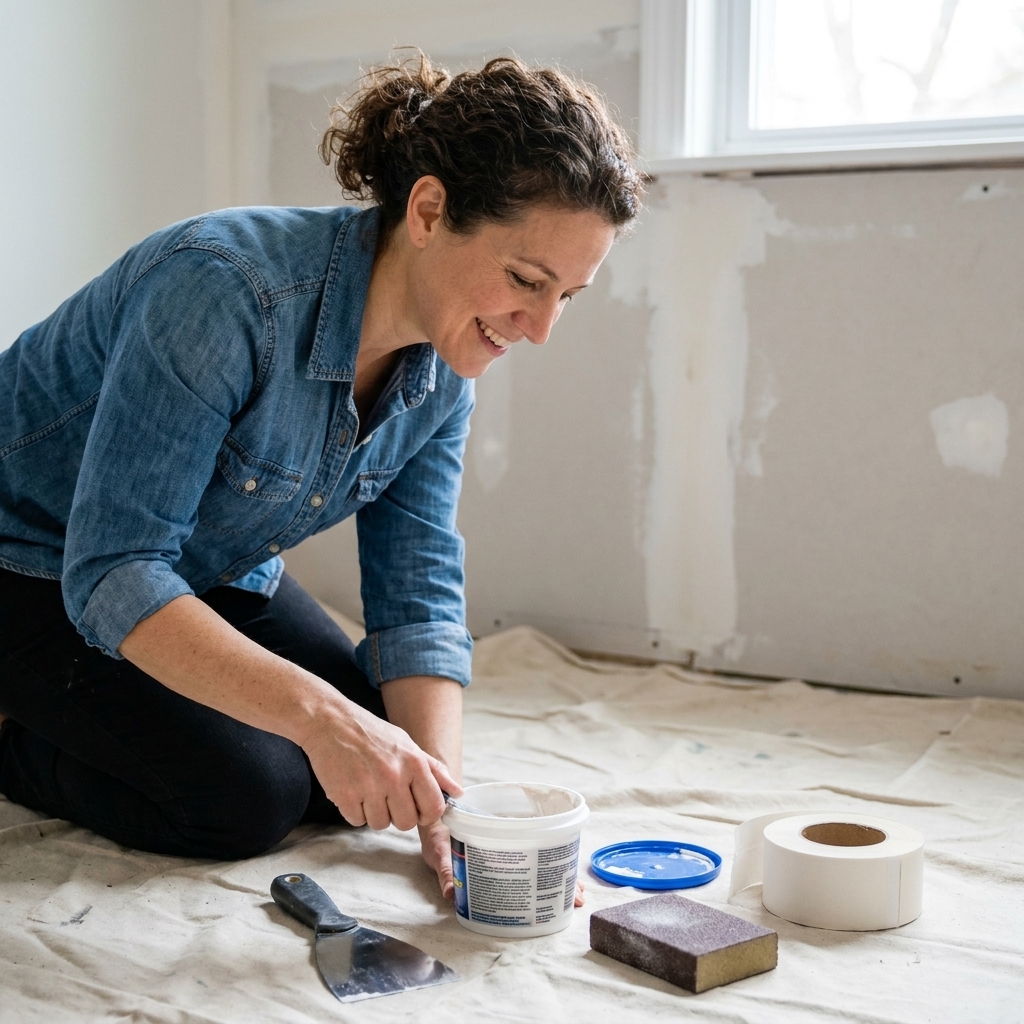
Prep creates dust, and drywall dust is sneaky. It drifts into drawers, settles on blinds, and clings to trim like it paid rent.
- Move furniture to the center and cover it with plastic.
- Lay down a canvas drop cloth along the baseboards.
- If you are sanding a lot, tape plastic over doorways to keep dust from traveling.
- Pop off switch plates and outlet covers. Put screws in a cup so they do not vanish.
Step 2: Inspect the walls
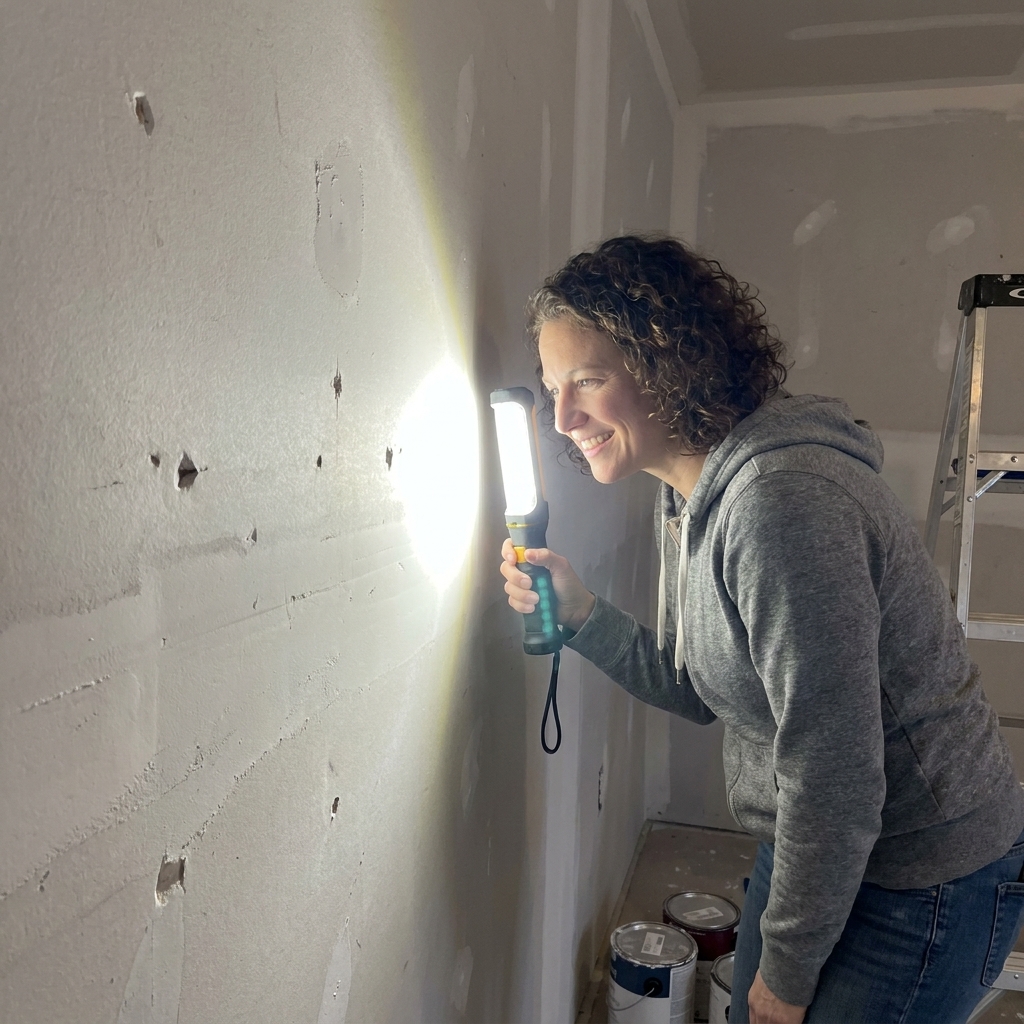
Turn off overhead lights and use a lamp or work light held close to the wall, angled across it. This raking light makes dents and ridges obvious.
Look for:
- Nail pops and screw heads
- Dings, gouges, and picture hanger holes
- Cracks at corners, above doors, or along seams
- Peeling paint or bubbled areas
- Glossy patches, grease, or handprints
- Water stains or tan rings
Mark problem spots lightly with a pencil so you do not lose them once you start patching.
Step 3: Patch and repair
Pick the right filler
- Small nail holes and tiny dings: lightweight spackle is quick and easy to sand.
- Deeper holes or wide dents: setting-type joint compound sets harder and is better for deeper fills. Still build in layers so it cures properly.
- Cracks that keep returning: use drywall tape plus joint compound. Spackle alone often re-cracks.
- Holes around 1/2 inch or larger: use a patch kit or a proper drywall patch. Deep voids usually need backing, not a blob of spackle.
Patch small holes and dents
- Clean the edges. Scrape away loose paint or crumbly drywall paper with a putty knife.
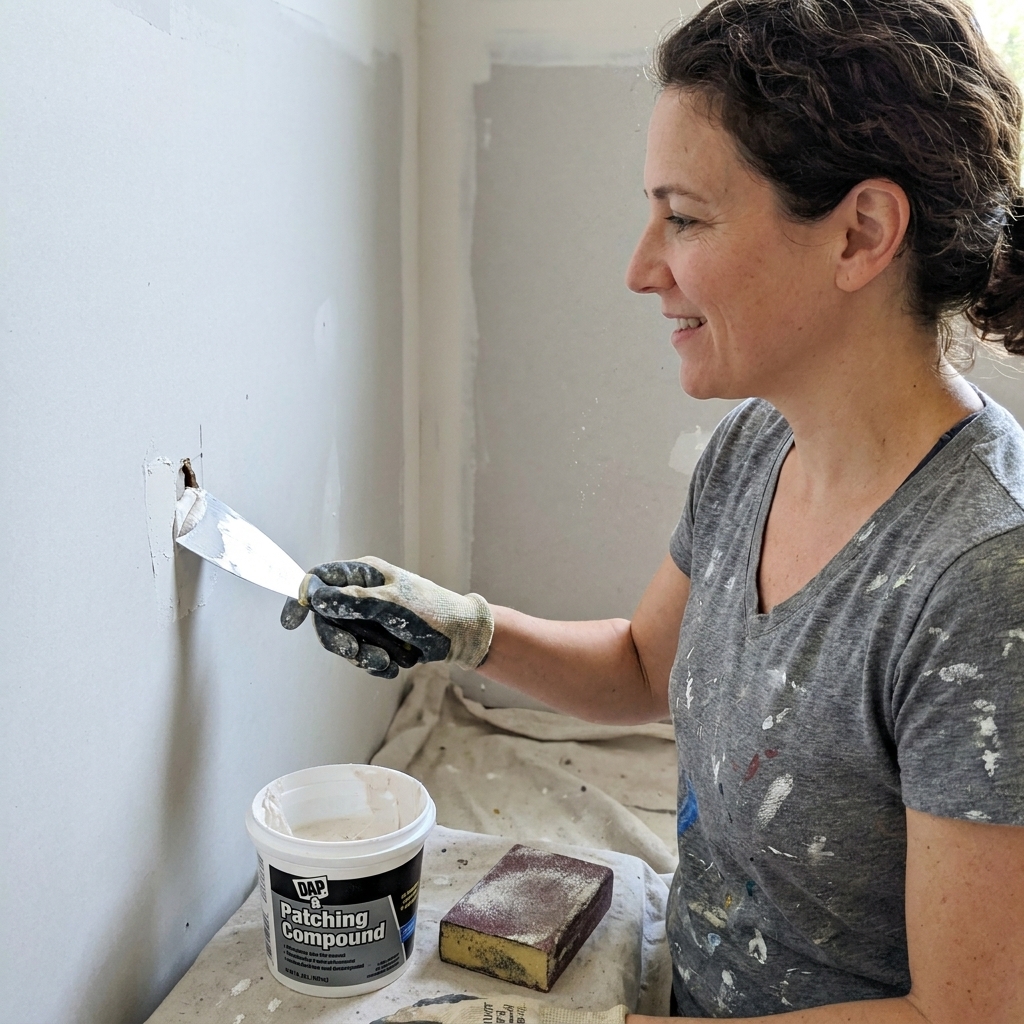
- Fill in thin layers. Press spackle or compound firmly into the hole, then skim it tight.
- Feather the edges. The patch should taper gently into the wall. A thick edge is what you see after painting.
- Let it dry fully. Follow the label. If it feels cool to the touch, it is probably still drying.
Fix nail pops
If you see a round bump with a tiny crack, that is usually a nail pop. You can patch it, but if the fastener is loose, it will come back.
- Drive a drywall screw 1 to 2 inches above or below the pop into the stud.
- Set the popped nail or screw slightly below the surface without tearing the paper. If it will not reset cleanly, remove it.
- Skim coat over both spots with joint compound, feathering wide.
Repair cracks
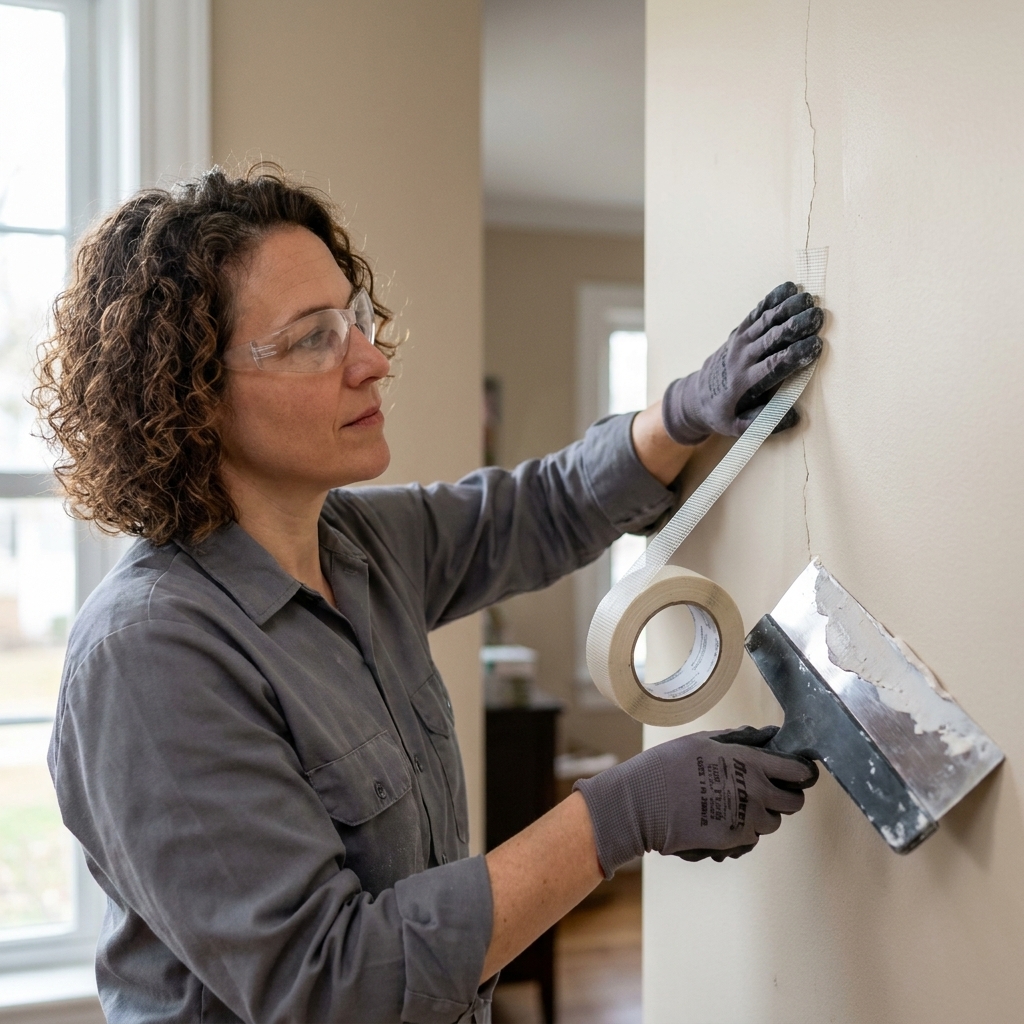
- V-groove the crack lightly with the corner of a putty knife to remove loose material.
- Apply tape. Paper tape is strongest but needs a thin bed of compound. Mesh tape is convenient but can telegraph through if not buried well.
- Coat and feather. Apply a thin coat, let it dry, then add 1 or 2 wider coats to blend.
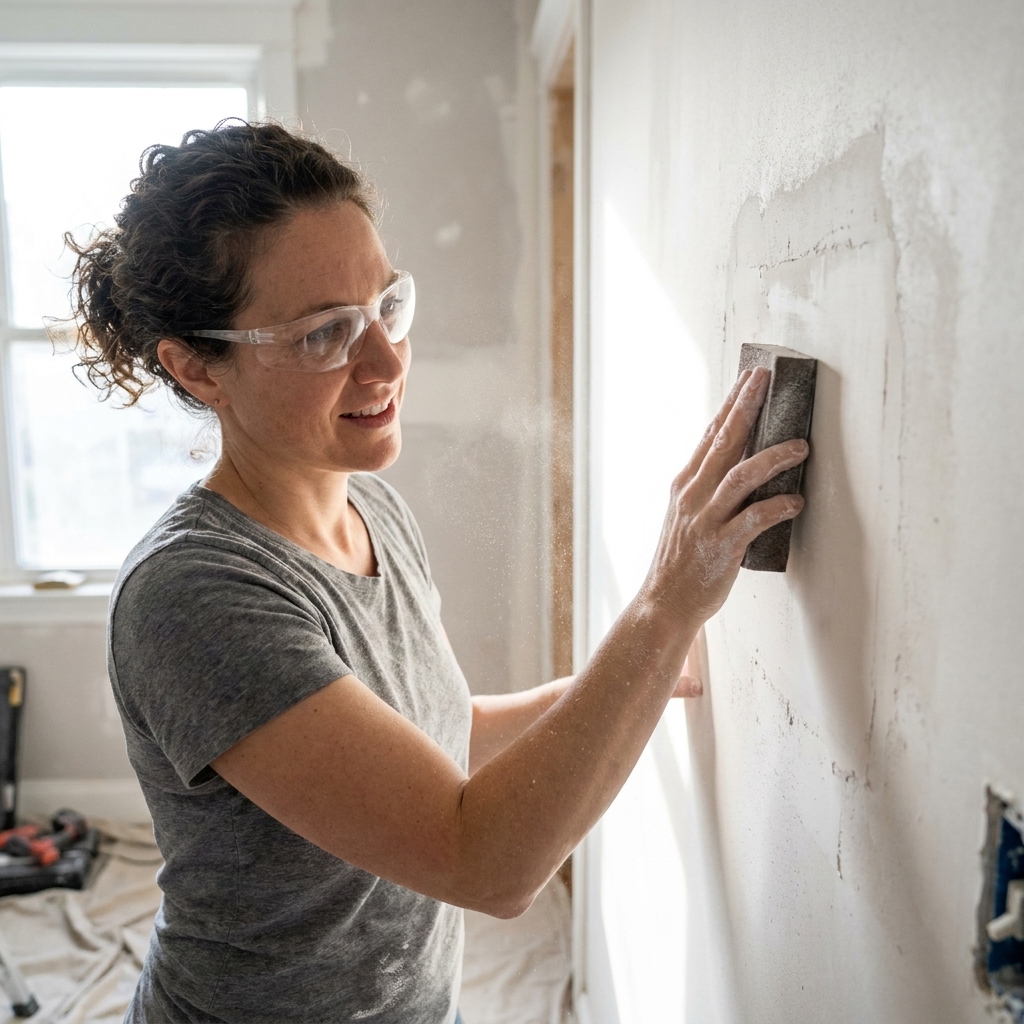
Step 4: Sand smooth
Sanding is where a good patch becomes undetectable. It is also where people accidentally create waves in the wall. The trick is gentle pressure and the right grit.
Which grit to use
- 120 grit: knocking down heavy ridges or dried tool marks (use lightly).
- 150 grit: general smoothing for most patches.
- 220 grit: final pass for a super smooth edge, especially before higher-sheen paint.
How to sand without gouging
- Start with a sanding sponge. The foam backing helps you follow the wall without digging in.
- Sand the edges first. Feather the perimeter of the patch into the wall. That transition is what the eye catches.
- Use a light touch. Let the abrasive do the work. Pressing hard creates low spots.
- Check with your hand. Close your eyes and run your fingertips over the area. Your hand finds what your eyes miss.
- Re-skim if needed. If you sand through or reveal a crater, do a thin skim coat and sand again once dry.
My favorite quick test: shine your work light across the patch again. If you see a halo edge, you need more feathering.
Step 5: Remove dust
Drywall dust is one of the biggest causes of gritty paint texture and poor adhesion.
- Vacuum the walls using a soft brush attachment. Start at the top and work down.
- Wipe with a dry microfiber cloth to grab what the vacuum missed.
- Spot-check by rubbing your hand over the wall. If your palm comes away chalky, keep cleaning.
Avoid tack cloths on drywall. Some can leave residue that interferes with paint. If you insist on using one, choose a low-tack water-based version and test a small area first.
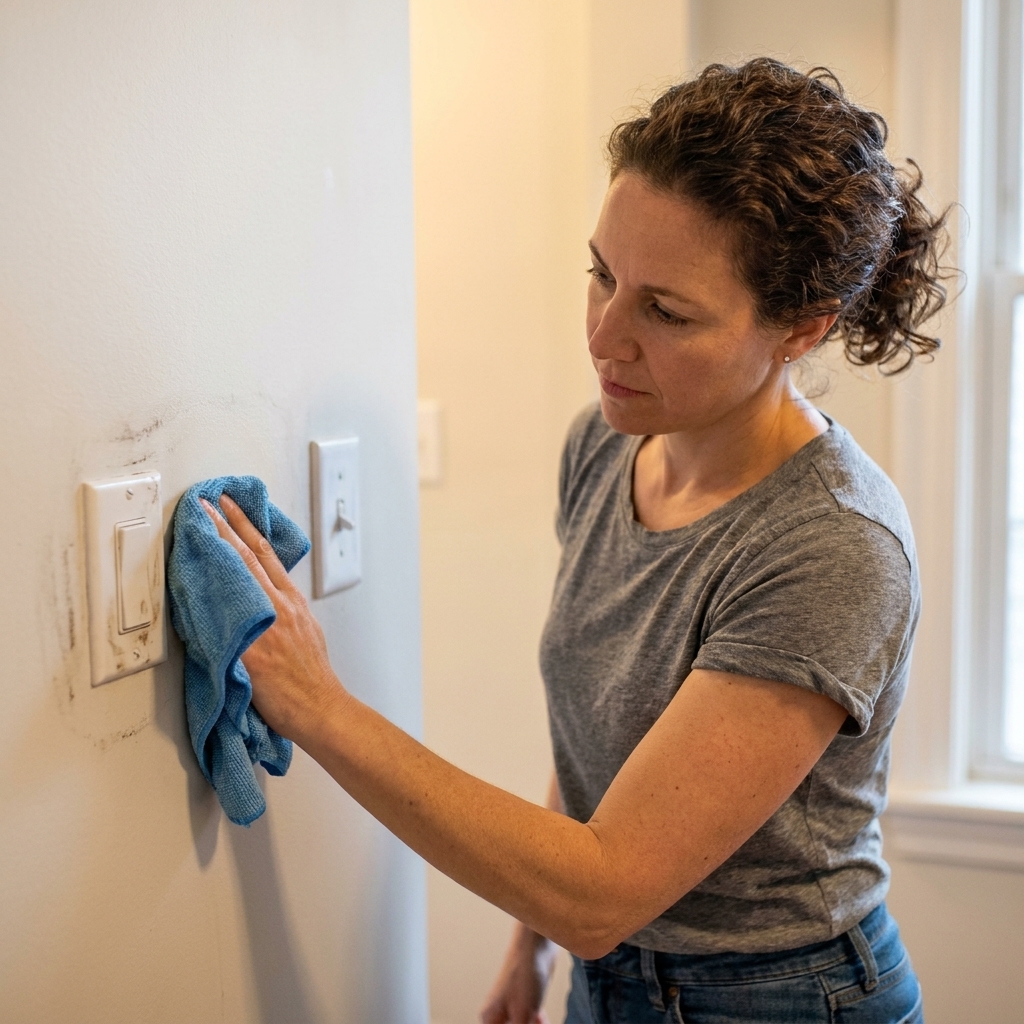
Step 6: Wash walls
Even if your walls look clean, they are usually wearing a thin film of oils, cooking residue, or hand grime. Paint does not like sticking to that.
Match the cleaner to the mess
- General living areas: warm water with a few drops of dish soap.
- Kitchens and greasy zones: a gentle degreaser or TSP substitute.
- Bathrooms: cleaner that removes soap film and mildew residue.
Wash without soaking drywall
- Use a damp sponge or microfiber cloth, not a dripping one.
- Work in small sections.
- Rinse with clean water if you used soap or degreaser.
- Let walls dry completely before priming. Give it a few hours at minimum, longer in humid rooms.
If you have active mildew, treat it before painting and follow the product directions closely. Ventilate the room and never mix cleaning chemicals.
Step 7: Handle trouble spots
Peeling or flaking paint
Scrape anything loose until you reach firmly bonded edges, then sand the edge smooth so it does not show through.
Shiny paint
If you are painting over glossy or semi-gloss walls, scuff-sand to dull the sheen. Paint sticks better to a slightly roughened surface. If sanding is not practical, a liquid deglosser can help, but follow label directions and ventilate well. In some cases, a bonding primer is a smart extra step.
Water stains, smoke stains, and marker
These need stain-blocking primer, not just wall paint. If you skip this, the stain can bleed back through weeks later.
Exposed drywall paper
If you tore the drywall facing while scraping, seal it with primer before you apply more compound or paint. Unsealed paper fibers can bubble.
Gaps at trim and corners
Use caulk for small gaps where trim meets wall, or in tight interior corners where two surfaces meet. Use patching compound for dents and holes. Smooth caulk with a damp finger, let it cure, then prime if needed.
Step 8: Prime for even paint
Priming is part of prep. It is what makes your wall one consistent surface again.
- Spot prime patches if they are small and scattered.
- Prime the whole wall if you did extensive patching, are changing sheen drastically, or are going from very dark to very light.
Primer picks:
- PVA drywall primer: best for new drywall and broad patched areas.
- Bonding primer: great over glossy paint or tougher surfaces.
- Stain-blocking primer: for tannins, water stains, smoke, and other bleed-through risks.
Dry time matters here too. Setting-type compound can set fast but still needs time to dry before primer, depending on thickness and humidity. Follow the label, and when in doubt, wait.
Safety basics
- Dust protection: wear eye protection and a well-fitting dust mask or respirator while sanding.
- Ventilation: open windows, run a fan, and give cleaners and primers the airflow they ask for.
- Older homes: if your home was built before 1978, assume paint could contain lead. Test before sanding or scraping, and follow EPA Renovation, Repair and Painting (RRP) practices if lead is present.
When to call a pro
- Cracks that keep returning quickly, especially if they widen or travel across ceilings
- Soft, swollen drywall or large water-damaged areas
- Widespread bubbling or peeling that suggests moisture or adhesion failure
- Suspected lead paint and you are not set up for safe containment
Prep timeline
- Day 1 morning: protect room, inspect, scrape, first round of patches
- Day 1 afternoon: sand, second skim coat if needed
- Day 1 evening: final sand and dust removal
- Day 2 morning: wash, dry time
- Day 2 afternoon: prime, then paint if primer is dry and the wall feels clean and smooth
If you are doing larger repairs, add drying time. Rushing compound that is not fully dry is a reliable way to get cracks, soft spots, or flashing later.
Common mistakes
- Filling without feathering: you get a raised outline after paint.
- Sanding only the center of the patch: the edge stays proud and catches light.
- Painting over dust: the finish feels gritty and may peel more easily.
- Skipping degreasing in kitchens: paint can fisheye or fail to bond around cooking areas.
- No primer on patches: flashing appears as dull or shiny spots, especially under eggshell or satin.
- Using compound for gaps: it can crack where caulk should have flexed.
Quick FAQ
Do I really have to wash walls before painting?
In most rooms, at least a light cleaning is worth it. In kitchens, bathrooms, and anywhere near switches or door frames, it is non-negotiable. Oils and residue can cause adhesion problems and uneven sheen.
What is the best way to sand without making a mess?
Use a sanding sponge and keep a vacuum nearby. If you are sanding a lot, a pole sander with a vacuum attachment can help. No matter what, plan to vacuum and wipe down afterwards.
How smooth is smooth enough?
For flat or matte paint, minor texture is more forgiving. For eggshell, satin, and semi-gloss, aim for a surface that feels consistent when you glide your hand across it. If you can feel the patch edge, you will probably see it in angled light.
Should I spot prime or prime the whole wall?
Spot priming is fine for a few small patches. Prime the whole wall if you have many repairs, if the wall has mixed finishes, or if you want the most even final color.
Final checklist
- All holes and cracks patched and fully dry
- Patches feathered and sanded smooth
- Walls vacuumed and wiped dust-free
- Grease and grime removed, walls fully dry
- Gaps caulked where needed
- Stains sealed with the right primer
- Patches and repairs primed so porosity matches
Once you hit all of those, painting becomes the easy part. And the best part is that your color will look truer, your finish will look smoother, and you will not find yourself staring at that one lumpy patch every time the afternoon sun hits the wall.