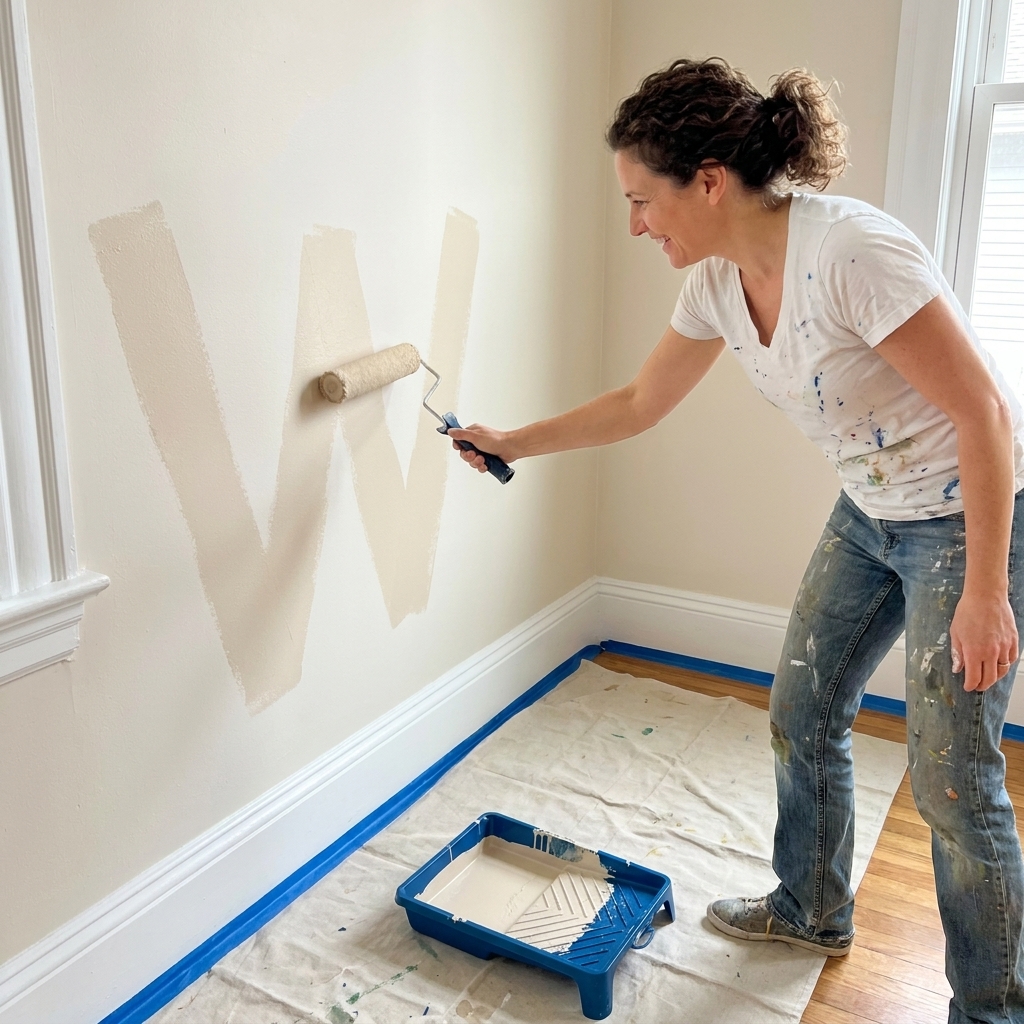
If you have ever peeled off painter’s tape and found a jagged edge staring back at you, you are not alone. Cutting in by hand looks like a magician trick until you learn what pros are actually doing: controlling the amount of paint in the brush, using the right angle, and moving your whole arm instead of white-knuckling your wrist. Once it clicks, you will stop treating edging like the scariest part of painting and start treating it like the satisfying part.
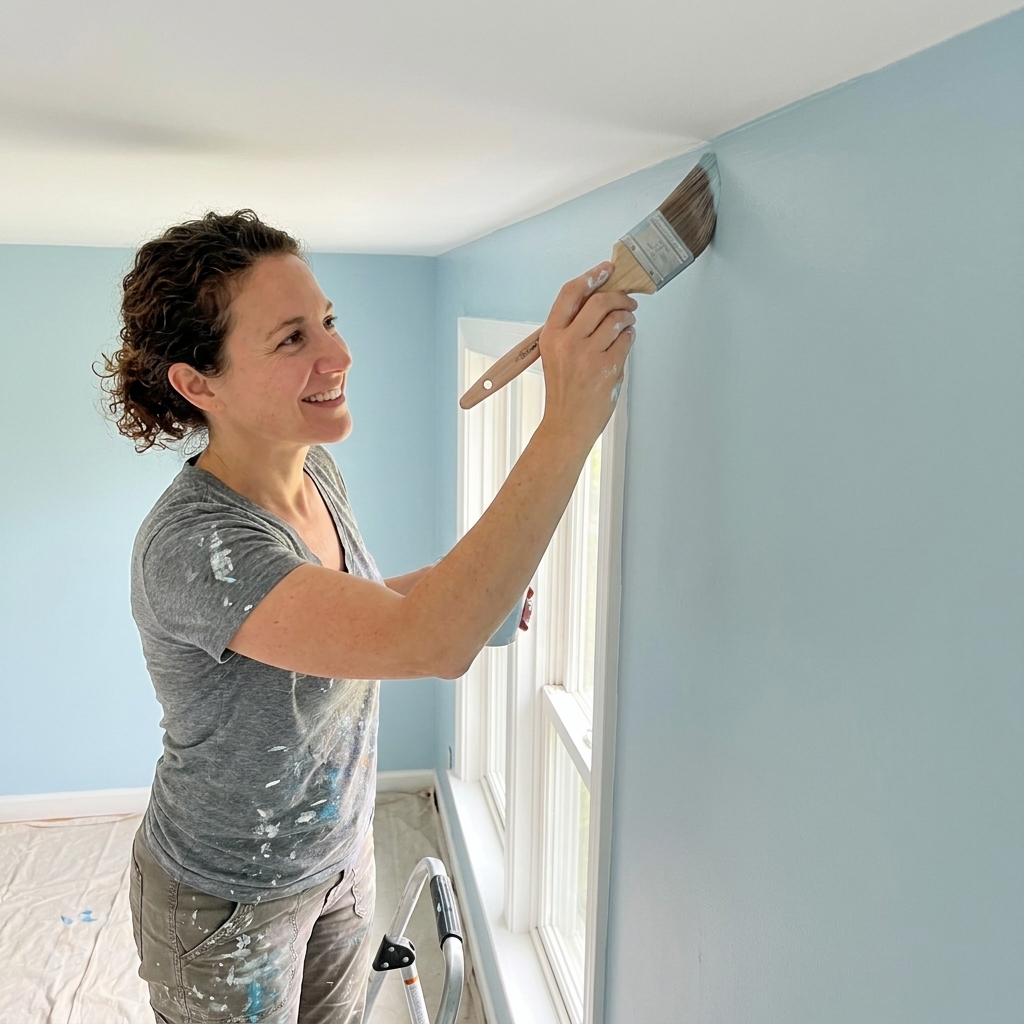
This guide walks you through the same method I use for clean lines along ceilings, baseboards, door casings, and around windows, without tape.
What cutting in means
Cutting in is painting the borders first, the spots your roller cannot reach: where wall meets ceiling, where wall meets trim, inside corners, and around outlets and fixtures. A good cut-in gives you a clean frame so rolling the field of the wall is fast and forgiving.
Painter’s tape can help in certain situations, but it is not a shortcut to a crisp line. Tape can bleed, pull fresh paint, or leave a bumpy ridge. The no-tape method is about brush control, not bravery.
Tools that help
Your brush matters most
If you take one thing from this article, let it be this: a quality angled sash brush does half the work. Look for:
- Size: 2 to 2.5 inches is the sweet spot for most walls and trim.
- Shape: An angled sash brush gives you a sharp leading edge for edging.
- Bristles: A brush with good snap returns to shape, which keeps your line crisp.
Brush sizes I reach for
- 2 inch angled sash for most cut-ins along ceilings and casings.
- 2.5 inch angled sash for tall walls and long ceiling runs where you want more paint capacity.
- 1.5 inch angled sash for tight areas like behind toilets, next to radiators, or narrow returns.
Choose bristles based on your paint:
- Water-based paints (latex walls and most modern waterborne enamels): Use a quality synthetic brush, like nylon or a nylon polyester blend. Natural bristle is not recommended here because it can swell and lose stiffness in water.
- Oil-based paints: Natural bristle works well, and many pro-grade oil-rated synthetics do too. Either is fine as long as the label matches your paint type.
Small extras that make a big difference
- Cut bucket or paint pail: Easier to control than dipping into a gallon can.
- Damp rag and a small cup of water: For instant fixes and quick wipe-downs.
- Good lighting: A bright work light aimed along the edge helps you see the line, especially at night.
- Steady ladder setup: If you are reaching, your line will wobble. Move your feet more often than you think you need to.
If you are doing long runs, add one more habit: keep the ferrule clean. Paint creeping up into that metal band makes a brush feel sloppy fast, and it is one of the easiest ways to lose control mid-cut.
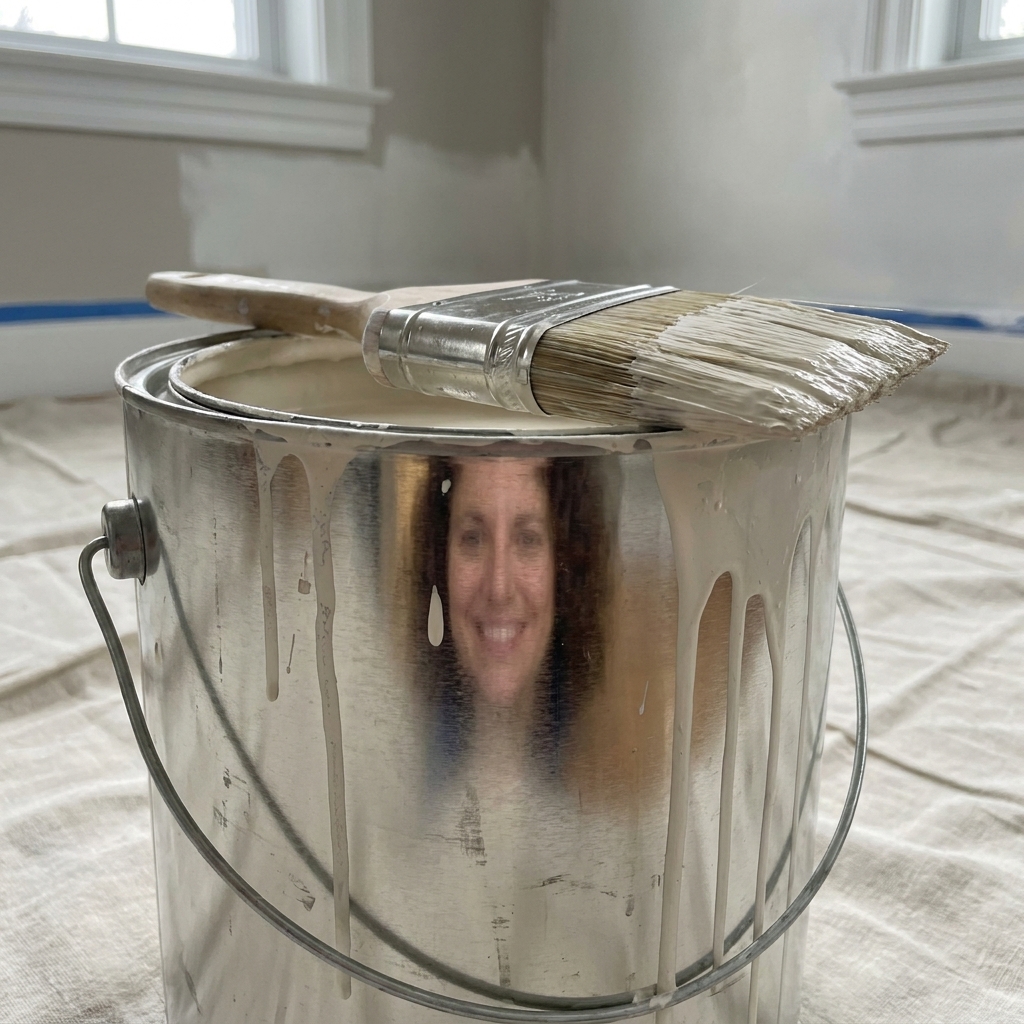
Prep for clean lines
I know prep is the part everyone wants to skip. Cutting in is where skipping prep shows up immediately.
Quick prep checklist
- Clean the edge: Dust and grease near ceilings and trim can make paint drag. A quick wipe with a damp cloth helps.
- Knock down bumps: Lightly sand drips, old ridges, or gunk on trim so your brush glides.
- Caulk gaps (if needed): A thin line of paintable caulk where trim meets wall helps create a smoother visual edge.
- Patch and spot-prime: Fresh spackle sucks paint and can make the cut line look fuzzy. Prime repairs first.
Finish and flow
Flat and matte wall paints are generally more forgiving for cut-ins than higher sheens. If you are painting trim, semi-gloss shows everything, including tiny wobbles, so take your time and keep your brush clean.
If your paint feels draggy or does not level well, check the label before you change anything. Some paints benefit from a manufacturer-approved conditioner, and in some cases a tiny amount of water is allowed. Do not freehand thin paint without reading the can first. Over-thinning can hurt coverage and durability, and it can make cut-ins sag.
How to cut in
1) Load the brush
Dip about 1/3 to 1/2 of the bristles into paint, then tap each side lightly against the pail. Try not to wipe aggressively like you are wringing out a sponge. Heavy wiping can starve the brush, introduce drag, and leave you fighting skips. A light tap gives you a more even load.
2) Make a landing zone
Place the brush about 1/2 inch away from the edge you want to cut. Make a short stroke, then gently push the paint toward the edge. This gives you control before you commit to the line.
3) Let the angle do the work
Turn the angled edge so the longer bristles are pointing in the direction you are moving. Keep the brush slightly tilted so the paint stays near the tips, not flooding up into the ferrule.
4) Move your arm
Your wrist wants to wobble. A steadier cut comes from moving your whole forearm and shoulder in a smooth glide. Keep your elbow slightly lifted and your grip relaxed.
5) Work in short runs
Cut in 2 to 3 feet at a time, then reload. If you stretch a brush that is running dry, you will get a skippy, textured line that looks fuzzy once it dries.
6) Feather the inside edge
After you make your crisp line at the ceiling or trim, lightly drag the brush away from the edge and into the wall field to thin out the paint where the roller will overlap. This prevents a heavy picture-frame ridge and helps the cut-in blend.
If you are cutting in for a long time, take quick maintenance pauses. Wipe paint off the ferrule with your damp rag, and if the brush starts to feel gummy, rinse and spin it out before you keep going.
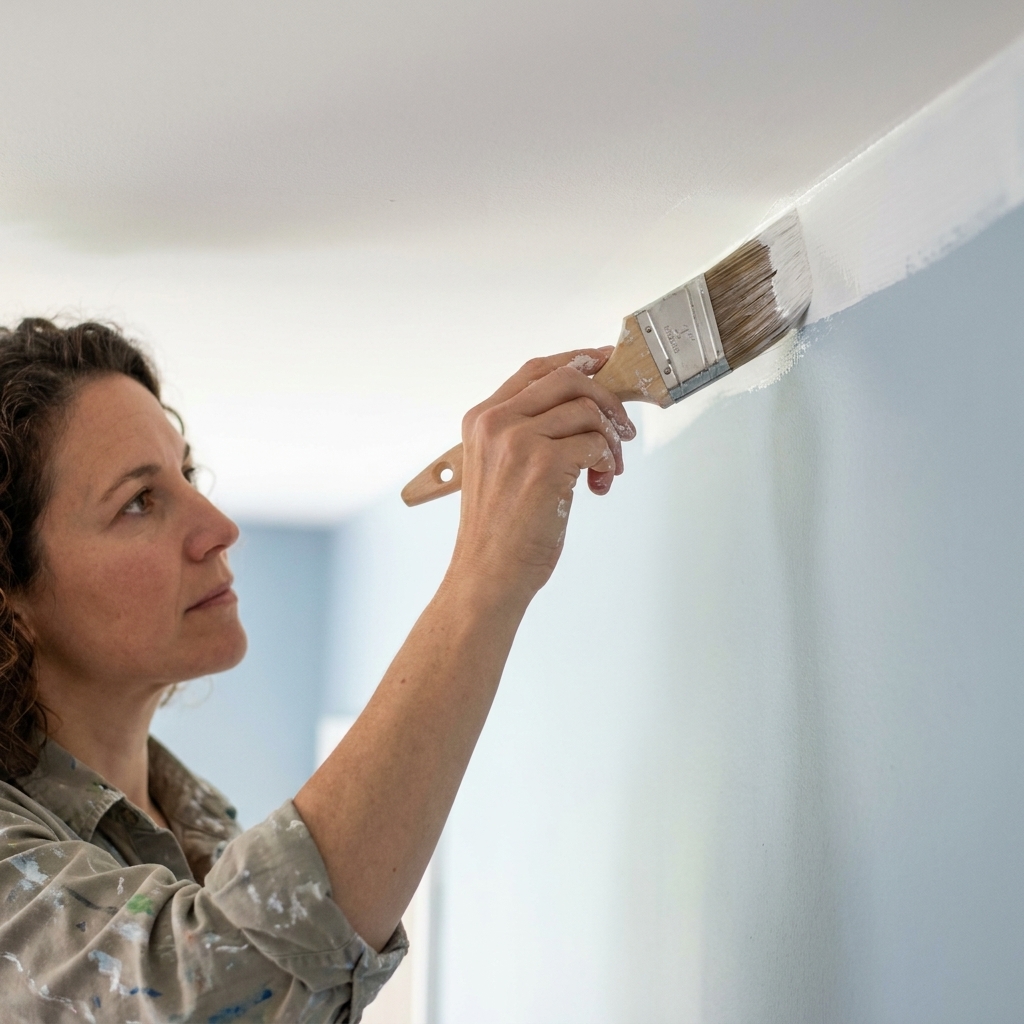
Ceiling vs trim
Along the ceiling
- Angle the brush upward so the very tips do the edge work.
- Do not overfill the brush because ceiling edges are where drips happen.
- Use raking light by aiming a work light along the ceiling line so you catch wobbles while the paint is still wet.
Along baseboards and casings
- Protect floors first with a drop cloth or rosin paper. No-tape cutting in is not the same as no protection.
- Keep your brush parallel to the trim edge and move steadily.
- Wipe tiny mistakes immediately with a damp rag wrapped around a putty knife for a sharp cleanup edge.

Pro tips
Use a paint shield carefully
If you want extra insurance without tape, you can hold a wide drywall knife or metal paint shield along the edge. Wipe it frequently. A paint shield can smear paint if it gets loaded up.
Rotate the brush
As you cut in, one side of the brush will start to carry more paint. Slightly rotate the handle every few strokes to keep the bristles wearing evenly and your line consistent.
Do corners in two passes
Inside corners are easier if you cut one wall first, let it dry, then cut the adjacent wall. Trying to perfect both sides while everything is wet can turn into a smeary mess.
Texture changes the goal
On orange peel or heavy knockdown texture, you may not get a razor-sharp edge. Your goal is a clean, consistent line from normal standing distance. Load a bit less paint and move slower so the brush can ride over the bumps.
Mistakes and fixes
Paint on the ceiling
Fix: While it is still wet, wipe with a damp rag. If it dried, lightly sand the smear and touch up the ceiling with ceiling paint using a small brush.
A fuzzy line
Fix: Usually this is a dry brush or too little paint. Reload more often and keep your stroke confident. Also check that the edge is clean and not dusty.
A ridge at the cut line
Fix: Feather the inner edge of your cut-in while it is wet, then roll as soon as you reasonably can. If it dried already, sand the ridge lightly, dust, and apply another coat with better feathering.
Drips and sags
Fix: You loaded too much paint or pressed too hard. Smooth drips immediately with a nearly dry brush. After drying, sand flat and touch up.
When tape helps
Yes, sometimes. Tape is still useful when:
- You are painting two high-contrast colors and want extra confidence.
- You are cutting in over delicate wallpaper or fragile surfaces you cannot scrub.
- You are doing geometric patterns where the tape is the design tool.
If you do use tape, press it down firmly, seal the edge with the base color if needed, and remove it slowly while the paint is still slightly tacky. Tape is a tool, not a substitute for brush control.
When to cut in
For most rooms, I cut in first, then roll while the cut-in is still wet enough to blend. That helps avoid a noticeable frame. In hot, dry conditions, or with lots of airflow, cut-ins can flash off fast, so it can be smarter to work in sections: cut in one wall, roll that wall, then move on.
- Best blend: Cut in, then roll as soon as practical, ideally while the edge is still wet. In average conditions, that often means within about 15 to 30 minutes, but trust what you see on the wall.
- Two coats: Repeat the same order for coat two. Your second coat is where everything looks truly clean.
Mini FAQ
How do I keep my hand steady?
Support your painting arm with your other hand when possible, keep your elbow lifted, and move your whole forearm. Also, set your ladder height so you are not reaching. Reaching creates wobbles.
How do I cut in faster?
Speed comes from fewer reloads and fewer corrections. Use a 2 to 2.5 inch angled sash brush, load it evenly, and work in 2 to 3 foot sections. Bright, angled lighting makes you faster because you catch issues immediately.
Can I cut in with a tiny artist brush?
You can, but it usually makes things harder. Tiny brushes do not hold enough paint, so they drag and skip, which creates a shaky line. A quality angled sash brush is more stable and more forgiving.
What about textured ceilings?
Textured ceilings are tricky because the surface is uneven at the edge. Use less paint, go slower, and accept a slightly softer edge. If the ceiling texture is very heavy, touch-ups are normal and not a failure.
Practice where it does not matter
If you want to build skill fast, practice cutting in behind a door, inside a closet, or above a tall bookcase. You will learn how much paint your brush likes, how your wall texture behaves, and how your lighting changes the look of your line. After a couple of edges, you will be surprised how quickly your hand starts to cooperate.
And remember, even pros clean up. The difference is they clean up immediately, while the paint is still workable.