Roller marks are one of those painting problems that feels personal. You do the “right” thing, step back, and suddenly your wall looks like it dried in stripes. The good news is this is rarely about talent. It is usually about a handful of controllable factors: how much paint is on the roller, how you lay it on the wall (hello, W technique), how well you maintain a wet edge so you do not create lap marks, and whether your paint and wall surface are set up to play nicely together.
This is the method I use when I want that sprayed-on look without actually spraying, even in tricky rooms with raking light from big windows.
Why roller marks and streaks happen
If you understand the cause, the fix becomes pretty straightforward. Roller marks usually come from one or more of these:
- Dry rolling: the roller runs out of paint and you keep going, leaving a rough, stippled patch with edges.
- Too much pressure: pressing hard squeezes paint out unevenly and creates ridges at the roller edges.
- Not keeping a wet edge: you roll over paint that has started to set, creating lap marks that flash when light hits.
- Uneven wall absorption: patches, bare joint compound, stains, or porous areas soak up paint differently and dry with uneven sheen.
- Paint and sheen choices: higher sheen and some cheaper, low-leveling paints show overlaps more easily.
- Wrong nap for the wall texture: a nap that is too short for texture can skip, while a nap that is too long can leave heavy stipple.
- Cheap or wrong roller cover: low-quality covers shed lint and lay paint inconsistently.
- Fast-drying conditions: high heat, low humidity, and strong airflow from HVAC or fans make paint set before you can blend.
Most “streaky” walls are actually overlap lines or sheen differences. They may look fine head-on, then show up the moment the afternoon sun hits at an angle.
Tools and materials that help
You can get a great result with basic gear, but a few choices make roller marks much less likely.
Pick the right roller cover
- For smooth drywall: 1/4 to 3/8 inch nap microfiber or woven cover is a great choice. Use 1/4 inch if you want the smoothest possible texture, and 3/8 inch for an easy, forgiving roll that still looks clean.
- For lightly textured walls (orange peel, knockdown): 1/2 inch nap usually lays paint more evenly.
- Foam rollers: foam can leave bubbles or uneven film on full walls with many wall paints. High-density foam can work on ultra-smooth surfaces with the right product, but for most walls, microfiber is the safer bet.
Look for a shed-resistant microfiber cover from a reputable brand. A better cover is the cheapest insurance policy in painting.
Use a tray or a bucket and grid
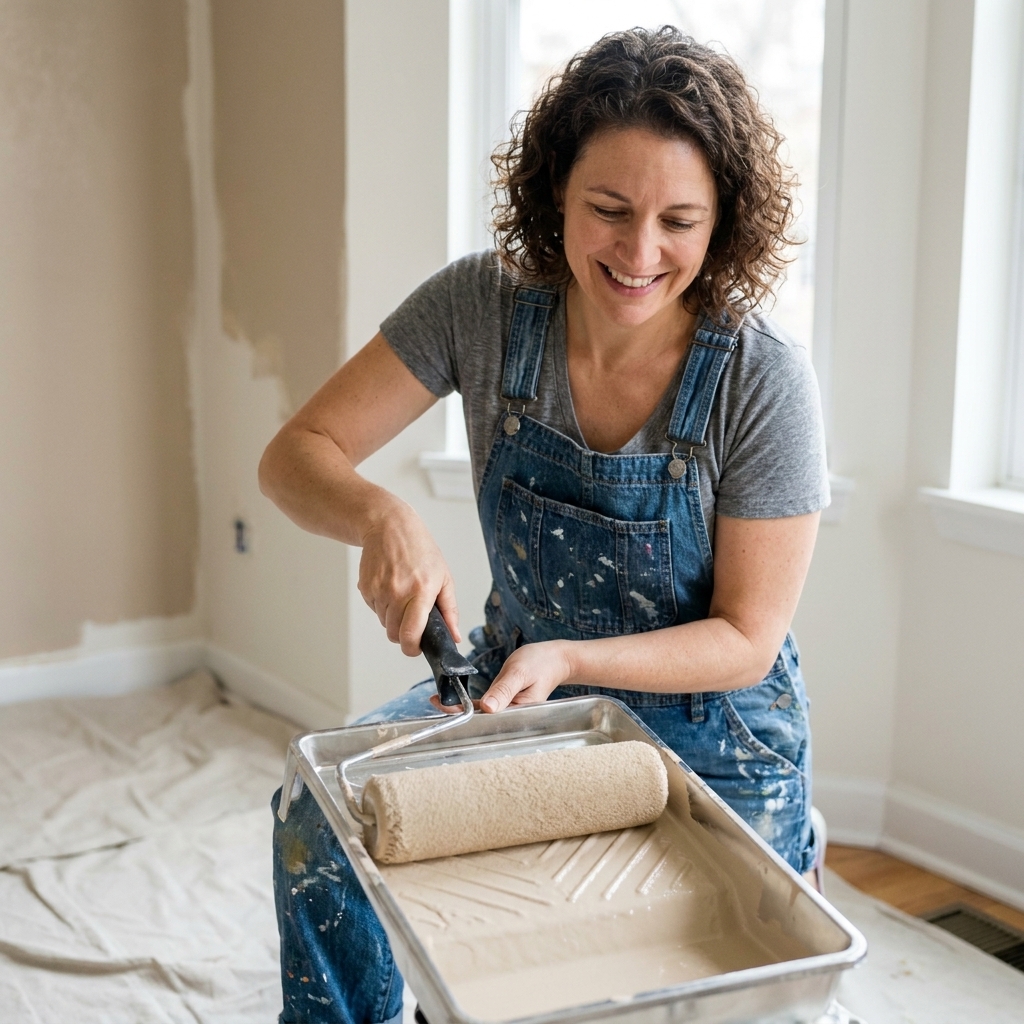
A sturdy tray and liner are fine for most rooms. For big walls, a 5-gallon bucket with a roller grid is even better because it loads more consistently and keeps paint from drying out in a shallow tray.
Use an extension pole
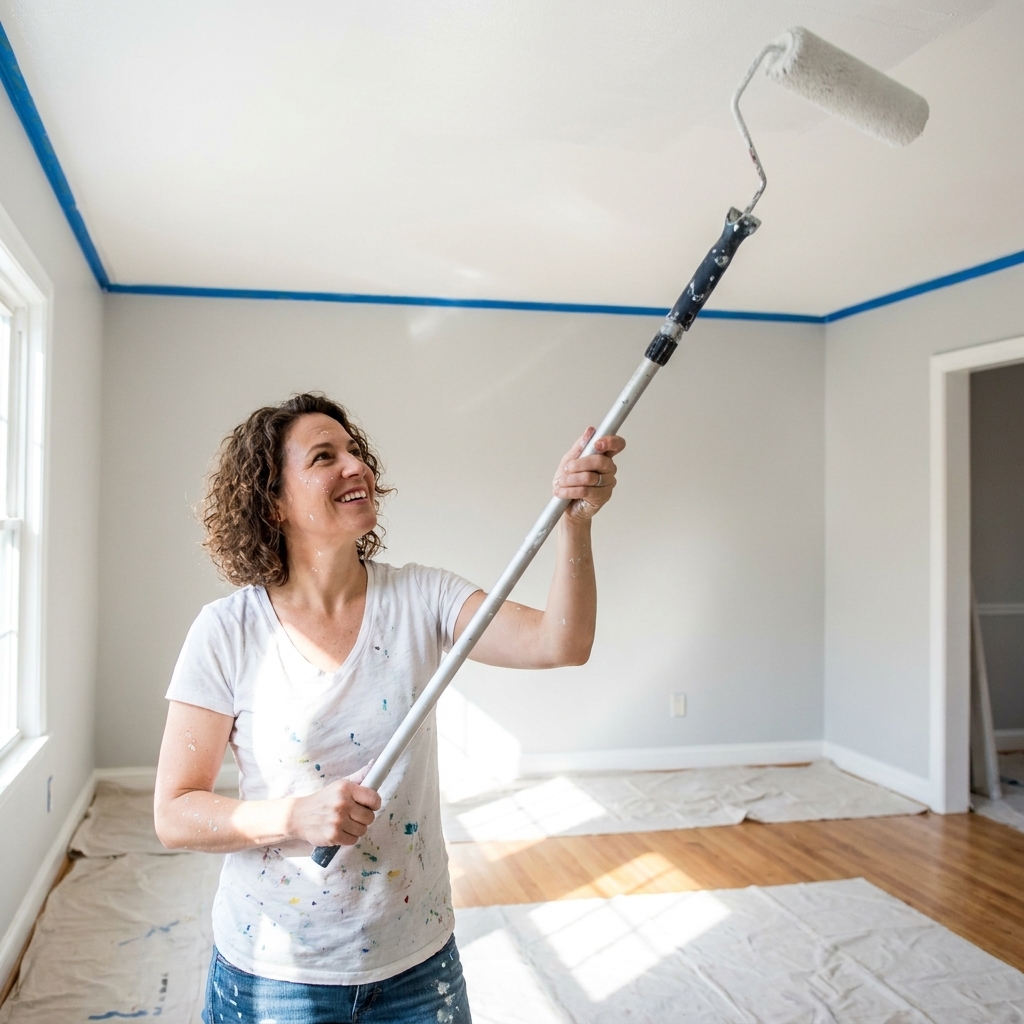
A pole is not just for tall walls. It helps you keep steadier pressure, a consistent speed, and longer passes, which all reduce marks.
Have a brush and a small roller for edges
A 2 to 2.5 inch angled sash brush plus a 4 inch mini roller lets you keep the finish consistent near corners and trim.
Prep that prevents streaks
I know. Nobody wants to hear “prep” when the fun part is picking the color. But the smoothest rolling technique cannot hide a wall that is dirty, glossy, or patched unevenly.
- Clean the wall: wipe with a mild cleaner and water in kitchens and high-touch areas. Dust alone is not enough.
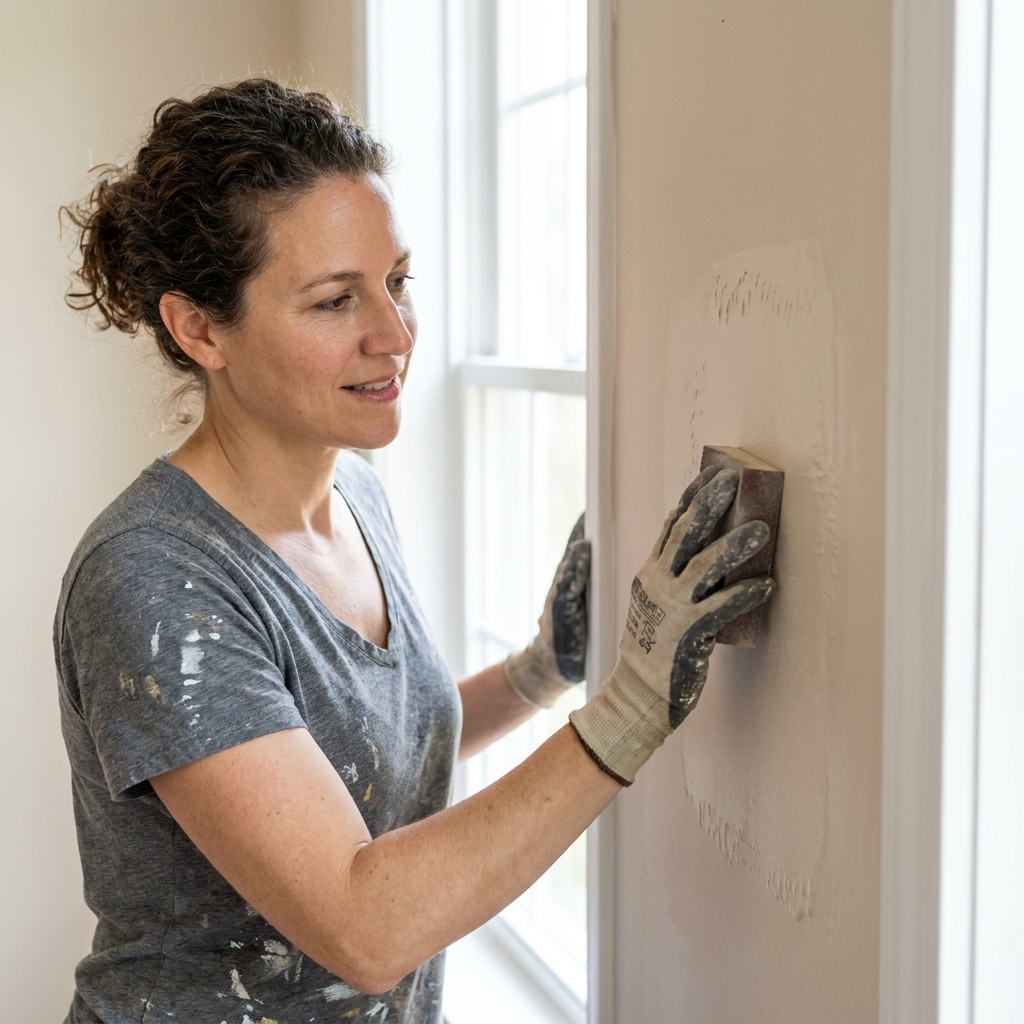
- Knock down problem texture: lightly sand ridges from old roller lines or bad patches with a fine sanding sponge.
- Prime repairs and stains: bare joint compound, spackle, water stains, and heavy marker should be spot primed so the wall absorbs paint evenly.
- Consider a full prime when needed: new drywall, lots of patching, drastic color changes, and glossy surfaces often benefit from a full coat of primer or sealer.
- Caulk gaps: especially at trim and around window casings. Let caulk cure.
- Tape only if you need it: clean lines come from good brush control, but tape can help if trim is textured or you are learning.
Uneven absorption is a sneaky streak-maker. If one area drinks paint faster than the rest, it can flash differently when dry.
Paint choices that affect streaking
Technique matters most, but paint and sheen can make the job easier or harder.
- Sheen: satin and semi-gloss show lap marks and touch-ups more than flat or eggshell. If you are painting a wall with strong side light, eggshell is often a forgiving sweet spot.
- Quality: better paint usually levels better and gives you a longer open time, which helps you keep a wet edge.
- Primer as a problem-solver: if you keep getting flashing over patches or stains, a primer or sealer can fix it faster than fighting the finish coat.
How to load a roller properly
If you take only one thing from this guide, let it be this: an underloaded roller is one of the most common causes of roller marks. You want the cover evenly saturated, not dripping.
Tray method
- Pour paint into the tray reservoir, not up onto the ramp.
- Dip the roller about 1/4 to 1/3 of the way into the paint.
- Roll up the ramp several times with light pressure until the roller looks evenly coated.
- Stop before it starts to splatter. Splatter usually means the roller is overloaded or you are going too fast.
Bucket and grid method
- Fill the bucket a few inches, insert the roller grid.
- Dip the roller, then roll it against the grid 6 to 10 passes.
- Check for dry patches on the roller cover (sometimes called “holiday” spots). If you see lighter areas, load again.
What you are aiming for: the roller should feel plush and heavy, and it should roll quietly. A dry roller makes a scratchy sound and forces you to press harder, which creates lines.
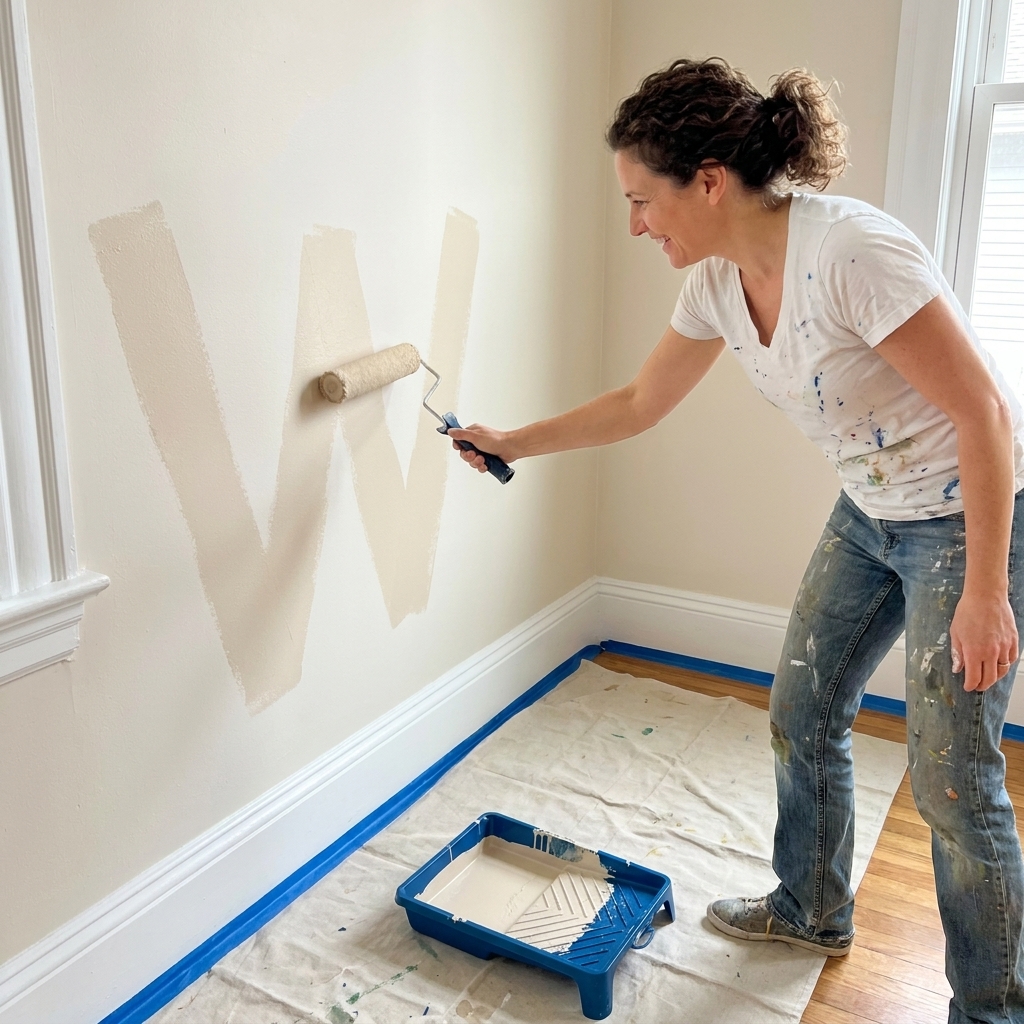
The W technique
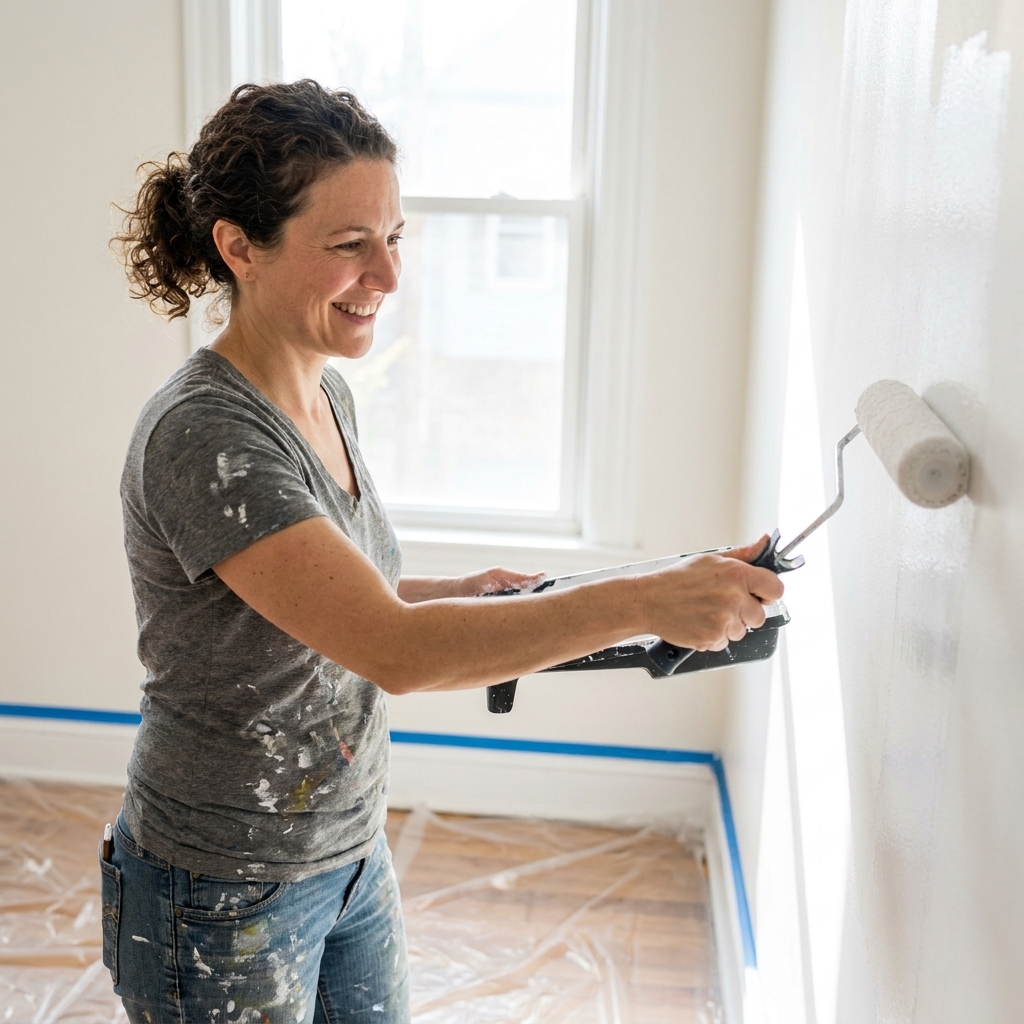
The W technique works because it distributes paint across a section first, then smooths it out without harsh start and stop lines.
1) Work in wet sections
Think in blocks roughly 3 to 4 feet wide by ceiling height. If you are painting alone or the room is warm, smaller sections are safer.
2) Lay paint in a W or M
Start a few inches away from the corner (you will blend into the cut-in). Roll a loose W on the wall without lifting the roller. Do not press hard.
3) Fill it in, then smooth it
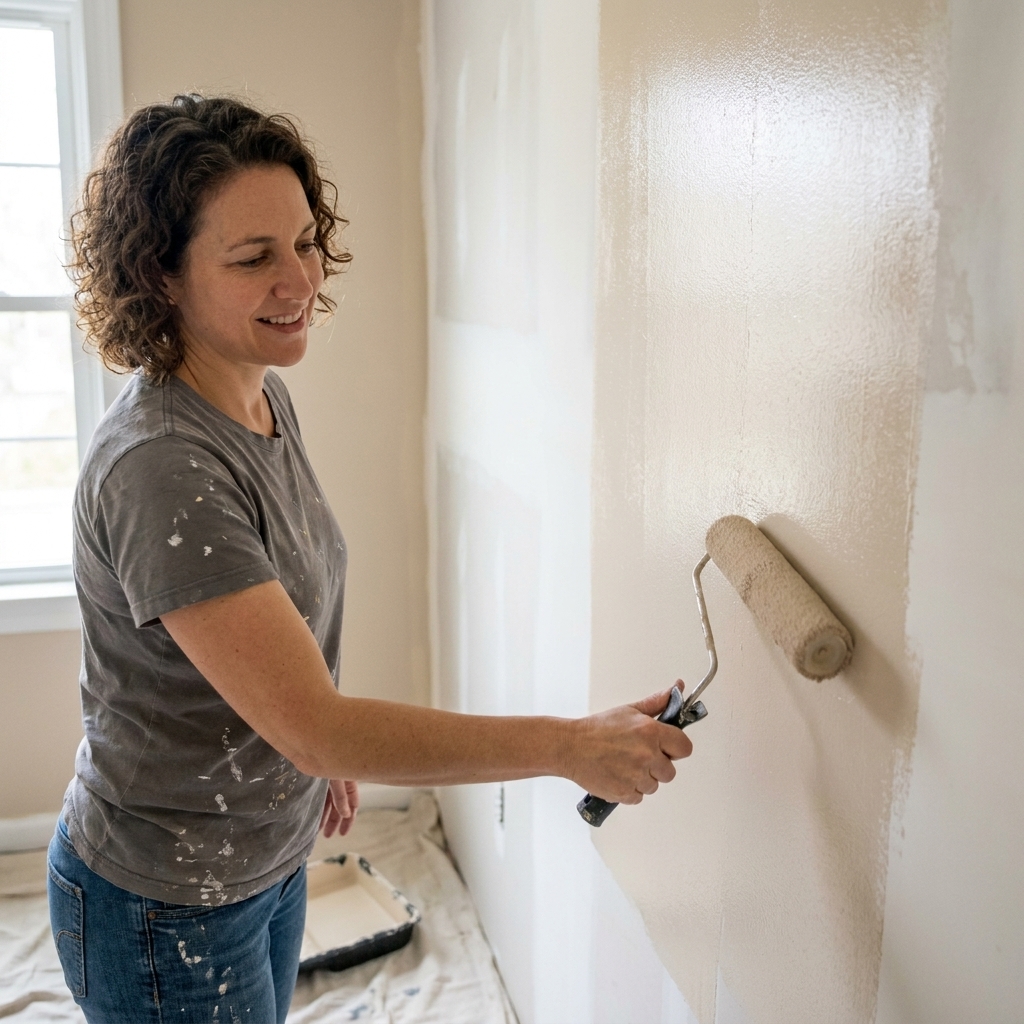
After the W is on, fill in the gaps using a few passes to distribute paint. Then finish with light vertical passes to unify the texture.
4) Lighten pressure on final passes
Your last few strokes should be with very light pressure, using the roller weight more than your arm. This “lays off” the paint and minimizes texture differences.
5) Back-roll into your wet edge
Before you move to the next section, roll back over the edge where the new section meets the previous one, but only while everything is still wet.
Cut in and roll without flashing
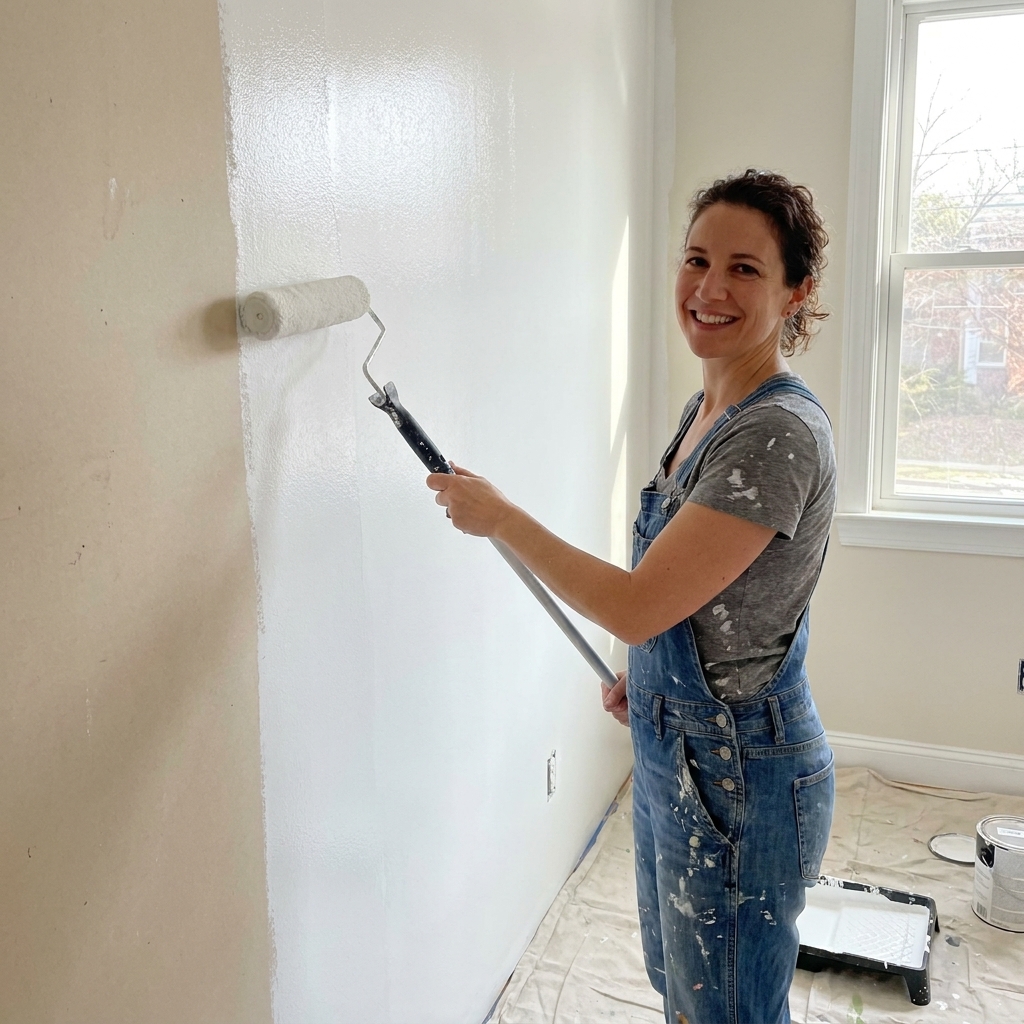
This is where a lot of DIY paint jobs go sideways: the cut-in dries before the rolled area hits it, and you get a visible frame around the wall.
Use a section-by-section workflow
- Cut in a 3 to 4 foot section at the ceiling line, corner, and baseboard.
- Immediately roll that same section while the cut-in is still wet, overlapping the roller slightly into the brushed area.
- Use a mini roller near edges if needed to blend closer than a full-size roller can reach.
- Repeat around the wall rather than cutting in the entire room first.
If you are fast and the room conditions are mild, you can cut in a whole wall and roll it right away. But if you are learning, working in smaller sections makes the wet edge much easier to manage.
How to keep a wet edge
Lap marks happen when you overlap onto paint that has started to dry. The fix is part timing, part room setup.
Control drying conditions
- Turn off fans blowing directly at the wall. Gentle airflow in the room is fine, but a fan aimed at the paint speeds drying too much.
- Avoid blasting heat or AC. If you can, paint when the room is moderate in temperature.
- Close curtains on strong sun. Direct sunlight can flash-dry sections before you can blend.
Paint top to bottom and keep moving
Roll near the ceiling first, then move down, finishing the section before the edge starts to set. Try not to bounce around the room in random order.
Feather edges
When you approach the edge of a section, use lighter pressure and fewer passes. Heavy rolling right at the edge builds a ridge that can show when it dries.
Do not touch up as it dries
This is the heartbreak moment. You see a thin spot, you grab the roller again, and you create a patch. If the paint is tacky, leave it. Fix it on the next coat.
Pressure and direction
Use less pressure than you think
If you are pressing hard, you are either dry rolling or trying to stretch paint too far. Reload instead.
Keep a steady pace
Rolling too fast can cause stipple peaks and splatter. Rolling too slowly while the paint is setting can create texture differences. Aim for smooth, consistent passes.
Finish with vertical layoff strokes
After you fill in, make a few light vertical passes from top to bottom to unify the texture. Try to keep those final strokes going in the same direction across the whole wall for consistent sheen.
Coats and recoat timing
Two coats is the norm for an even, streak-free finish, especially when changing colors or painting over patches.
- Follow the can for recoat time. Dry to the touch is not the same as ready to recoat.
- If you see streaks after coat one: do not panic. Most of the time they improve dramatically after coat two as long as you keep a wet edge and maintain a consistent paint load.
If you are working with deep colors or higher sheen paint, you may need a third coat to even out sheen and coverage.
Fix roller marks that already dried
If the wall is already dry and you can see bands, resist the urge to spot roll just the problem area. Spot fixes often flash even worse.
- Raised ridges or rough lines: lightly sand to knock them down, vacuum or wipe the dust, then repaint.
- Lap marks or flashing without ridges: you typically need a full recoat of the entire wall to reset the film thickness and sheen. A light scuff-sand can help if the existing paint is glossy.
- Persistent patchy sheen over repairs: spot prime or seal the problem areas, then repaint the whole wall for a uniform finish.
Troubleshooting
Problem: Lines at the edges of roller passes
- Cause: pressing too hard, roller too dry, or not blending into a wet edge.
- Fix: reload, overlap the next section while wet, then do light layoff strokes.
Problem: Streaks that look darker in bands
- Cause: lap marks from drying overlap, inconsistent film thickness, or higher sheen exaggerating overlaps.
- Fix: work in smaller sections, control airflow and sun, and avoid rolling back into tacky paint.
Problem: Patchy sheen even though color looks covered
- Cause: uneven absorption, unprimed repairs, or overworking paint as it sets.
- Fix: prime repairs or use a sealer, then repaint with consistent loading and a steady pattern.
Problem: Fuzzy bits in the paint
- Cause: roller lint, dusty wall, or low-quality cover.
- Fix: vacuum and wipe walls, wash and dry new roller covers, upgrade to shed-resistant microfiber.
My rolling routine
- Spot prime repairs and stains, or prime the whole wall if it is new drywall or heavily patched.
- Control conditions: avoid strong sun, fans pointed at the wall, and extreme heat.
- Cut in a 3 to 4 foot section, then roll it while the cut-in is still wet.
- Load the roller until evenly saturated, not dripping.
- Roll a 3 to 4 foot section using a W, then fill in.
- Overlap into the wet edge and lay off with light vertical strokes.
- Reload before the roller feels dry.
- Do not re-roll tacky paint.
- Repeat for coat two.
FAQ
Should I roll in a W or straight up and down?
Use a W (or M) to distribute paint quickly, then finish with light vertical strokes to unify texture. The W is the delivery method, the vertical passes are the finishing method.
How wet should the roller be?
Evenly saturated. It should glide and look uniformly coated across the nap. If it is leaving a whisper-thin, scratchy trail, it is too dry. If it is dripping or splattering, it is too wet or you are rolling too fast.
What roller nap is least likely to leave marks?
On many interior walls, 3/8 inch nap microfiber is a reliable all-around choice. For ultra-smooth walls and a smoother finish, 1/4 inch can look even tighter. If your wall has noticeable texture, 1/2 inch often looks more even because it reaches into the texture without skipping.
Why do my walls look streaky only at night or in sunlight?
That is usually lap marks or uneven sheen showing up under raking light. The cure is keeping a wet edge, avoiding touch-ups while drying, using a consistent rolling pattern, and applying a consistent film thickness across the whole wall.
Can I fix roller marks without repainting?
If the marks are raised ridges, you can lightly sand them smooth, remove dust, and then repaint. If the issue is lap marks or sheen variation, a full recoat of the wall is usually the real fix. Spot touch-ups rarely disappear under angled light.