If you have ever stepped back after “just one more quick roll” and spotted a drip, a shiny patch, or a weird stripe that only appears when the light hits it, welcome to the club. The good news: most DIY painting mistakes are surface-level problems, which means you can usually fix them with a little patience, the right grit sandpaper, and a targeted recoat. You usually do not need to repaint the entire room.
Below is my go-to troubleshooting guide for interior walls, focused on the three issues I see most: drips, flashing, and uneven coverage. I will also cover lap marks, roller texture, and patch repair, since they love to show up at the same time.
Before you fix anything
Two quick checks save a lot of rework.
What sheen are you using?
Flat and matte are forgiving. Eggshell and satin are less forgiving. Semi-gloss is basically a spotlight for flaws. If you are seeing problems mostly at an angle, sheen is part of the story.
Where is the light coming from?
Raking light (sunlight or a lamp hitting the wall from the side) exaggerates drips, lap marks, and roller texture. When you test your fix, check the wall in the same lighting that made the issue obvious in the first place.
Quick repair toolkit
You can fix most wall issues with a small kit. Here is what I pull out before I touch the wall:
- Sandpaper: 120 grit and 220 grit (a sanding sponge is perfect for walls)
- Optional middle grit: 150 or 180 grit (nice for small drips or softer drywall so you do not get too aggressive too fast)
- Putty knife (flexible 2 to 4 inch)
- Spackle or lightweight joint compound (for gouges and raised edges)
- Primer: stain-blocking or drywall primer, depending on the problem
- Mini roller: 4 inch microfiber or woven (match your wall roller nap as closely as possible)
- Quality brush (angled sash for cutting in)
- Same paint, same sheen (ideally from the same can, stirred well)
- Clean microfiber cloth and a little dish soap for de-gunking before sanding
- Dust control: a vacuum with brush attachment and a well-fitting dust mask
My rule of thumb: if you sand enough to noticeably dull the sheen, expose porous patch material, or cut through to drywall, plan to clean the dust and spot-prime. If you are only doing a very light scuff on intact paint, you can sometimes skip primer, but flashing is the risk.
Older home note: If your house was built before 1978 and you are sanding unknown paint, take lead-safe precautions. When in doubt, test first or avoid creating dust.
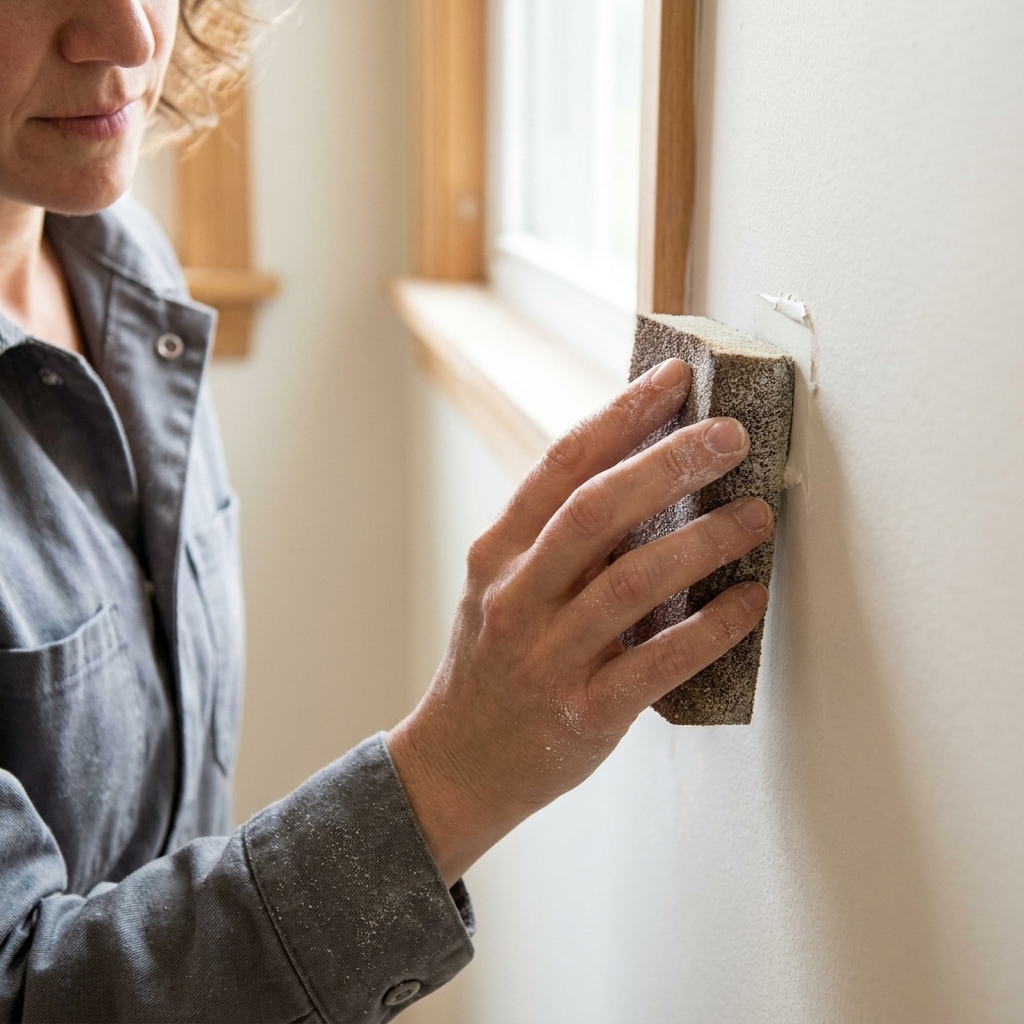
Fix paint drips and runs
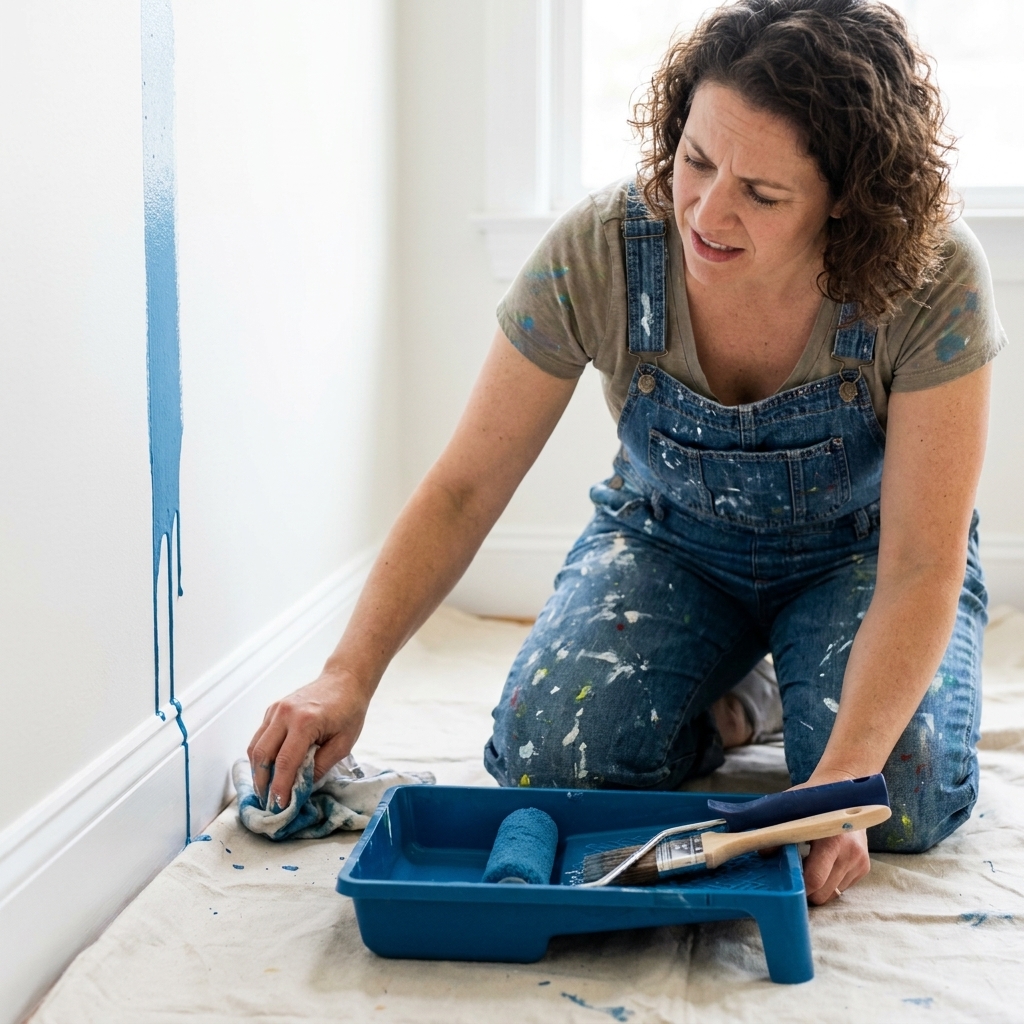
Drips happen when paint is too heavy in one area: overloading the roller, pressing too hard, or back-rolling after the paint has started to tack up. The fix depends on whether the drip is still wet.
If the drip is still wet
- Do not wipe with a rag. That usually smears paint into the surrounding texture.
- Feather it with your brush. Lightly brush upward and outward, then roll over the area with a nearly dry roller to blend.
- Leave it alone. Once it starts drying, stop touching it. Overworking creates ridges.
If the drip is dry (most common)
This is the cleanest method for a repair that disappears.
- Shave the high spot. Use a sharp putty knife and gently scrape the drip ridge. Keep the blade almost flat to the wall so you do not gouge.
- Sand smooth. Start with 120 grit if the drip is chunky, or start with 150 to 180 if it is small or the wall is soft. Finish with 220 grit to soften the edges into the surrounding paint.
- Clean the dust. Vacuum with a brush attachment or wipe with a barely damp microfiber cloth. Let dry.
- Spot-prime if needed. A thin coat of primer over the sanded spot helps prevent flashing, especially with eggshell or satin. It is most important if you exposed porous patches, bare drywall, or noticeably dulled the sheen.
- Repaint and feather. Use a mini roller and roll slightly beyond the repair, then lighten pressure at the edges so it blends.
Tip: If the wall has orange peel texture and you sanded it smoother than the surrounding area, use a slightly thicker nap mini roller (or stipple lightly with a brush) to mimic the texture before you recoat.
Fix flashing
Flashing is that annoying moment when the wall looks perfect straight on, then you move two steps and suddenly there is a shiny rectangle where you patched, or a dull spot where you touched up. Flashing is almost always caused by uneven porosity or inconsistent film build.
Common causes
- Touch-ups without primer over spackle, joint compound, or heavily sanded paint
- Rolling some areas more than others (thicker paint film looks different in light)
- Painting over patch repairs too soon (spackle not fully dry)
- Using the wrong roller nap or switching rollers mid-wall
- Different batches of paint or paint that was not stirred well (sheen shifts can happen)
The reliable fix: seal, then recoat
This is the part people do not want to hear, but it is usually the truth: spot painting often does not fix flashing on anything above matte. The repair can end up with different texture and film thickness, and your eye catches it in angled light.
- Sand the edges of the flashed area. Use 220 grit to soften the transition so it is not a hard rectangle.
- Prime patched or sanded spots. Use a drywall primer, or a stain-blocking primer if there were water marks or stains underneath.
- Repaint the wall. Cut in first, then roll the wall in one consistent session, keeping a wet edge.
If you cannot repaint the whole wall: expand the repair zone to a natural break (corner, inside corner, door trim line). A tiny “postcard” fix in the middle of a satin wall is usually a losing game, but a larger feathered section to a clean stopping point can work.
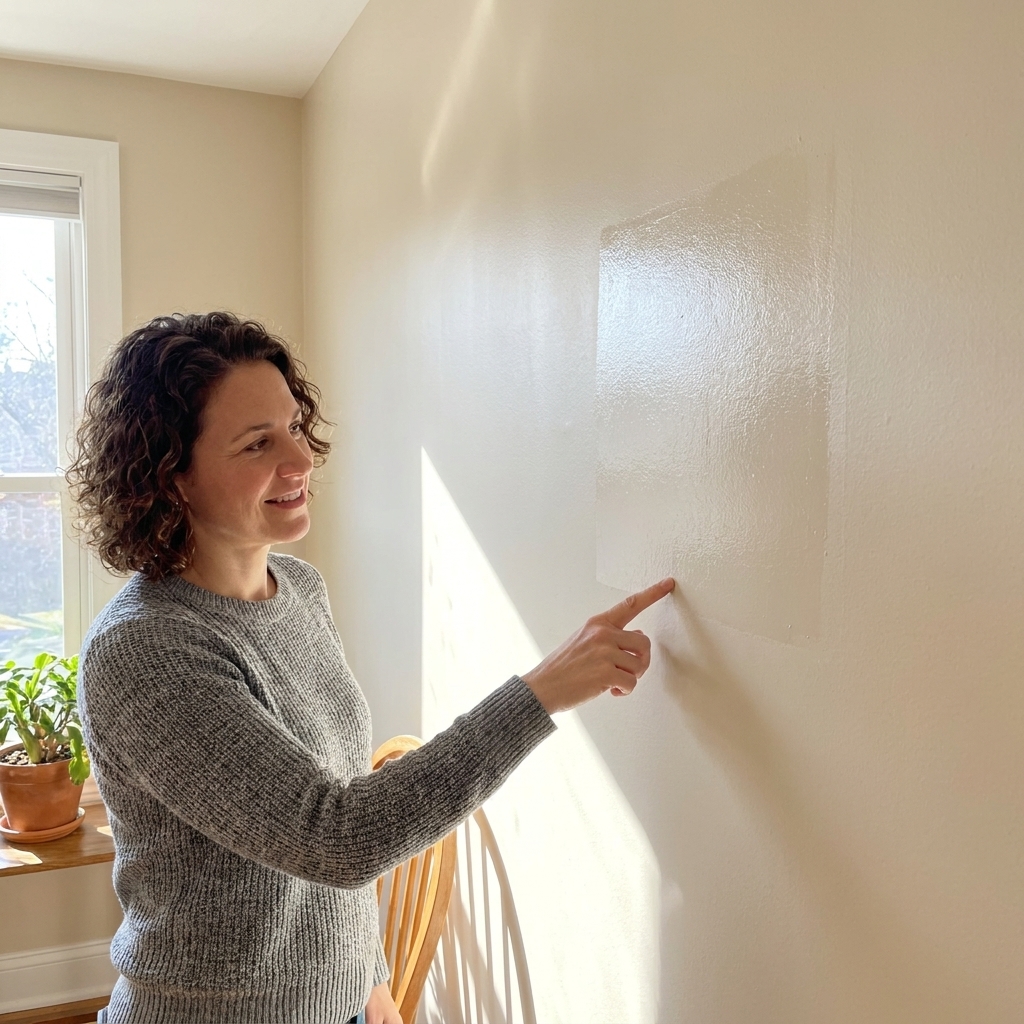
Fix uneven coverage
Uneven coverage can look like thin areas, roller “holidays” (missed spots), or a wall that seems blotchy because the undertone is reading differently in different areas. Most of the time, the issue is simply not enough paint on the wall or inconsistent rolling technique.
Why coverage looks uneven
- Not using a primer when changing from dark to light (or glossy to flat)
- Stretching paint too far (dry rolling)
- Not maintaining a wet edge so sections dry at different rates
- Painting in hot, dry conditions that speed up drying
- High-contrast previous color bleeding through thin spots
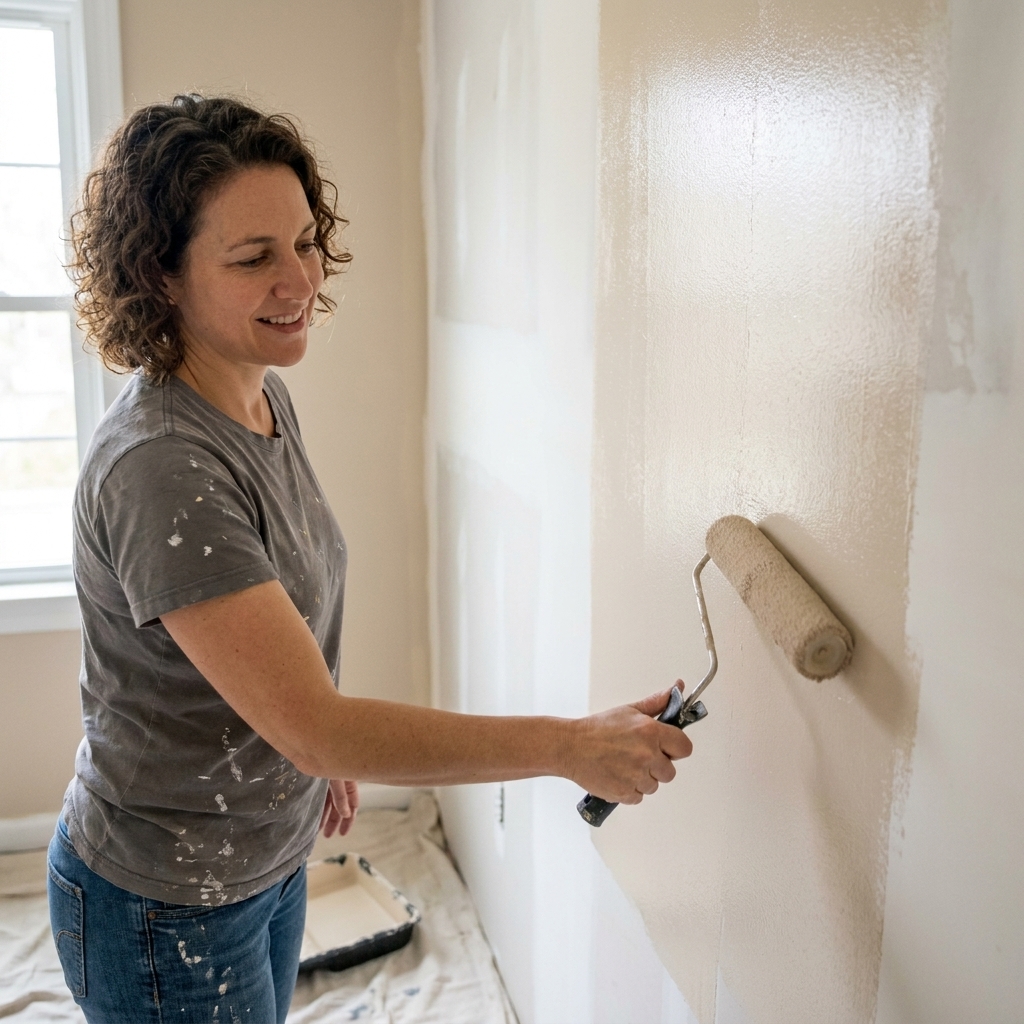
The fix: add an even coat
- Address the base issue first. If the wall is glossy, dirty, or patched, prep it. Clean, lightly scuff-sand if needed, and prime problem areas.
- Mix your paint thoroughly. Stir from the bottom until it looks uniform. Sheen can settle.
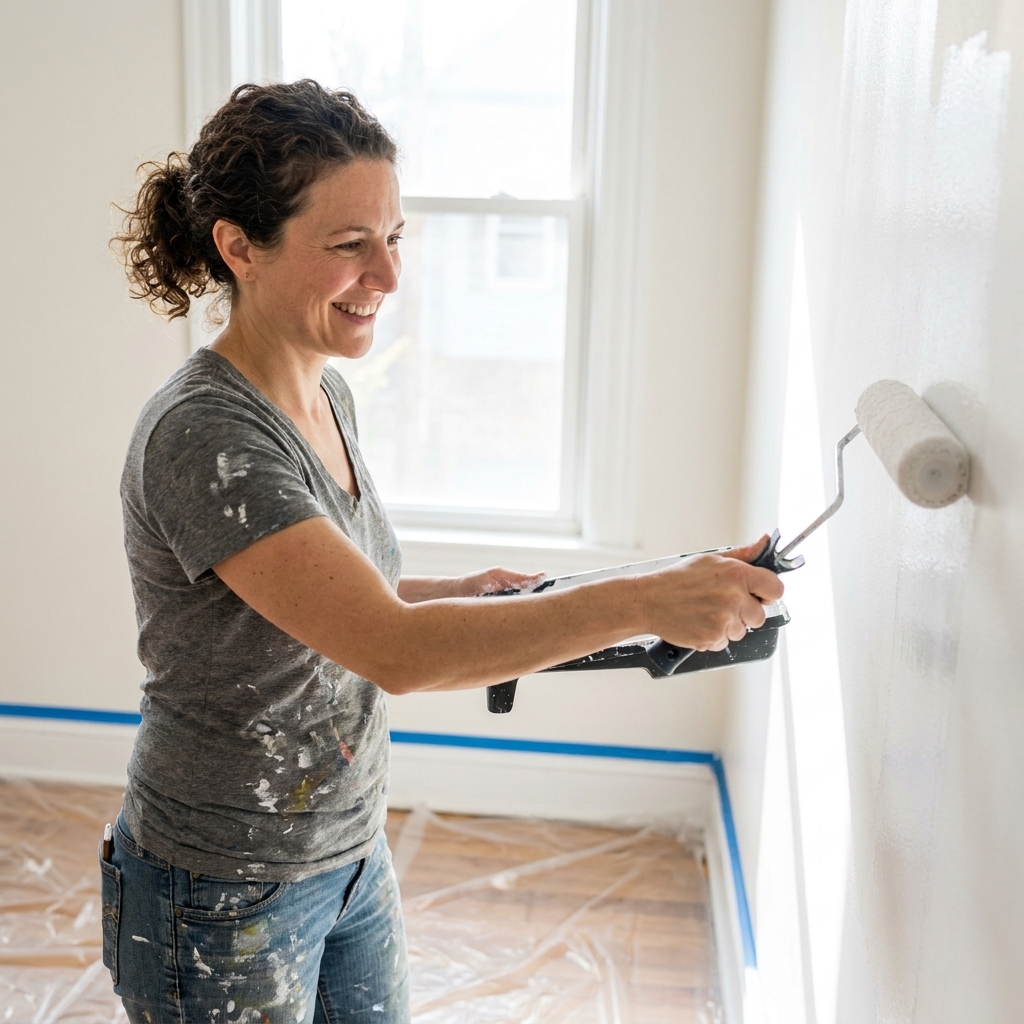
- Load the roller properly. Roll it in the tray until evenly saturated, not dripping. You want a “plush” roller, not a dry one.
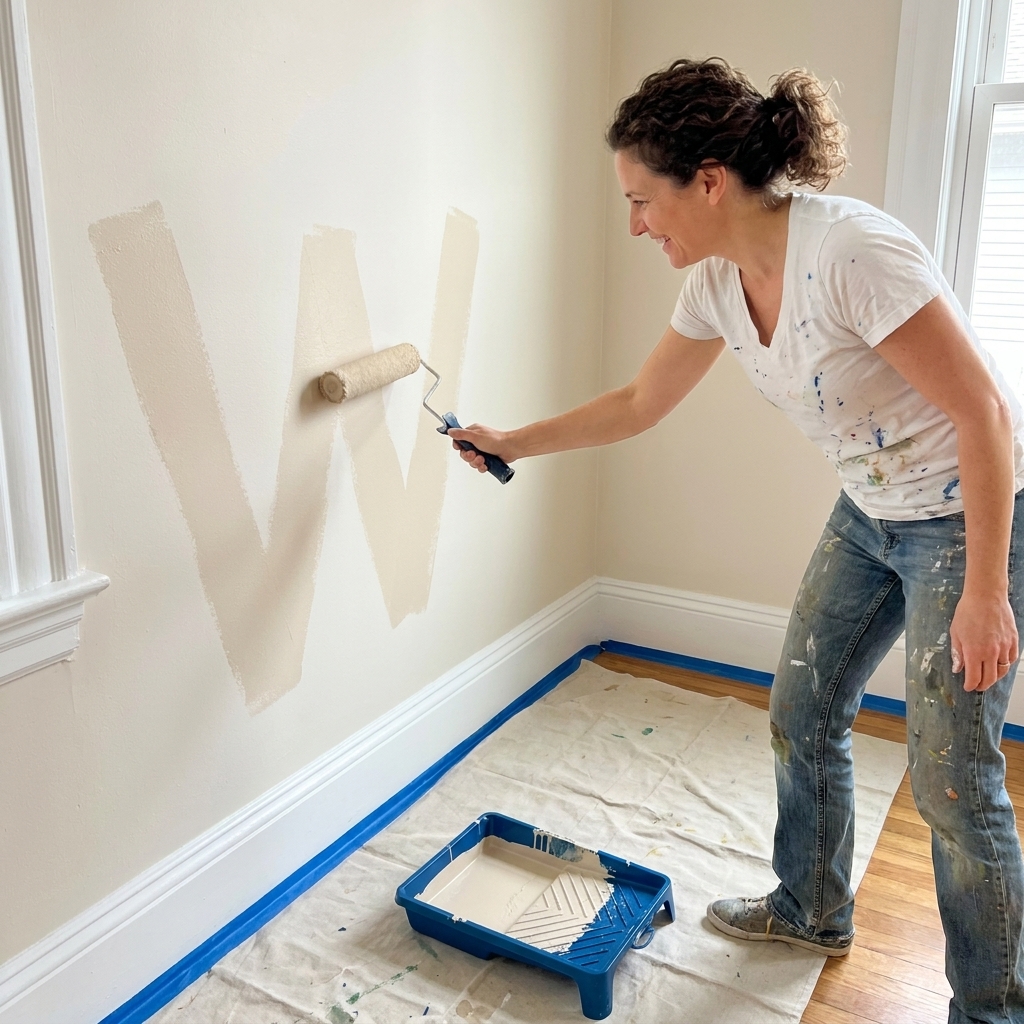
- Work in 3x3 or 4x4 foot sections. Roll a W or M pattern, then fill in without lifting the roller much.
- Back-roll lightly to finish. With less pressure, make final passes in one direction (usually top to bottom) to even the texture.
When you need primer for coverage: If you can still see the old color after two coats, or the wall looks patchy no matter how carefully you roll, a dedicated primer coat can be faster than fighting a third and fourth coat of finish paint.
Paint type note: Most walls are painted with water-based (latex) paints. If you are working with alkyd or oil-based enamels (common on trim and some older walls), drying and sanding behavior can be different. Follow the label for recoat windows and sanding guidance, and use the right primer for the product.
Fix lap marks
Lap marks look like darker stripes or bands where one section overlaps a section that has already started drying. They show up most in eggshell and satin, and they love long walls with lots of stopping and starting.
If the marks are already dry
- Lightly sand the stripes. Use 220 grit to knock down ridges and soften transitions.
- Recoat the wall. Lap marks are very hard to spot-fix invisibly because the overlap lines are the problem.
- Use a paint extender if needed. In very dry climates or with strong airflow, a conditioner (check your paint brand recommendations) can slow drying so you keep a wet edge longer.
How to prevent lap marks
- Keep a wet edge: do not let one side dry before you roll into it
- Start at a corner and work across: avoid random patchwork sections
- Do not overwork drying paint: once it tacks up, leave it
- Cut in in manageable chunks: cut in a section you can roll while it is still wet
Fix roller texture problems
Sometimes the “mistake” is not coverage, it is texture. One area looks smoother, another looks pebbly, or you have little roller fuzz stuck in the paint.
Common causes
- Wrong nap length for your wall texture
- Cheap roller cover shedding fibers
- Rolling too fast (can introduce bubbles and splatter)
- Uneven pressure (hard pressing leaves heavy stipple)
Fixing it
- Let it cure enough to sand. Usually overnight for latex, longer in humid conditions or with thicker paint. Check the can for recoat and dry time guidance.
- Sand lightly with 220 grit. You are leveling texture, not removing the color.
- Remove dust and spot-prime if you burn through.
- Recoat with a better roller. Use a quality microfiber or woven cover and keep pressure consistent.
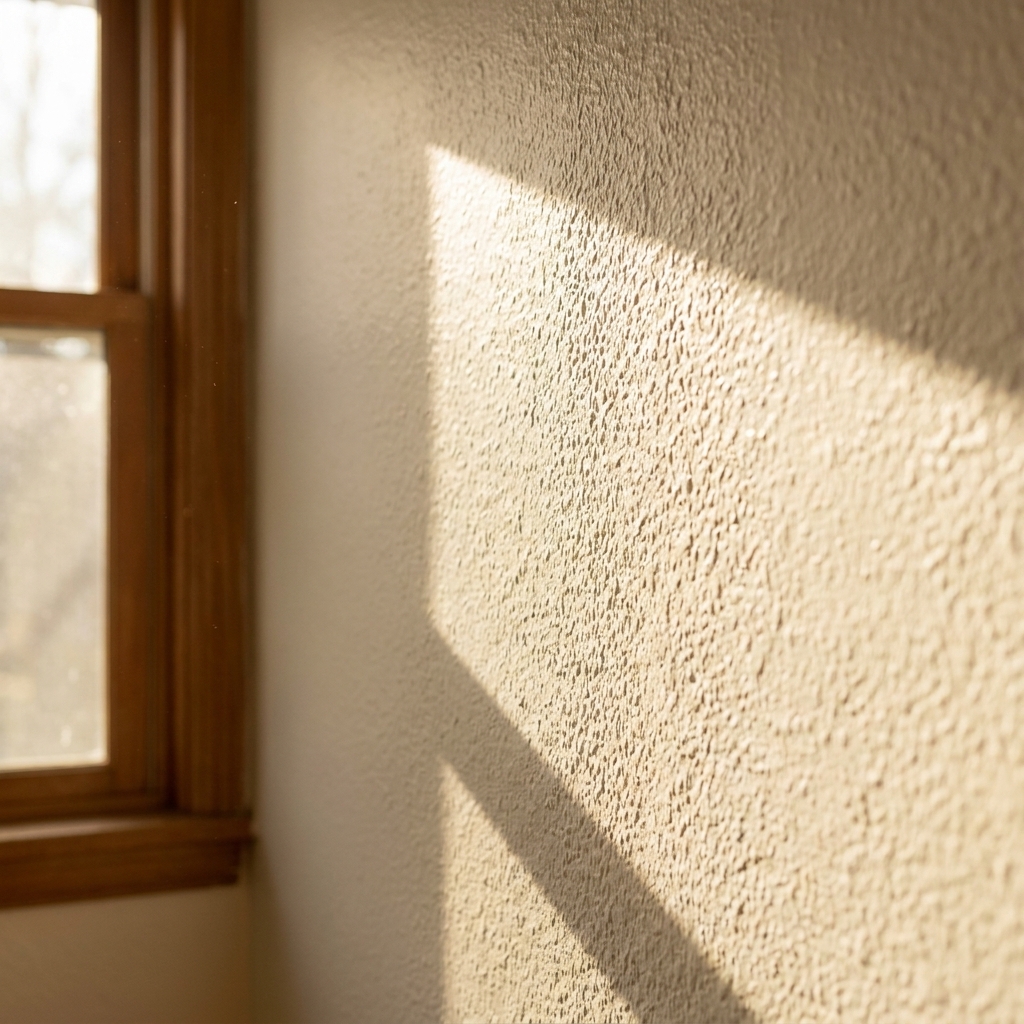
Stop stains from coming back
If you are seeing yellowish or brown shadows reappear after painting, that is not uneven coverage. That is stain bleed from water damage, nicotine, wood tannins, or marker.
Fix it permanently
- Stop painting more finish coats. You will waste paint.
- Prime with a stain-blocking primer. Shellac-based or oil-based primers are often the most reliable for tough stains. Use ventilation and follow label instructions.
- Repaint. Once the primer is fully dry, finish coat as normal.
When touch-ups work
I love a quick touch-up as much as anyone, but walls can be surprisingly picky.
Touch-ups usually work when
- The paint is flat or matte
- You are using the same can of paint (or a well-mixed saved portion)
- The wall has a bit of texture (texture hides edges)
- The spot is small and not in a high-glare area
Touch-ups usually fail when
- The paint is eggshell or higher
- The original paint has aged (sheen and color shift over time)
- The spot is in strong side light
- You are painting over unprimed patch compound
Better strategy: If you cannot do the whole room, do the whole wall. Corners and trim lines are your best friends for hiding transitions.
When to call a pro
- Peeling, bubbling, or soft drywall: you may have an active moisture problem that needs diagnosing, not just repainting
- Large water stains: the source should be fixed first, then sealed properly
- Older surfaces you suspect may contain lead paint: get guidance before sanding
Mini checklist
- Let the mistake dry fully before sanding or scraping
- Level first: scrape and sand until you cannot feel the edge with your fingertips
- Clean dust so paint actually bonds
- Prime porous spots (patches, bare drywall, heavy sanding)
- Match texture with the same nap roller and similar pressure
- Feather out paint and avoid hard rectangles
- Check in angled light before declaring victory
FAQ
How long should I wait before fixing a drip?
Wait until it is fully dry to the touch and firm enough to sand without gumming up. For many latex wall paints that is often overnight, but dry time varies by product, temperature, humidity, and how thick the drip is.
Why does my wall look blotchy even after two coats?
Common culprits are skipped primer, dry rolling, and patched areas soaking up paint differently. Spot-prime porous areas, then apply one more even coat wall-to-wall.
Can I fix flashing with another coat just over the shiny patch?
Sometimes with flat paint, yes. With eggshell and satin, it often creates another visible patch. Your best odds are to prime first, then repaint the full wall. If you cannot, expand the blend to a natural break.
Do I need to sand between coats to fix uneven coverage?
Not always. Sanding helps when there are raised ridges, roller fuzz, drips, or rough debris in the paint. If the wall is smooth but thin, another properly applied coat is often enough.
Final pep talk
The difference between a wall that looks DIY and a wall that looks professionally finished is rarely talent. It is almost always prep and patience. Let it dry, level it with sanding, seal what needs sealing, then repaint with consistent technique. Your future self, standing in that same raking light, will be very grateful.