If you have ever stood in the middle of a half-prepped room holding a roller and wondered, “Do I start with the walls or the trim?” you are not alone. The fastest way to paint a room without endless touch-ups is to follow gravity, keep your messes intentional, and save your fussiest cut lines for last.
For most rooms, the best order is simple: ceiling first, trim second, walls last. Below I will walk you through exactly why that sequence works, what to do before you open a can, and the few situations where you should break the rule.
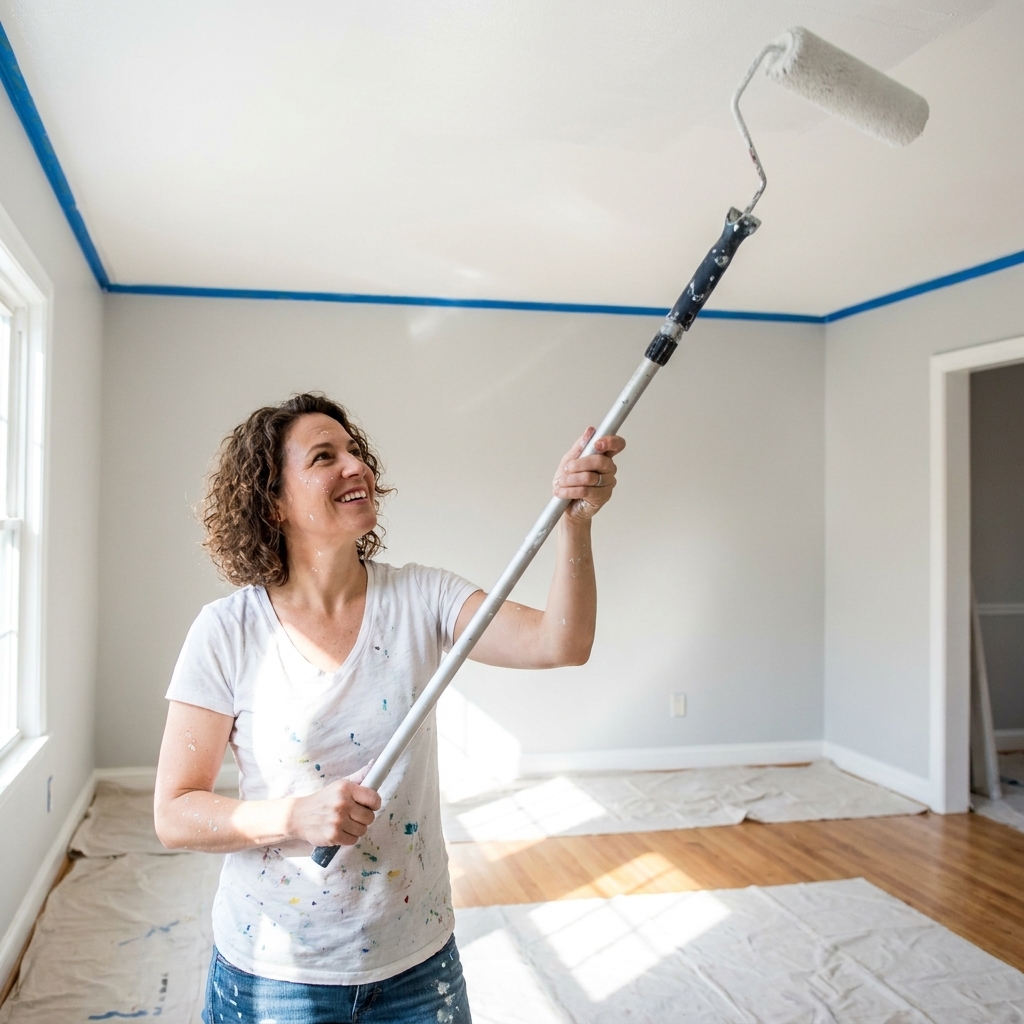
The best order (most rooms)
1) Ceiling
2) Trim (baseboards, door and window casing, crown)
3) Walls
This order keeps you moving from the highest, messiest area down to the most visible finish surfaces. It also lets you be a little less precious early on. A tiny bit of ceiling paint that bumps onto the trim is not a disaster if you are painting the trim next.
Why not paint walls first?
Because ceilings and trim are where drips happen. If you paint your walls to perfection and then start overhead, you are basically asking for little splatters and roller freckles on your fresh color. Even if you are careful, a roller often flings a few droplets when you reload.
Why trim before walls?
Trim involves brushing, and brushing creates more accidental overlap than rolling walls does. If you paint trim first, you can let it overlap the wall area slightly. Then when you roll walls later, you cover that overlap cleanly and quickly.
Room prep that makes the paint order work
The order only saves time if your prep is doing its job. These are the steps that prevent the classic “why does my paint look bumpy” regret.
Clear, protect, and set up your lighting
- Remove as much furniture as possible. What stays gets pulled to the center and fully covered.
- Use canvas drop cloths on floors. Plastic is slippery and tends to slide exactly when you do not want it to.
- Bring in bright, angled light (a work light or even a strong lamp). It helps you spot lap marks and missed spots while you can still fix them.
Ventilate and handle dust safely
Open windows when you can, run a fan, and wear eye protection when sanding. If your home was built before 1978, assume old paint could contain lead. Follow lead-safe practices (containment, wet sanding where appropriate, and a HEPA vacuum) or bring in a certified pro for the dusty parts.
Clean and degloss where hands touch
Trim, doors, and around light switches collect oils. Wash with a gentle degreaser or a TSP substitute, then rinse if the product requires it. Let everything dry fully before sanding or priming.
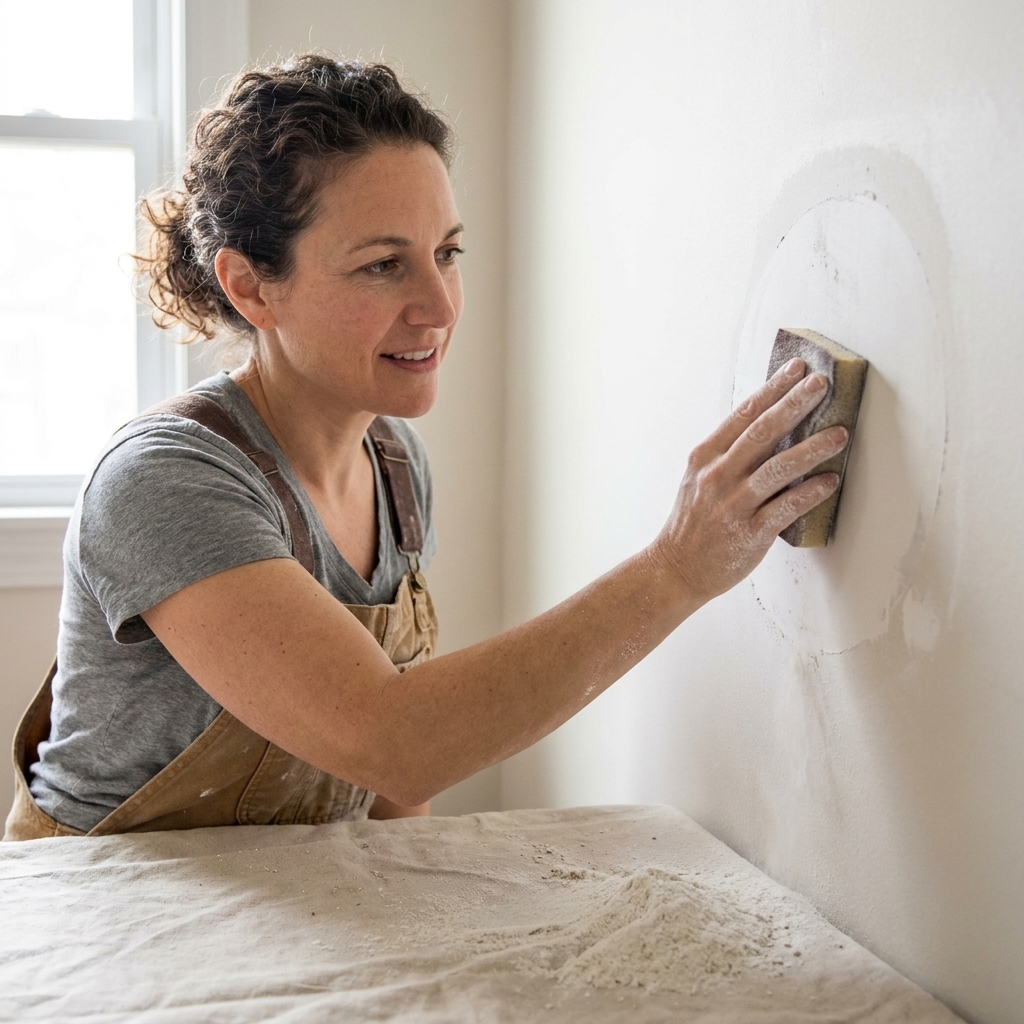
Patch, sand, and vacuum the dust
- Patch holes and cracks (spackle for small dents, joint compound for bigger repairs).
- Sand patches smooth and feather edges so you cannot feel a ridge with your fingertips.
- Vacuum dust off walls and baseboards, then wipe with a slightly damp microfiber cloth.
Dust is the silent paint killer. It turns into gritty texture and ruins crisp trim lines.
Spot-prime repairs to prevent flashing
If you patched drywall, spot-prime those areas before wall paint. It helps prevent “flashing,” where repaired spots look duller or shinier than the surrounding wall after the finish coat.
Step-by-step: ceiling first
1) Cut in the ceiling perimeter
Brush a 2- to 3-inch band around the ceiling edge, working one wall at a time. Keep your brush lightly loaded so paint does not run down the wall.
2) Roll the ceiling
- Use a 3/8- to 1/2-inch nap roller depending on texture and the finish you want. Smoother ceilings can look sharper with 3/8-inch, while a lot of ceilings cover faster and more evenly with 1/2-inch.
- Roll in sections, keeping a wet edge.
- Two coats are normal, especially if you are switching from off-white to true white.
Ceiling paint tips that save cleanup
- Use a ceiling-specific flat paint when possible. Flat hides glare and little imperfections.
- Do not worry about getting ceiling paint onto the top of the walls by an inch or two. You will cover it when you paint walls later.
- Watch the corners. That is where slow drips form while you are focusing on rolling.
Then trim: baseboards, casings, crown
Trim takes patience, but this is where the room starts to look sharp. Painting trim second gives you freedom to be slightly messy onto the wall area, because the wall color is still coming.
1) Decide: remove or leave hardware
- Remove vent covers, door knobs where possible, and curtain brackets. Bag the screws.
- If you are leaving hinges, mask them carefully or use a small artist brush to cut around them.
2) Sand glossy trim (yes, really)
If your trim has any sheen, scuff it with 150- to 220-grit sandpaper so your new paint can grip. You are not trying to sand it off, just dull the shine.
3) Prime if needed
Prime trim if:
- You have bare wood or visible tannins.
- You are painting over oil-based paint with a water-based trim paint.
- There are stains, knots, or heavy yellowing.
If you suspect old oil paint and want to be safe, a bonding primer is your best friend.
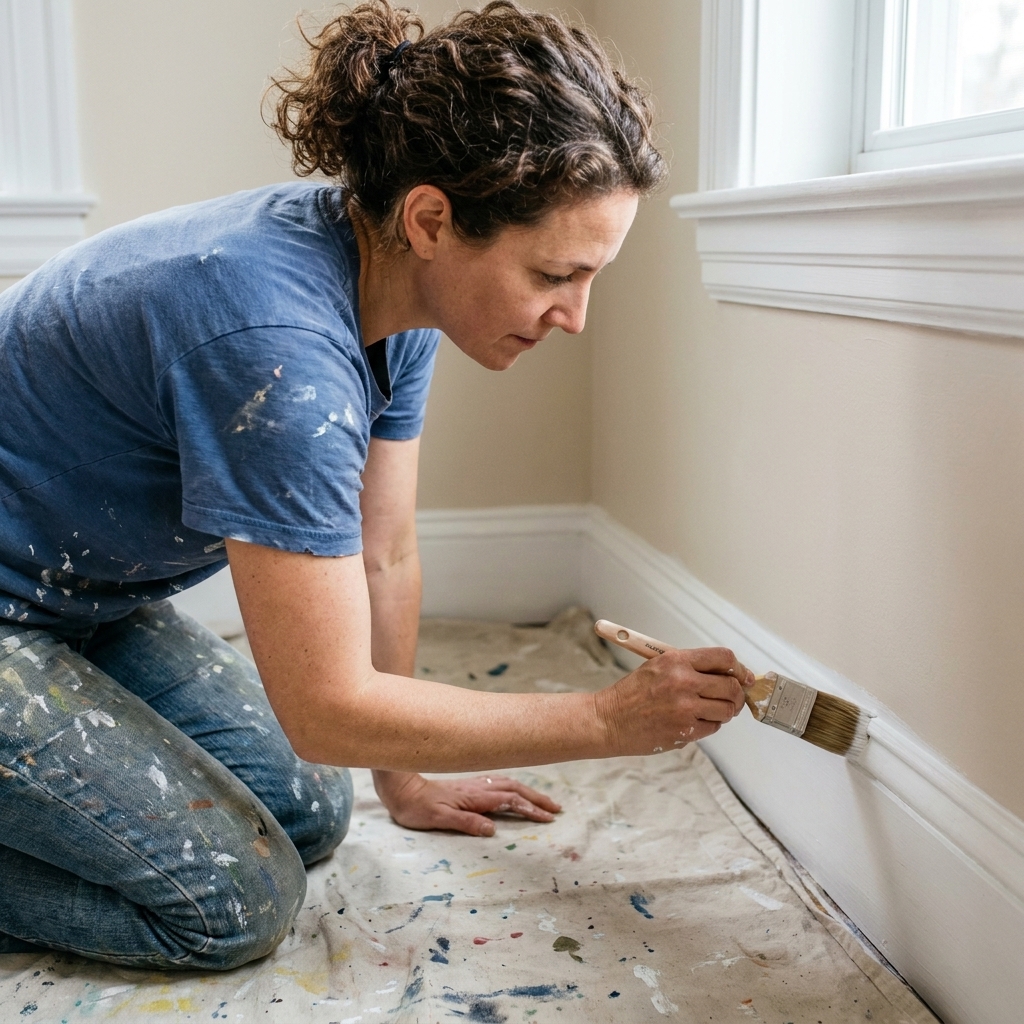
4) Paint trim
- Use a high-quality angled sash brush.
- For most trim, choose satin or semi-gloss for wipeability and durability.
- Paint in long strokes, then lightly “tip off” to smooth brush marks.
Do not tape the trim-to-wall line yet. At this stage, it is fine if trim paint overlaps onto the wall. That overlap becomes your buffer for crisp wall cutting later.
Walls last: the clean finish pass
Walls are where your color lives, and finishing with walls is what makes everything look intentional. By now, any ceiling or trim splatter anxiety is gone.
1) Decide where tape actually helps
I am not anti-tape, but I am picky about where it earns its keep.
- Tape helps at: trim you cannot cut confidently (extra ornate profiles), very high-contrast color changes, and when you need a dead-straight line fast.
- Tape is optional at: standard baseboards and casings if you have a steady brush and decent lighting.
If you do tape: press it down firmly with a putty knife. When you remove it, pull it back on itself at about a 45-degree angle. If the paint has bridged over the tape edge, score the line lightly with a sharp utility knife so you get a clean release instead of a tear.
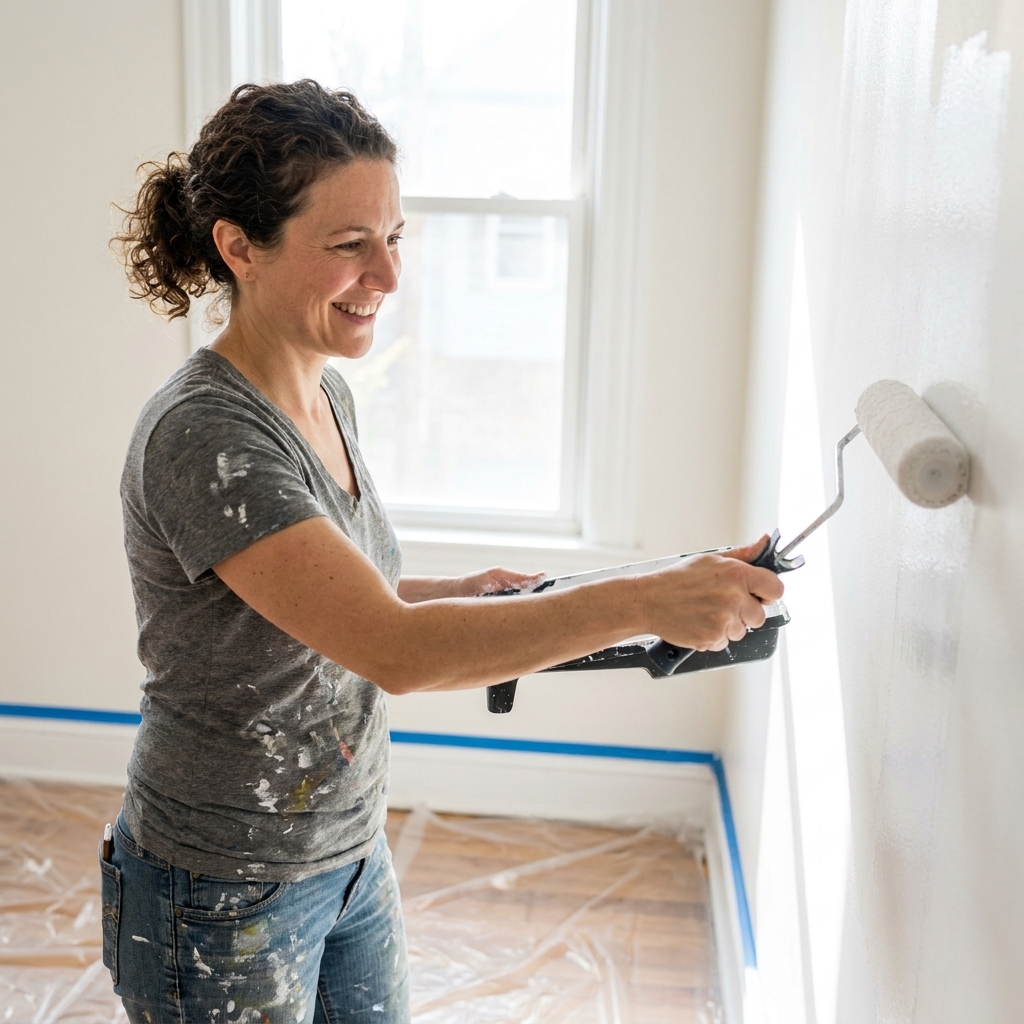
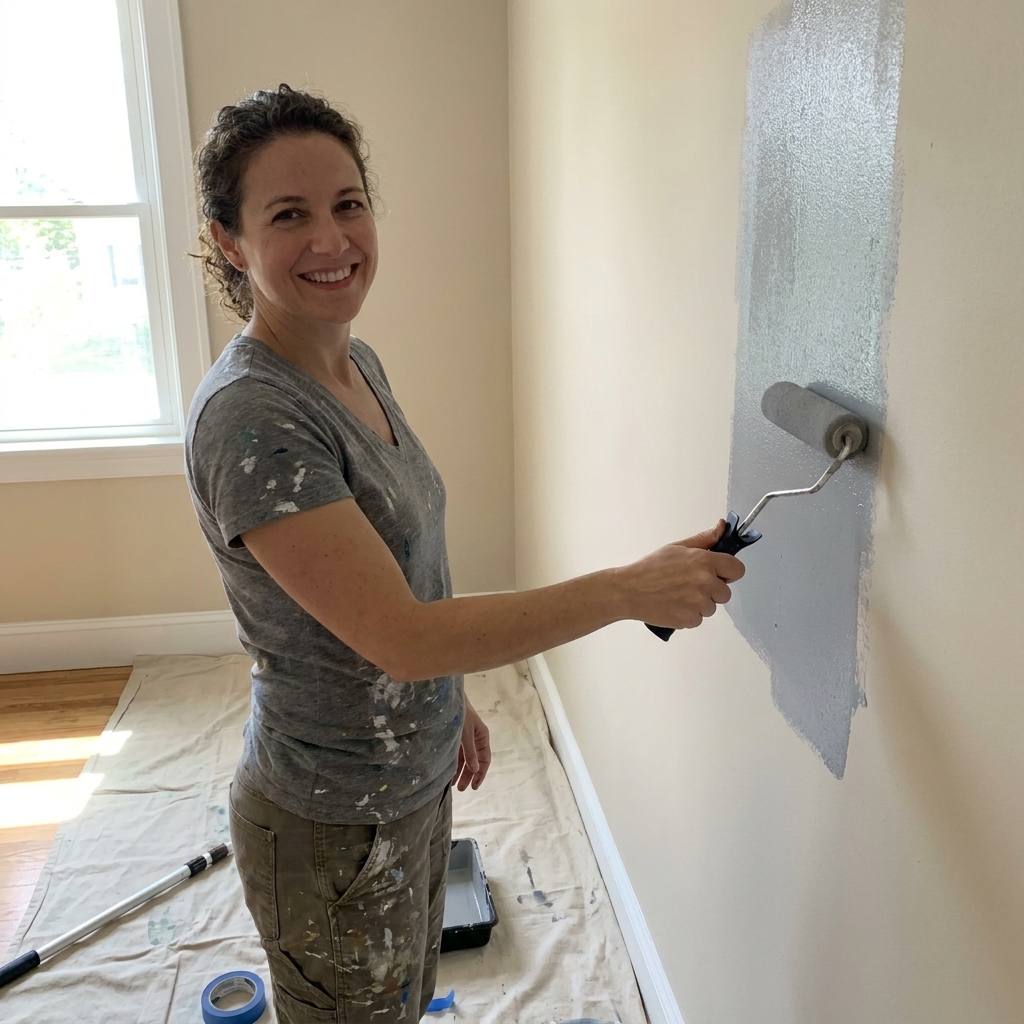
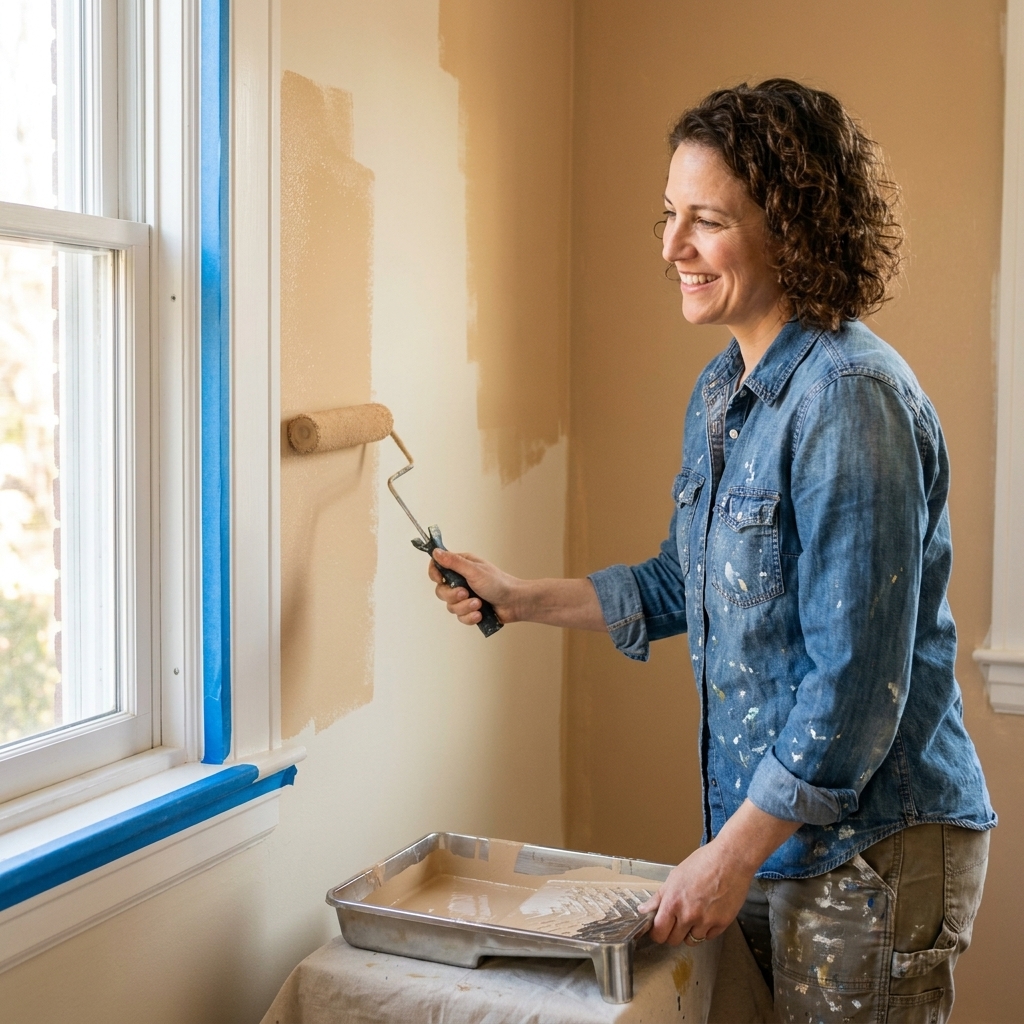
2) Cut in walls, then roll
- Cut in along the ceiling line and trim with a brush.
- Roll while the cut-in is still workable so the edges blend.
- Work in 3-by-3-foot sections, keeping a wet edge to prevent lap marks.
3) Pick the right wall sheen
For most rooms, eggshell or satin is the sweet spot: it is washable without highlighting every wall flaw the way glossier finishes can.
4) Two coats is the norm
Most quality interior paints are designed for two coats for even color and sheen. If you are going from light to dark, or covering a strong existing color, primer plus two coats can be faster than trying to force coverage with extra wall coats.
The “no-touch-up” order of operations checklist
If you want a simple weekend plan, this is the sequence I follow in real rooms.
- Remove plates, vents, window treatments, and as much furniture as possible
- Protect floors and remaining furniture
- Clean walls and trim, especially near doors and switches
- Patch and sand walls and trim, then vacuum dust
- Caulk trim gaps (baseboards, casing) and let cure
- Spot-prime repairs, stains, bare spots, or glossy surfaces (as needed)
- Paint ceiling (cut in, then roll), let dry
- Paint trim (sand if needed, then paint), let dry
- Paint walls (cut in, then roll), let dry
- Second coat walls (and trim if needed)
- Reinstall hardware and plates once paint is dry to the touch and firm enough not to feel tacky (and follow the product label for doors, shelves, or anything that might stick)
Common exceptions (when the order changes)
If you are staining or clear-coating trim
Do the staining and topcoat before wall paint. Stain splashes are harder to cover than paint splashes, and clear coats show dust nibs and overspray easily, so you want the room as controlled and clean as possible.
If you are spraying trim
If you plan to spray trim (especially in an empty room), many painters prefer: ceiling, walls, then spray trim last. Spraying trim last can produce the cleanest finish, but only if you mask walls carefully. If you are brushing trim, stick with trim before walls.
If you are painting cabinets in the same room
Cabinets are their own project. In a kitchen, I like:
- Ceiling first
- Walls next (keeps cabinet work cleaner later)
- Then cabinets and trim (because cabinet prep and cure time are longer)
If you are spraying cabinets, plan your masking so you are not re-masking the entire room multiple times.
If the ceiling is staying unpainted
You can skip the ceiling step, but still follow: trim first, walls last. Just be extra careful cutting the wall color to the ceiling line. A steady hand and good light matter more than tape here.
If you are doing a dramatic wall color next to white trim
High contrast shows every wobble. In that case, I will often:
- Paint trim first
- Let it cure at least 24 hours (longer is even better if your schedule allows)
- Tape the trim edge carefully
- Paint walls
This reduces the chance of dark wall paint creeping onto the trim and leaving a shadow line.
Dry time, cure time, and when to tape
One of the biggest causes of “why did my tape peel paint off?” is taping too soon or taping over paint that has not cured.
- Dry time is when paint is dry to the touch. Often 1 to 2 hours, but humidity can stretch it.
- Recoat time is when you can apply the next coat. Commonly 2 to 4 hours.
- Cure time is when paint reaches full hardness. Often 7 to 30 days depending on product.
Those windows vary by paint line, sheen, and conditions, so check the can or the product tech sheet if timing really matters. If you need to tape over freshly painted trim, waiting overnight is a practical minimum. The closer you can get to full cure, the lower your risk of peel. Use a delicate-surface painter’s tape, and de-tack it on your shirt first.
Tools that make the sequence easier
- Angled sash brush (2- to 2.5-inch): cleaner cut-ins and fewer bristles left behind.
- Quality roller covers: fewer lint bits in your finish.
- Extension pole: faster ceilings, straighter rolling, less shoulder pain.
- Canvas drop cloths: safer footing and better spill absorption.
- Sanding sponge: quick scuffing on trim profiles.
- Caulk and caulk tool: makes trim look custom, even in older homes.
Quick FAQ
Should I paint crown molding before the ceiling?
Paint the ceiling first, then crown (as part of trim). If crown is the same color as the ceiling, you can treat them as one zone, but ceiling-first still prevents crown drips from landing on finished ceiling paint.
Do I paint doors before walls?
If you are painting the door slab, do it with trim. Doors are basically oversized trim. Paint them before walls so any brush bumps onto the wall get covered later.
What about primer? Where does it go in the order?
Prime after prep and before finish paint, on the surfaces that need it. If you are priming everything, follow the same top-down order: ceiling primer, trim primer, wall primer.
Is it ever walls first, trim last?
Yes, when you are spraying trim and want the crispest sprayed finish, or when you are doing specialty trim paint that you do not want to tape over later. For the average roller-and-brush room, ceiling, trim, walls is still the least stressful route.
The bottom line
If you want the smoothest workflow with the fewest “oops” moments, paint ceiling first, then trim, then walls. It is not just tradition. It is a strategy that uses gravity, overlap, and coverage to your advantage.
Take your time on prep, keep your light bright, and remember: the goal is not perfection on the first pass. The goal is a sequence that makes perfection easier on the final pass.