Wallpaper can be charming until it is not. And when you are ready to paint, that old paper and paste have one job: get in the way. The good news is you do not need superhuman upper-body strength or a miracle solvent. You need the right sequence, patience with moisture, and a plan for what the wall should look like when the paper is gone.
This is my start-to-finish process for stripping wallpaper, removing glue residue, and skim-coating so your new paint looks like it was always meant to be there.
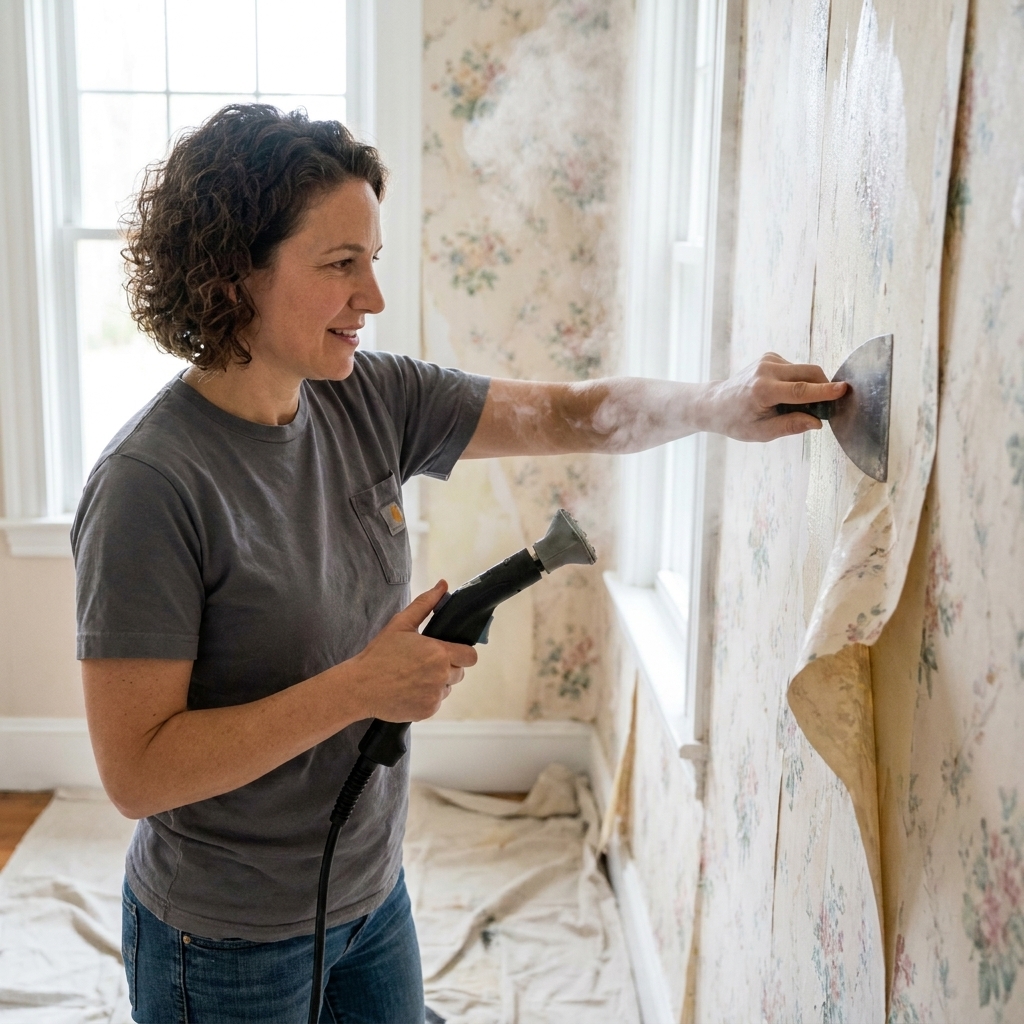
Before you start: Know what is on your wall
Wallpaper removal goes smoothly when you identify what you are dealing with. Two minutes of detective work can save you hours of scraping.
Figure out the wallpaper type
- Peelable or strippable wallpaper: If you can lift a corner and the sheet comes off mostly dry, you may be able to remove it in large panels. Sometimes a thin backing stays behind.
- Vinyl-coated wallpaper: Often has a washable plastic-like surface. The top layer can peel off, leaving a paper backing that still needs soaking.
- Painted wallpaper: Water has trouble soaking through paint. You will need to score it or remove in layers.
- Commercial-grade adhesive or very old paste: Expect more glue residue and plan extra wash time.
Check what is behind it
If your home is newer, it is likely drywall. Older homes may have plaster. Drywall paper face is easier to damage, so be extra gentle with scraping and avoid over-soaking seams for long periods.
Quick safety checks for older homes
If your home was built before 1978, assume lead paint could be somewhere in the mix, especially on trim, window frames, or older painted wall layers. Scraping and sanding can create hazardous dust. Consider using an EPA-recognized lead test kit and follow lead-safe work practices (containment, wet methods, HEPA cleanup). If you suspect lead and are not set up to work safely, this is a good time to call a pro.
Also, wallpaper can hide moisture problems. If you peel a section and find active water damage, soft crumbling wall, or widespread visible mold, pause. Small spots (a few square feet) can often be cleaned and dried if the source of moisture is fixed. Larger areas or recurring mold is a problem worth professional remediation.
Test a small area first
Pick a hidden corner and run a small removal test. Your goal is to learn which method works with the least wall damage. If the paper resists, do not escalate to aggressive scraping. Escalate moisture and time first.
Tools and supplies that actually help
You can remove wallpaper with minimal gear, but the right tools prevent gouges and shorten the messy part.
Removal tools
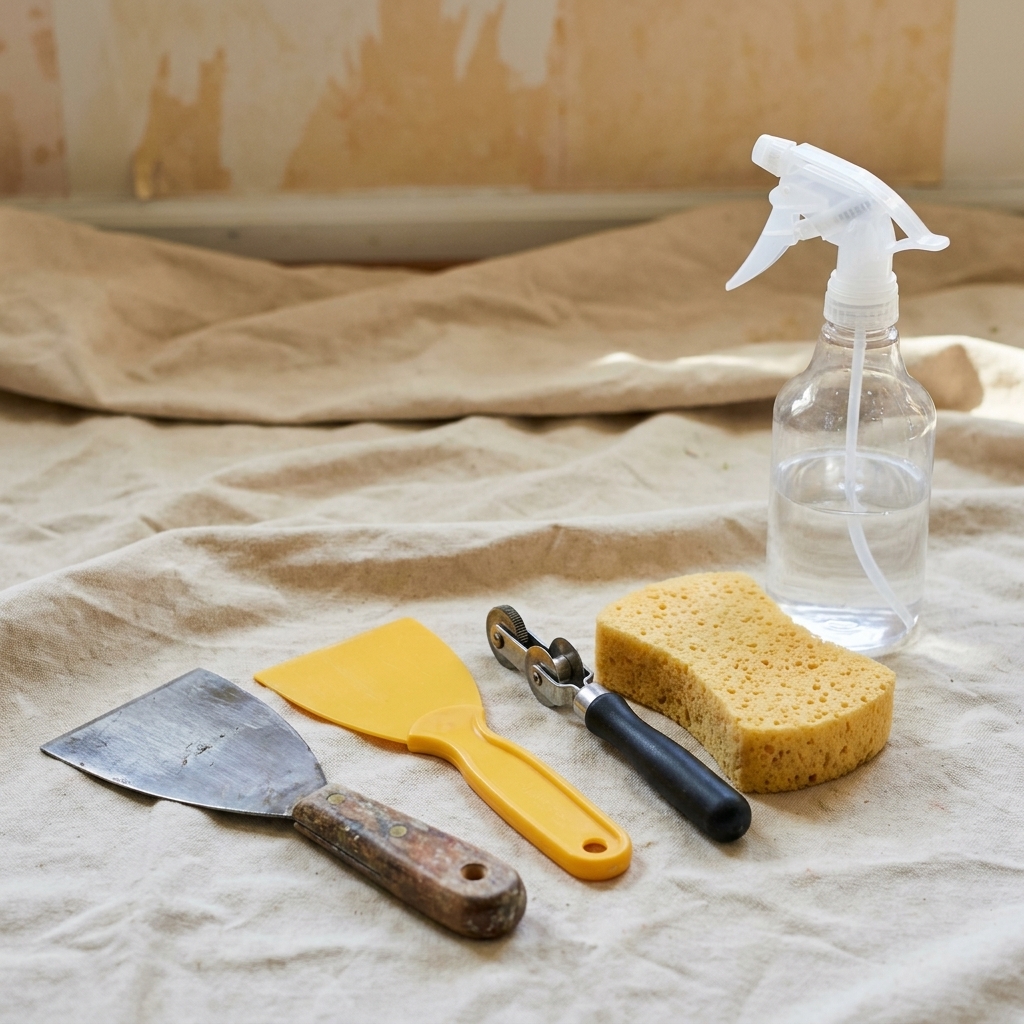
- 6-inch or 10-inch wide scraper with replaceable blades (keep it sharp)
- Plastic putty knife for delicate areas and corners
- Wallpaper scoring tool (only if needed)
- Wallpaper steamer or pump sprayer and sponge method
- Bucket, large sponge, and microfiber rags
- Step stool or ladder
Surface prep and repair
- Cleaner: TSP substitute or a degreasing wall cleaner
- Joint compound (all-purpose or lightweight) for skim-coating
- Setting-type compound for deep repairs (optional but helpful)
- Drywall tape for torn areas (paper tape or mesh)
- Sanding sponge and pole sander (120- to 220-grit range)
- Vacuum or tack cloth
- Primer: stain-blocking or high-adhesion primer (details below)
Protection and safety
- Drop cloths (canvas is best) and plastic sheeting
- Painter’s tape
- Gloves and safety glasses
- Respirator or mask for sanding dust
Prep the room
Wallpaper removal is wet work. If you protect the room well, you can focus on the wall instead of panicking about soggy baseboards.
- Cut power to the room at the breaker if you will be working near outlets and switches with a lot of water. Verify power is off with a tester before you start.
- Remove outlet and switch covers and tape plastic over the openings. Avoid saturating directly around electrical boxes.
- Cover floors with canvas drop cloths. Add plastic sheeting over the cloth if you expect heavy soaking.
- Protect trim with painter’s tape if you are not repainting it.
- Ventilate with a fan and open windows. Moisture needs somewhere to go.
Step-by-step: Remove wallpaper
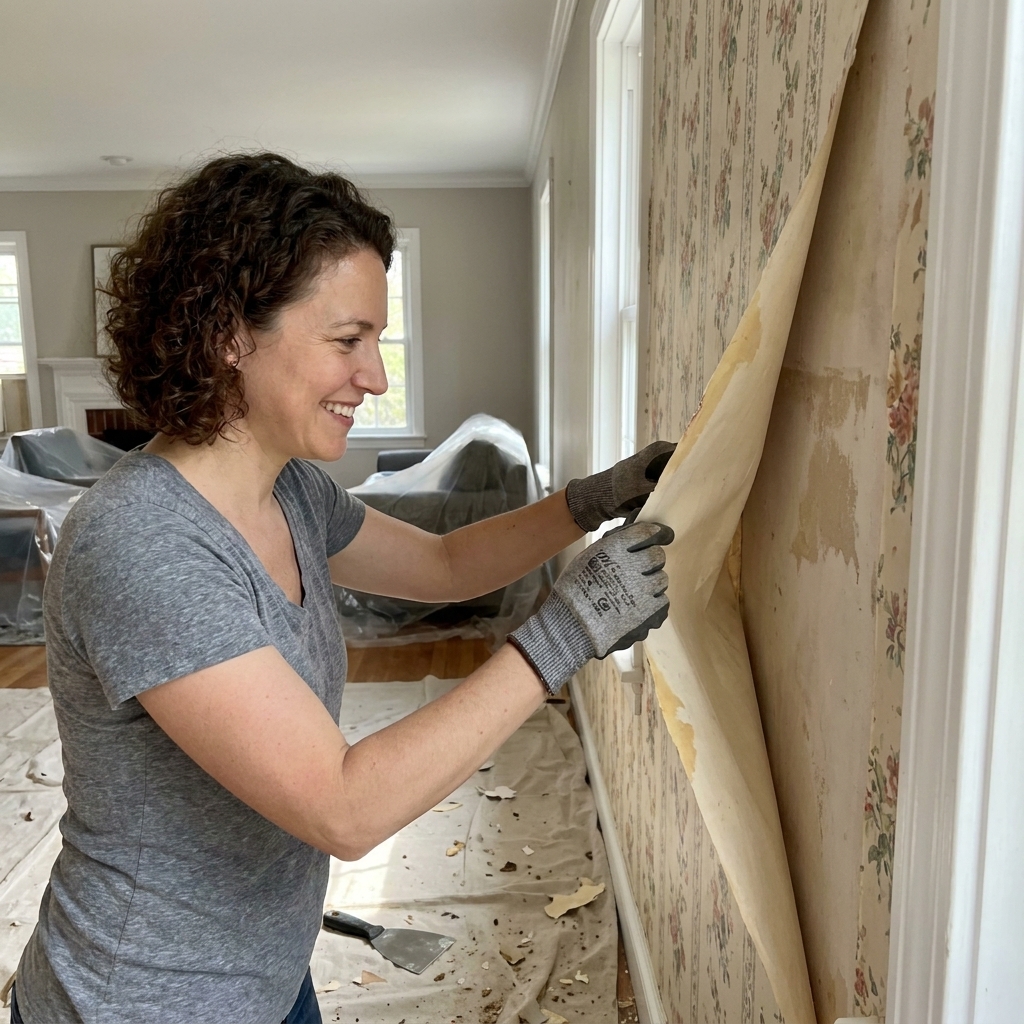
1) Peel what will peel
Start dry. Use a putty knife to lift a corner at a seam and pull slowly at a low angle. If the paper comes off in sheets, keep going. If it tears constantly, stop and switch to moisture.
2) Decide: Spray-and-soak or steamer
I reach for a sprayer first, then bring in a steamer if the paste is stubborn.
- Spray-and-soak: Great for most residential wallpaper and easier to control on drywall.
- Steamer: Powerful for older paste and thick paper, but it can over-soften drywall face if you linger. Keep the plate moving and limit dwell time.
3) If needed, score the surface lightly
Score only when water is beading up and not soaking in, like with vinyl or painted wallpaper. Use gentle pressure. The goal is tiny perforations, not gouges.
4) Saturate a small section and wait
Work in sections about 3 by 3 feet. Spray warm water generously and let it sit 10 to 15 minutes. Re-spray before scraping if it starts to dry. Most removal struggles come from trying to scrape before the paste has softened.
5) Scrape with the wall, not against it
Hold your scraper at a shallow angle and push smoothly. If you feel the tool digging, flatten your angle and add more moisture. Replace blades often. A sharp blade glides, while a dull blade chatters and tears drywall.
6) Repeat: Soak, wait, scrape
It is repetitive, but the rhythm matters. You are dissolving adhesive, not chiseling tile. Keep your patience. Your skim coat later will thank you.
Remove leftover glue
This is the step that separates a smooth, durable paint job from one that peels, fisheyes, or looks permanently patchy. Even if the wall feels mostly clean, paste residue can react with primer and paint.
How to tell if glue is still there
- The wall feels tacky when dry
- You see shiny or slightly darker patches
- A damp sponge drags instead of gliding
- Dust sticks to the wall in a weird way
My go-to glue removal process
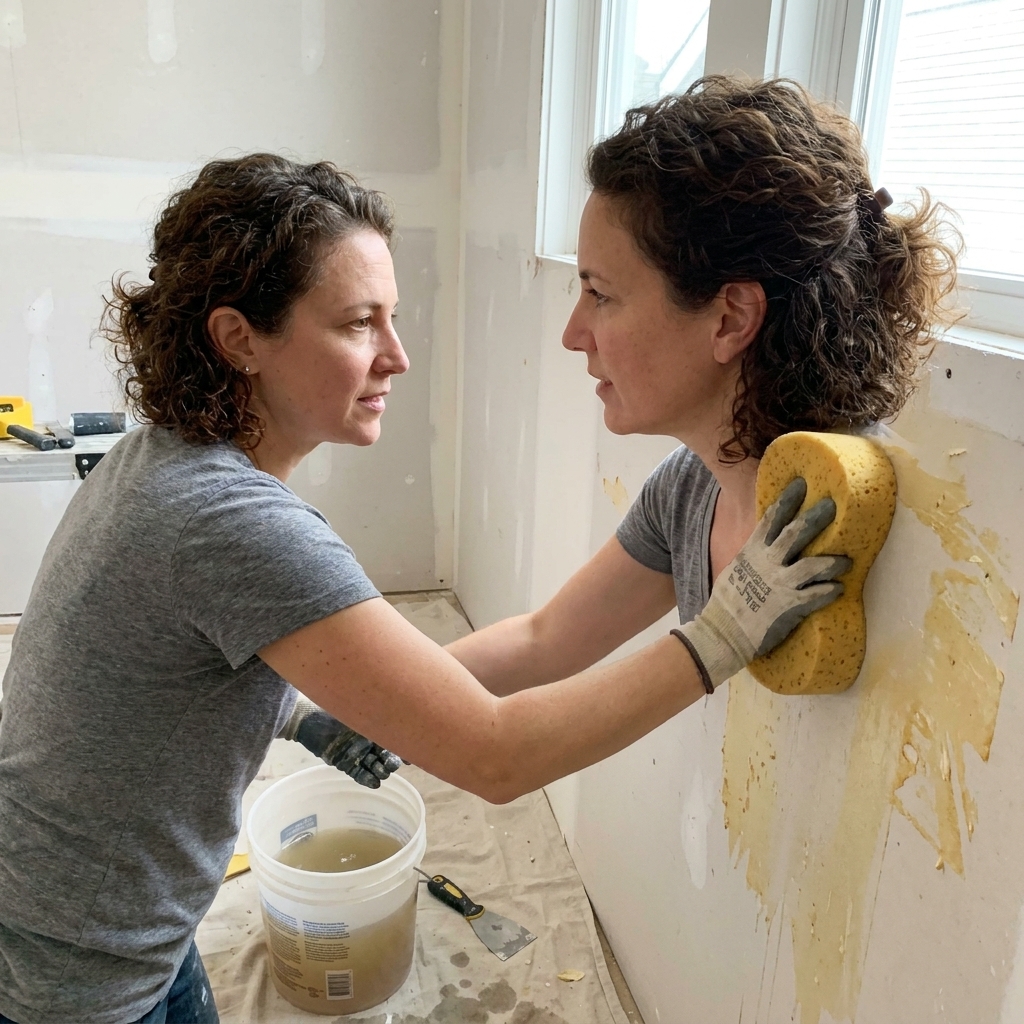
- Warm water wash: Start with a sponge and warm water. Wipe in gentle circles to rehydrate residue.
- Cleaner wash: If warm water is not cutting it, use a wallpaper adhesive remover or a TSP substitute solution. Follow the label, and do not mix products.
- Rinse: Always rinse with clean water after a chemical remover. Leftover cleaner can interfere with primer.
- Dry completely: Give the wall time to dry. Overnight is ideal.
The plastic wrap trick for stubborn paste
If you have thick, gummy residue, soak the wall and press plastic sheeting over the wet area for 15 to 30 minutes. It holds moisture against the paste so it softens instead of drying on you. Peel plastic back, then wash and scrape gently.
Fix wall damage
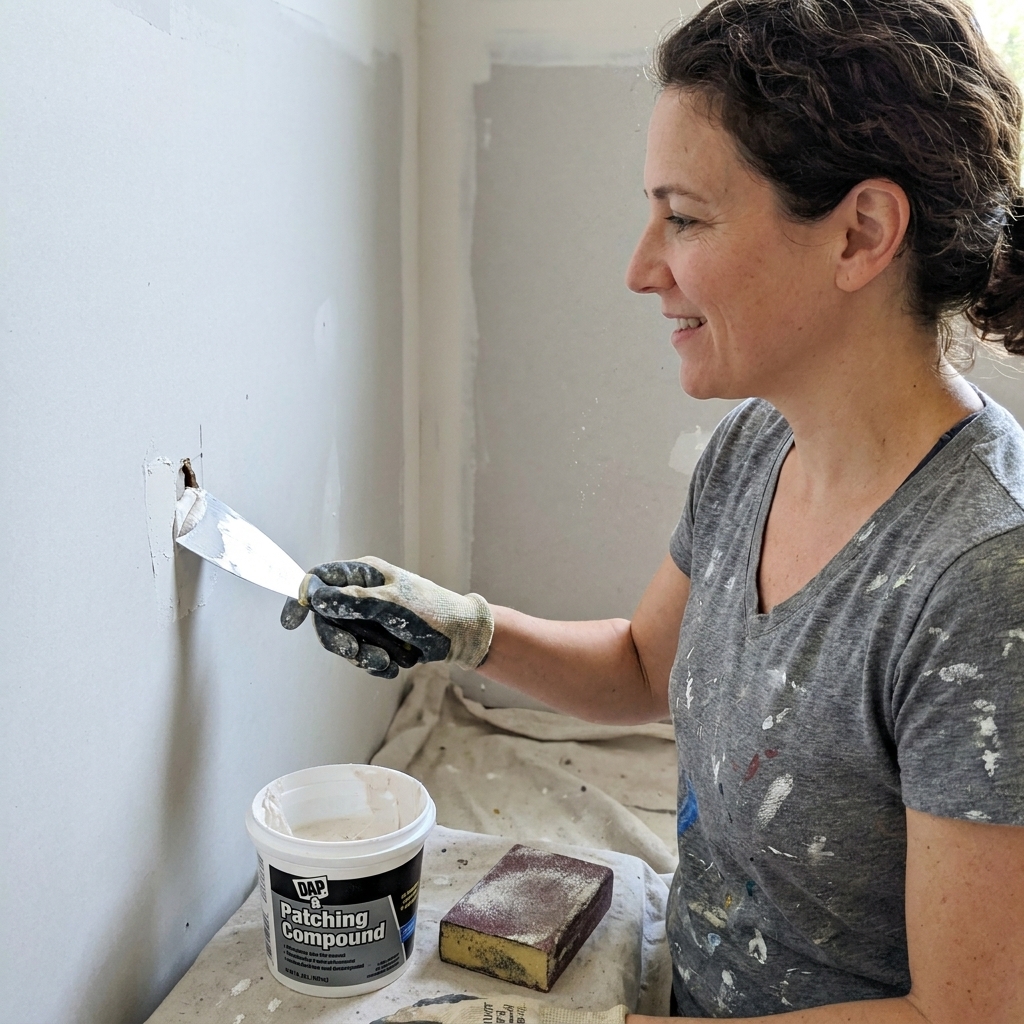
Wallpaper removal often reveals small wall crimes: torn drywall facing, raised seams, and random dings that were hidden by pattern and texture. This is normal. The fix is about sealing and flattening.
If drywall paper is torn or fuzzy
Do not skim coat directly over fuzzy paper. It will bubble and keep lifting.
- Trim loose paper fibers with a sharp utility knife.
- Seal the exposed paper and brown spots with a sealing primer. Shellac-based and oil-based primers are classics here, and water-based problem-surface sealers (often sold for torn drywall paper) can also work with less odor.
- Let it dry fully before applying compound.
If you have gouges and divots
Fill deeper damage first, let it dry, then skim. For deep holes, a setting-type compound can speed things up and shrink less.
If seams are raised
Sand lightly to knock down ridges, then skim coat wider than the raised area so the transition disappears.
If your walls are plaster
Plaster is tougher than drywall, but repairs are different. For cracks and missing chunks, use a plaster repair product or setting-type compound and build it up in thin layers. If cracks keep returning, the plaster may be loose and need to be stabilized before you patch, not just filled.
Skim-coating
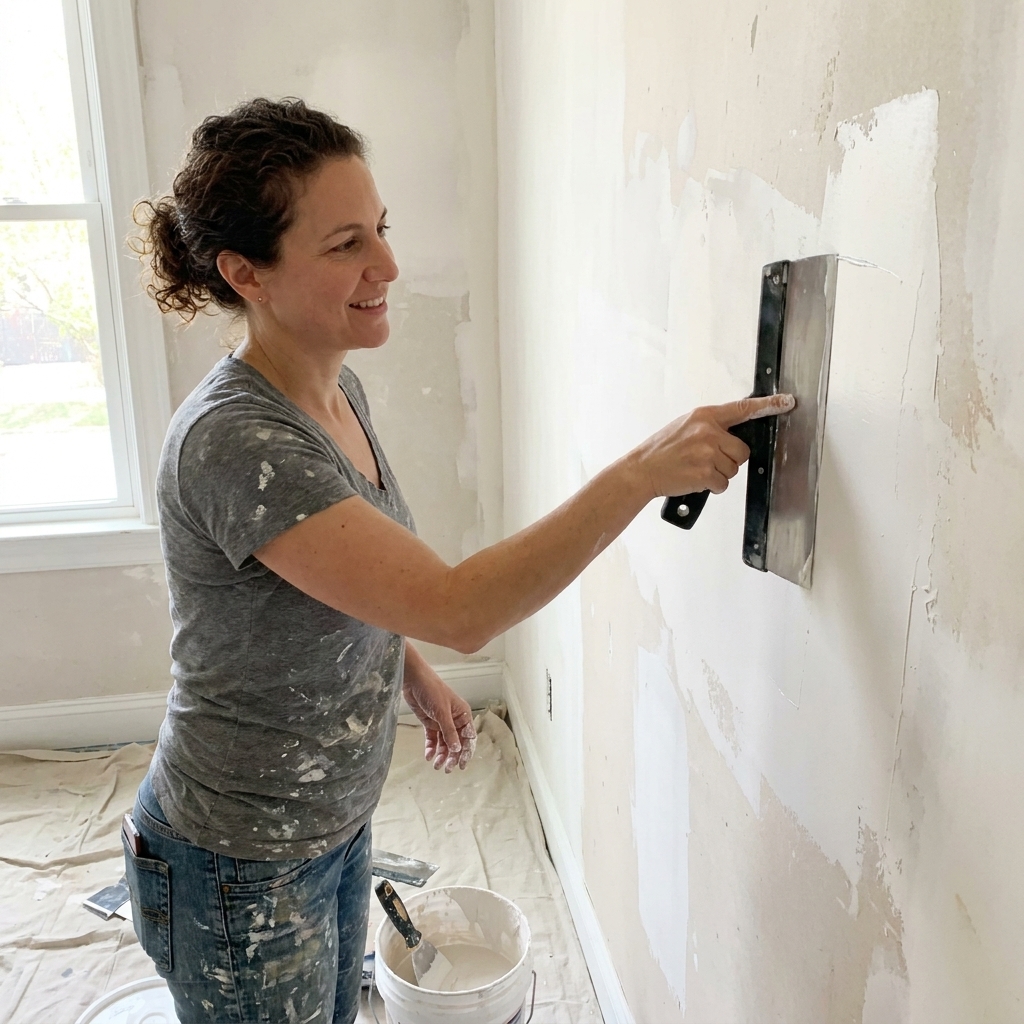
If your wall has backing paper residue, uneven texture, or multiple repairs, skim-coating is the cleanest path to a modern painted finish. Think of it as resetting the wall surface.
What you need
- All-purpose or lightweight joint compound
- 12-inch drywall knife and a 6-inch knife
- Mud pan
- Sanding pole and sanding sponge
- Work light or a bright lamp you can aim along the wall
Mix your compound to the right consistency
Straight from the bucket is often too thick for a beginner-friendly skim. I like to add a small amount of water and mix until it spreads like creamy frosting. Not runny, not stiff.
Two simple skim-coat methods
Method A: Classic skim with a drywall knife
- Load a little compound on the knife.
- Pull it across the wall in long strokes, keeping the blade tight to the surface.
- Feather edges by lifting pressure at the end of each pass.
- Let dry fully, then sand lightly.
- Apply a second thin coat to eliminate low spots.
Method B: Roll-on, smooth-off
This is great for large walls when you want speed without chaos.
- Use a paint roller to apply a thin layer of compound.
- Immediately smooth it with a wide knife or skimming blade.
- Let dry, sand, and repeat as needed.
Dry time and sanding reality check
Dry time depends on humidity, thickness, and airflow. Plan for overnight between coats in most homes. Sand with 180- to 220-grit to avoid scratching. Use a bright side light to spot ridges. If you can feel a line with your fingertips, paint will highlight it.
Prime the wall
After wallpaper, primer is strongly recommended. It creates a uniform surface, helps your topcoat bond, and blocks weird absorption where paste or repairs were. Even if you are using a paint-and-primer product, a real primer coat is cheap insurance on a wall that has been through it.
Pick the right primer
- If you had torn drywall paper or brown discoloration: Use a sealing stain-blocking primer (shellac-based or oil-based) or a water-based problem-surface sealer designed for torn drywall paper. Ventilate well and follow dry times carefully.
- If the wall is solid but patchy from skim coat and repairs: Use a high-quality water-based drywall primer or a bonding primer.
- If you suspect any glue residue you cannot fully remove: A bonding primer is safer than standard primer. It is extra insurance against peeling.
Primer application tips
- Dust the walls thoroughly before priming. Joint compound dust will ruin adhesion.
- Cut in first, then roll with a 3/8-inch nap for smooth walls.
- Let primer cure per the can, not just dry to the touch.
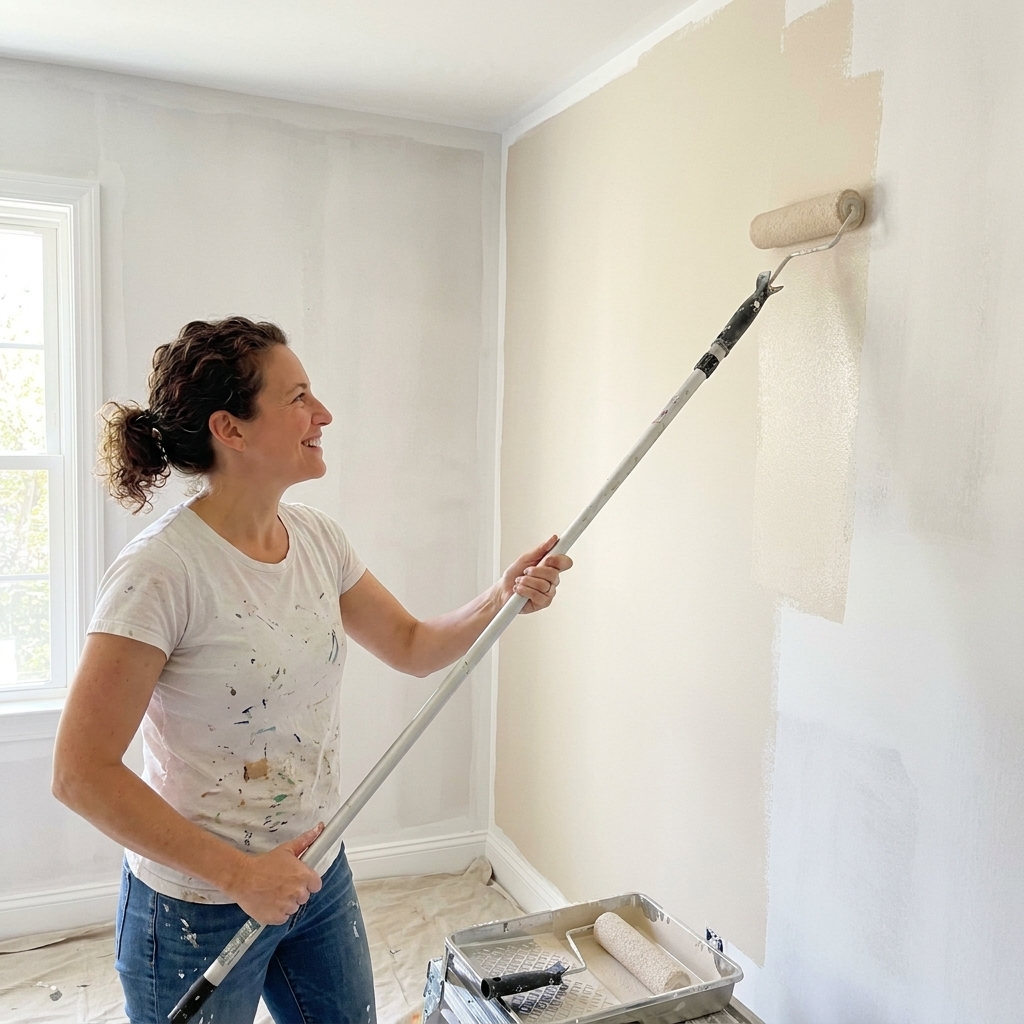
Paint for an even finish
Once you are primed, you can paint like normal, but a little strategy helps hide past wall drama.
- Choose the right sheen: Flat or matte hides imperfections best. Eggshell is washable but shows more texture. Save satin and semi-gloss for trim, kitchens, and baths if your walls are truly smooth.
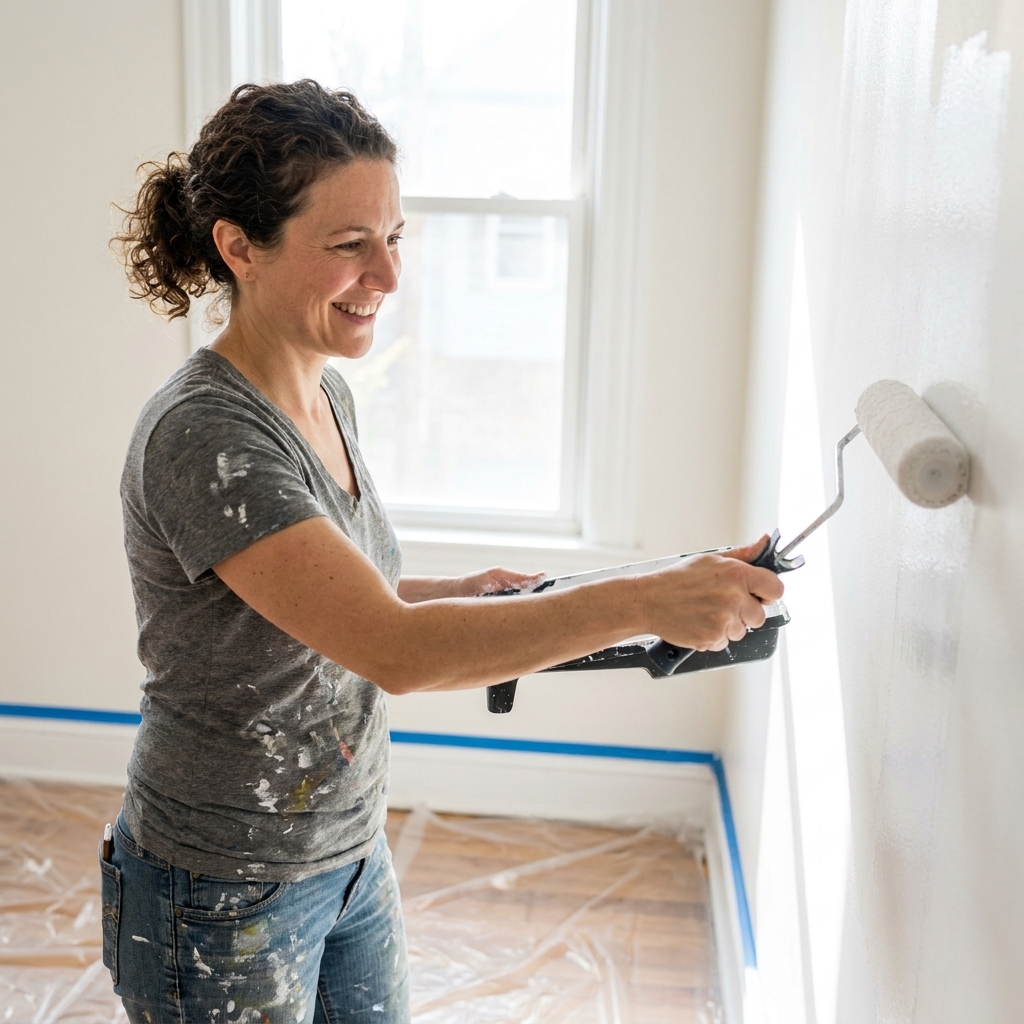
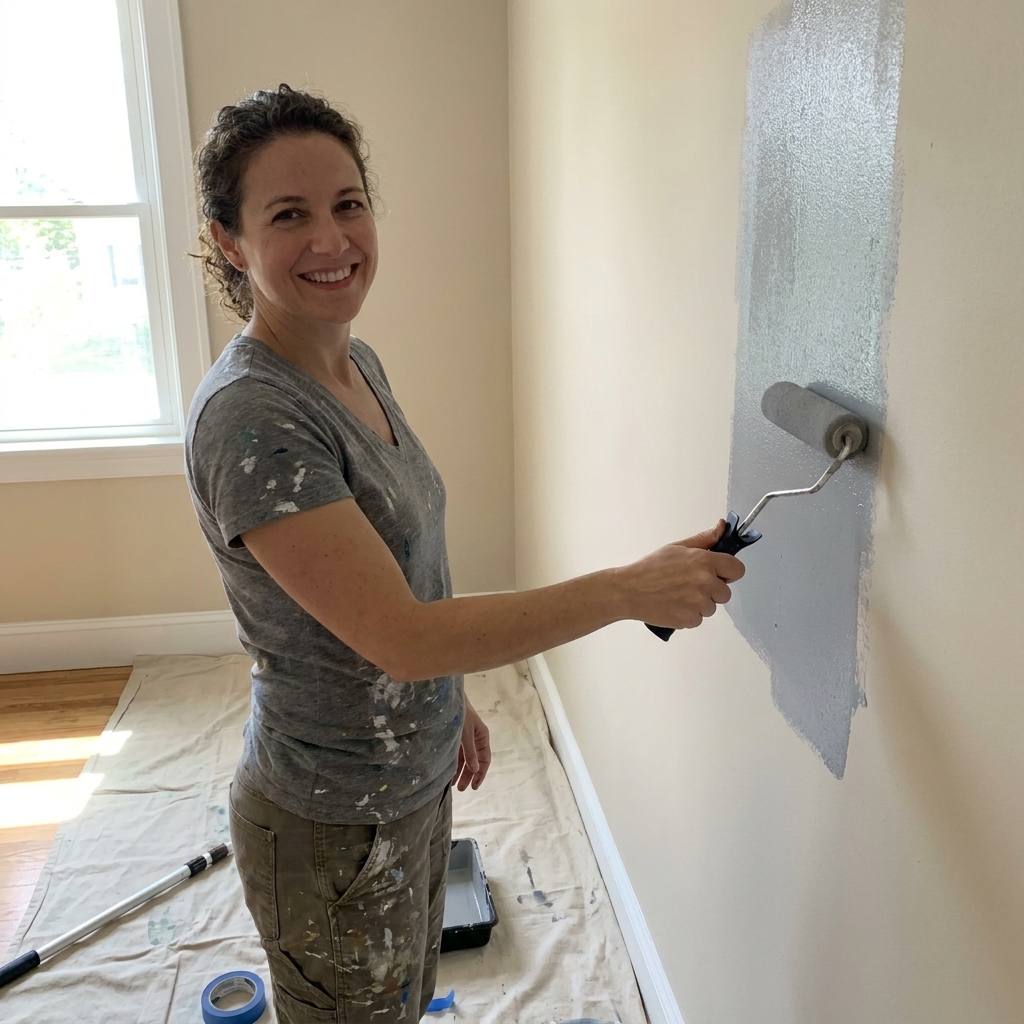
- Use two coats: Over primed repairs, one coat almost always looks blotchy.
- Keep a wet edge: Work in manageable sections so you do not get lap marks.
Troubleshooting
Paint is fisheying or beading up
This usually points to contamination: glue residue, cleaner residue, or oily buildup. Wash, rinse, let dry, then prime with a bonding primer.
Bubbles appear under primer or paint
Often caused by remaining paste or unsealed torn drywall paper. Stop, scrape the bubbles, seal exposed paper with a sealing primer, patch, sand, prime again.
Shiny patches show through paint
That can be leftover paste or uneven porosity from repairs. Spot-prime shiny areas, then repaint.
Hairline cracks after skim-coating
Coats may have been too thick or dried too fast. Apply a thinner skim, feather wider, and sand gently between coats.
FAQ
Can I paint over wallpaper instead of removing it?
You can, but I only recommend it when the paper is firmly adhered, seams are flat, and you accept that removal later will be harder. Painting over wallpaper can highlight seams and cause peeling if the paste reactivates. For a long-term clean finish, removal and skim-coat wins.
Do I need to remove every bit of glue?
Remove as much as humanly possible. The goal is a wall that is clean, dull, and not tacky. If you think you have trace residue you cannot chase down, seal it with the right primer (a bonding primer is usually the safest bet) before you commit to paint.
How do I know the wall is ready for primer?
The wall should be clean, dull, and not tacky. Run your hand across it. If it feels sticky or shiny in spots, keep washing. If it feels dusty, vacuum or wipe down before priming.
What is the fastest way to remove wallpaper?
The fastest way that does not create extra repair work is to saturate properly and wait. Rushing the soak time often makes you scrape harder, which slows you down later with patching and sanding.
Should I use hot water or vinegar?
Warm water is a great first step. Vinegar solutions can help some pastes, but dedicated wallpaper removers are more consistent. Whatever you use, rinse with clean water and let the wall dry before patching or priming.
Cleanup and disposal
- Bag it as you go: Wet wallpaper is heavy and messy. Use contractor bags and do not overload them.
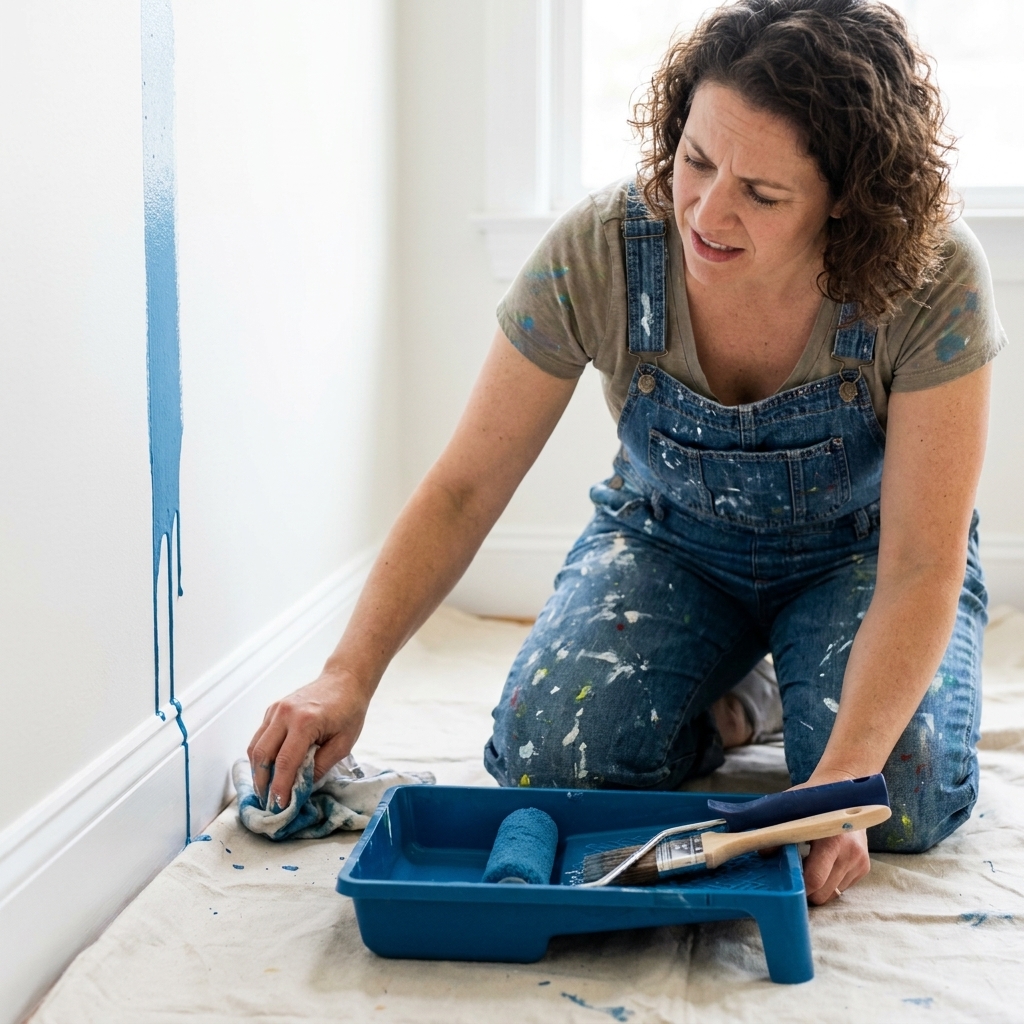
- Go easy on drains: Paste and paper bits can clog. Scrape solids into the trash, and dump dirty water outside or into a utility sink where you can strain out debris first.
- Clean tools often: A scraper with dried paste on it is a wall-gouging machine.
- Let the room dry out: Run a fan or dehumidifier so your walls are truly dry before patching, priming, or painting.
Final checklist
- Wallpaper fully removed, including backing
- Paste residue washed, rinsed, and dried
- Torn drywall paper sealed
- Repairs filled and sanded smooth
- Skim coat applied as needed, then sanded
- All dust removed
- Primer applied and cured
- Two coats of paint planned with the right sheen
If you do these steps in this order, you get that dreamy, uniform paint finish that makes a room feel brand new. And you get it without the mystery peeling that shows up three weeks later.