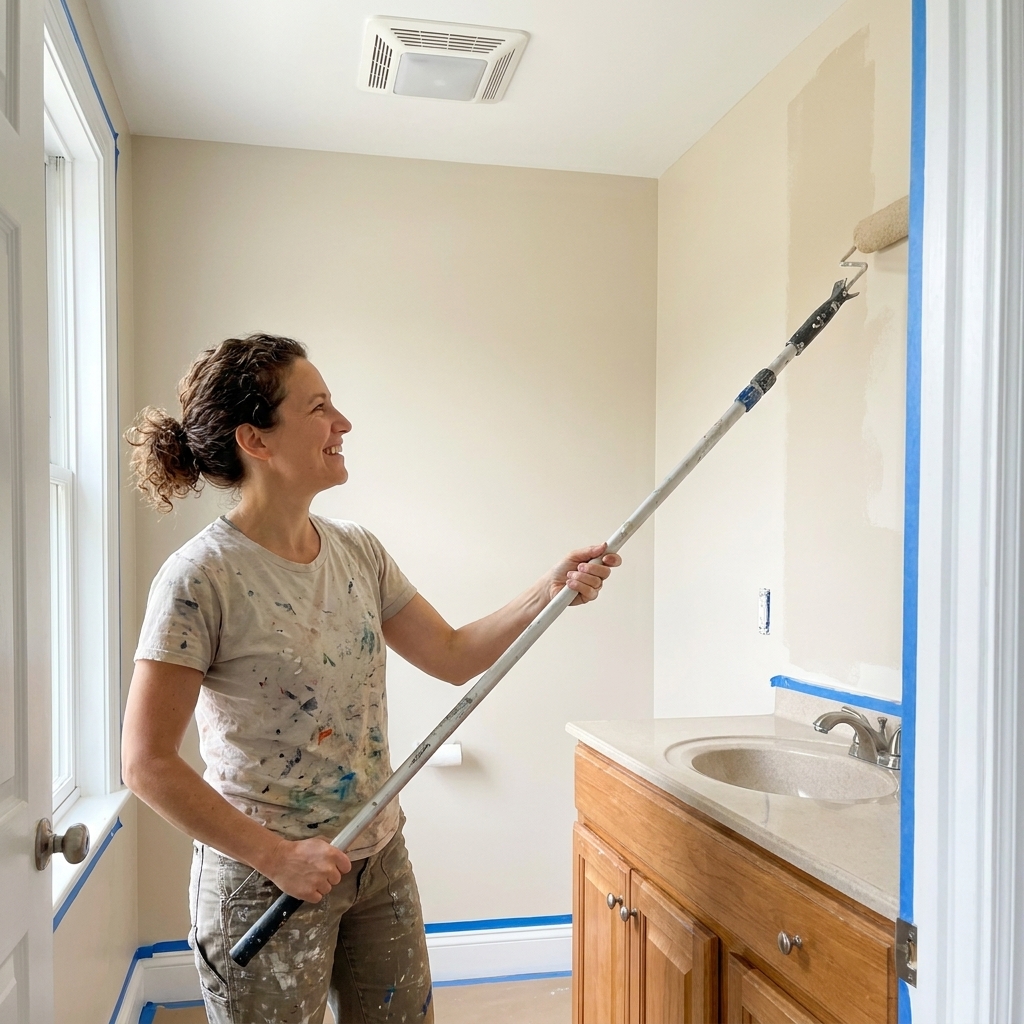
If you have older interior walls, trim, or doors, there is a decent chance you are dealing with oil-based paint under the surface. And if you have ever heard “latex over oil will peel,” that warning is real. The good news is that it is not a forever problem. Oil paint is not unpaintable. It just needs the right prep so your water-based latex can grip.
I have painted plenty of rooms where the previous owner went heavy on the glossy oil enamel. Once you know how to test what you have and you do not skip the sanding and bonding steps, latex can go over oil beautifully and hold up for years.
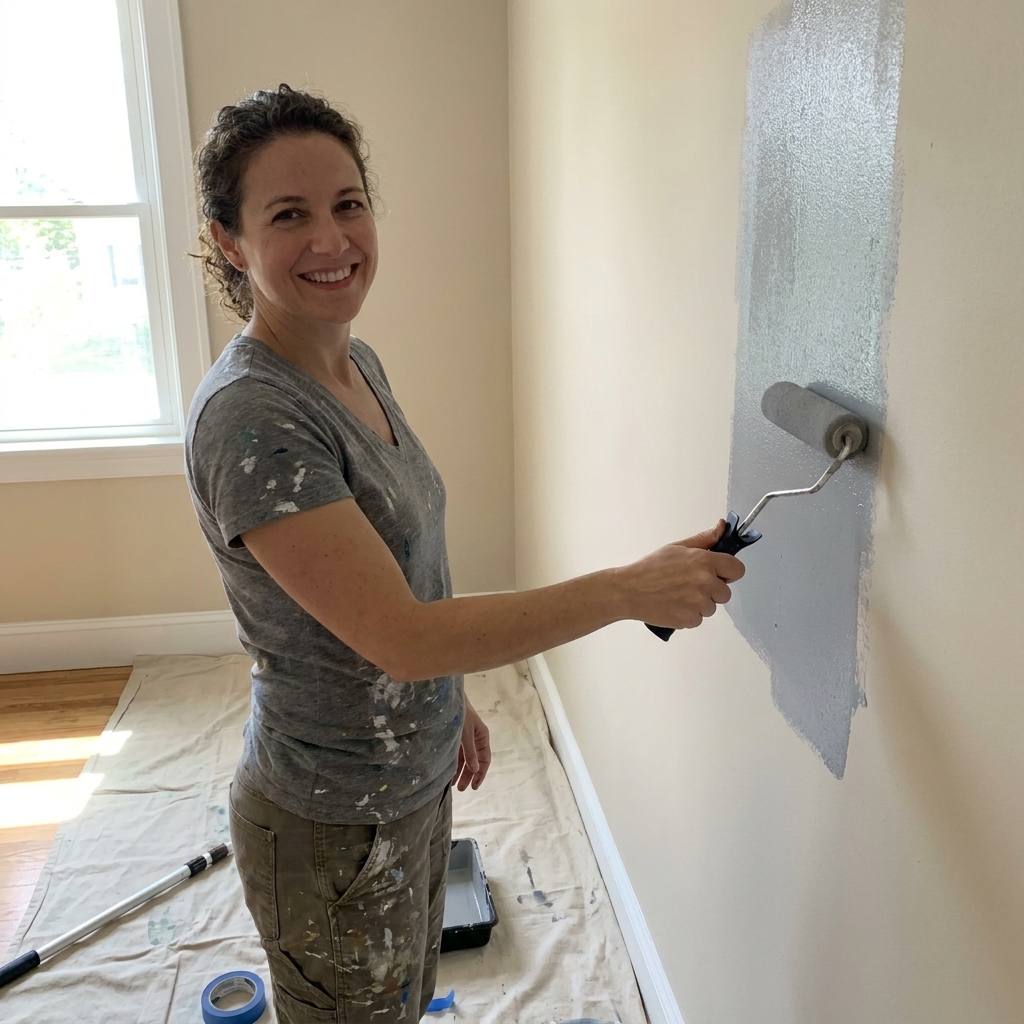
Why latex peels over oil
Oil-based paint dries into a hard, slick film. Water-based latex paint needs a surface with tooth to bite into, or it will sit on top like a sticker on glass. Peeling usually happens when one or more of these issues show up:
- Too much gloss left on the surface. Latex struggles on shiny oil enamel.
- Chalky residue or grime. Kitchens, hallways, and around switches collect invisible oils.
- No bonding primer. Regular wall primer is not always enough over oil.
- Moisture problems. Bathrooms and laundry areas can push paint off weakly prepped layers.
The fix is straightforward: confirm the existing paint, clean thoroughly, dull the sheen, then use a bonding primer before your latex topcoat.
Step 1: Test the old paint
You do not need a lab, just a couple quick checks. Use more than one if you are unsure, especially in older homes where different rooms may have different paint histories.
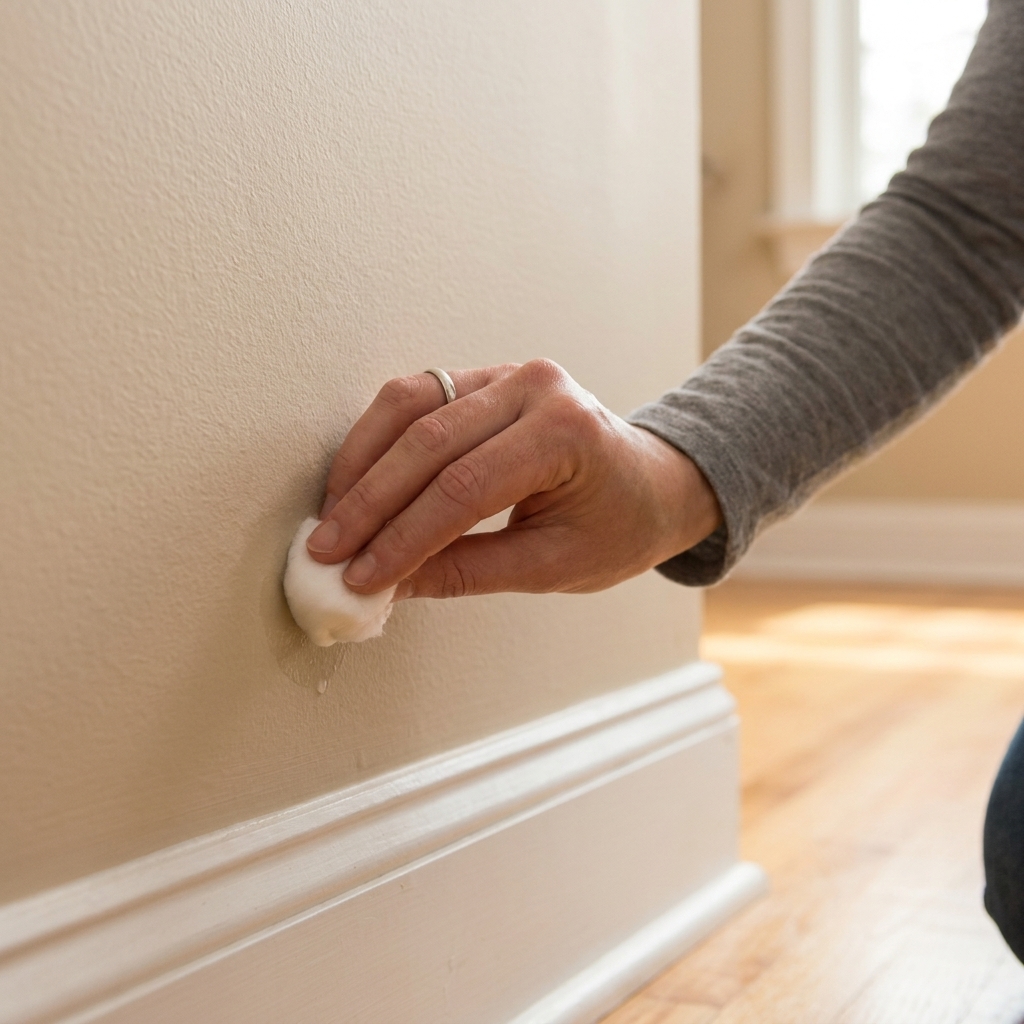
The alcohol swab test
This is my go-to because it is fast and usually clear. That said, specialty coatings and very hard-cured paints can sometimes give you an ambiguous result, so treat it as a strong clue, not gospel.
- Pick a spot that is easy to patch later, like behind a picture or near a baseboard.
- Wash the area with a little dish soap and water, then let it dry.
- Soak a cotton ball or rag with denatured alcohol or rubbing alcohol (higher percentage works better).
- Rub firmly for 15 to 30 seconds.
- If paint comes off onto the rag: it is likely latex or another waterborne coating.
- If little to nothing comes off: it is likely oil-based, but a hard-cured latex or a specialty coating can also resist alcohol.
If the result is not obvious, do a second test with a small amount of acetone on a clean rag in an inconspicuous spot (ventilate well). If you are still unsure, bring a chip to a paint store or consult a pro before you commit.
The scratch test
Oil paint tends to feel harder and may chip in small flakes when scratched with a fingernail or a coin. Latex is often a little more flexible and can dent or rub off slightly. This test is not definitive on its own, but it helps confirm.
Step 2: Paint or strip
In most interior situations, you can paint latex over oil with prep and primer. Stripping is only worth it when the existing coating is failing badly.
Paint over it if:
- The old paint is firmly attached with no widespread peeling.
- There are only small nicks or chips you can patch.
- You want the fastest, cleanest update.
Strip or remove loose paint if:
- Paint is peeling in sheets or bubbling across large areas.
- You see water stains, soft drywall, or active moisture problems.
- There are many thick layers and heavy texture you want to flatten.
Important: If your home was built before 1978, assume lead paint is possible. Avoid dry sanding and aggressive scraping unless you are using lead-safe practices. That can include plastic containment, wet methods, a HEPA vacuum, and following EPA Renovation, Repair and Painting (RRP) guidance. A lead test kit and proper containment are worth the time.
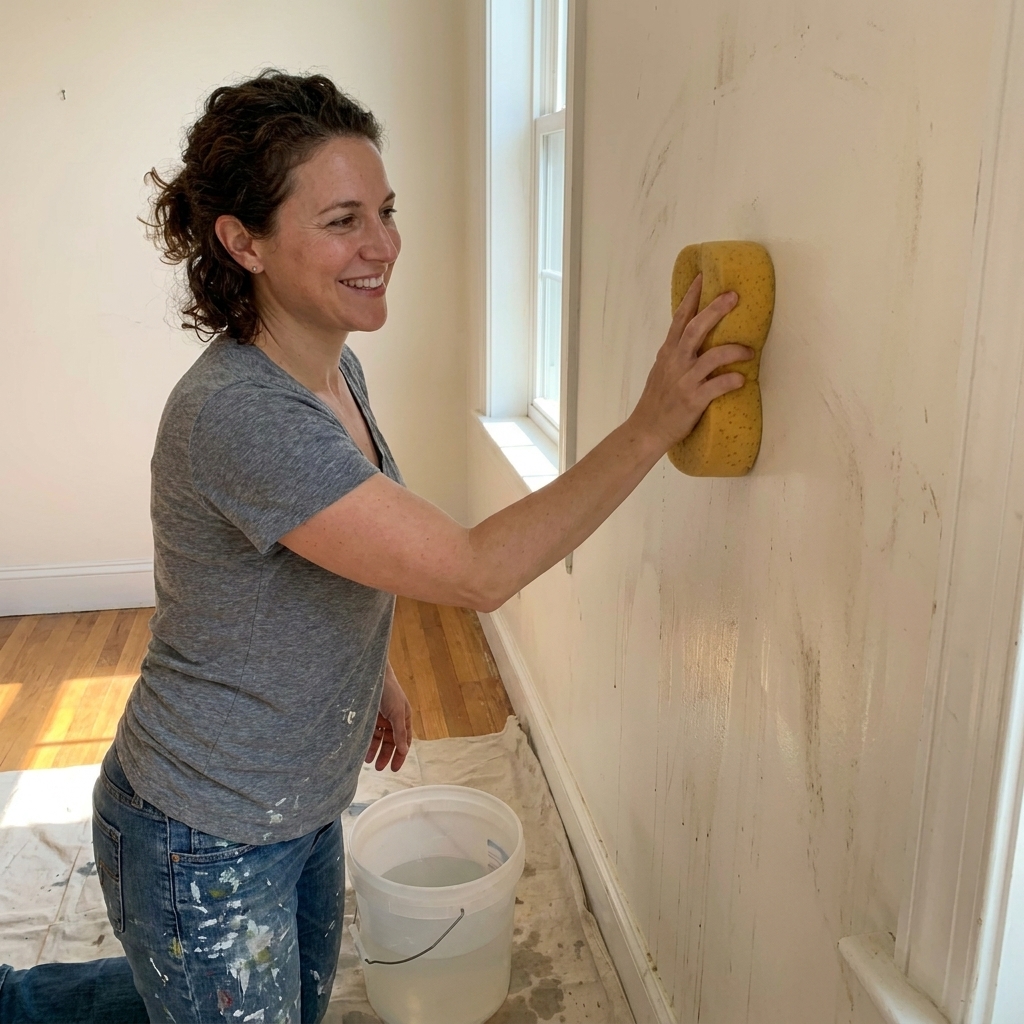
Step 3: Clean thoroughly
Latex paint and primer cannot bond through kitchen grease, hand oils, hairspray residue, or that invisible film that builds up near vents and doorways.
What to use
- Warm water + dish soap for most rooms.
- TSP substitute for kitchens, heavy grime, or high-traffic walls.
- Degreaser for areas near stoves or where you can literally feel residue.
How to do it
- Protect floors.
- Wipe walls with a sponge or microfiber cloth, working in sections.
- Rinse with clean water if your cleaner calls for it.
- Let everything dry completely before sanding or priming.
Step 4: Dull the sheen
This is the step that makes latex-over-oil succeed. You are not trying to sand off all the paint. You are trying to knock down gloss and give primer something to grab.
Even when lead is not suspected, protect yourself. Wear eye protection and a well-fitting dust mask or respirator, and control dust with a vacuum and damp wipe.
Option A: Sanding
- Use 120 to 150 grit for glossy walls and trim.
- For very glossy enamel, start with 120 grit, then do a quick pass with 150 grit.
- Sand until the surface looks uniformly dull.
- For trim profiles, a sanding sponge makes it much easier to scuff curves and corners.
After sanding, vacuum dust and wipe with a damp microfiber cloth. Dust can cause adhesion failure.
Option B: Liquid deglosser
Liquid deglosser (also called a chemical deglosser or etcher) can help in ornate trim profiles or tight corners. Follow the label carefully. Most products require you to paint or prime within a specific time window.
If you can sand, sand. If you cannot, degloss. If the surface is especially slick, do both.
Step 5: Patch and smooth
Oil paint tends to telegraph imperfections because it was often used in higher-sheen finishes. Take a few minutes to make your walls look like a fresh start.
- Fill nail holes and small dings with spackle.
- For deeper dents, use a setting-type joint compound.
- Sand patches smooth and feather the edges.
- Remove dust again before priming.
Step 6: Prime with bonding primer
This is the non-negotiable step when painting water-based latex over oil-based paint. You want a primer made to stick to hard, slick surfaces.
What to look for
- Bonding primer or adhesion primer on the label.
- Compatibility with glossy surfaces and oil-based paint.
- Interior use and low odor if you are living in the space.
Water-based vs oil or shellac primers
- Water-based bonding primers are easier to work with indoors and clean up with soap and water.
- Oil-based primers can work well for adhesion and stain blocking, but they bring stronger odor and longer dry times.
- Shellac-based primers are excellent for tough stains (heavy smoke, water stains, or wood tannins bleeding through knots), but they have strong fumes and typically require solvent cleanup.
Any of these can work, as long as the product is designed to bond to slick, cured coatings. If odor and turnaround matter, I reach for a quality water-based bonding primer. If I am dealing with serious stains, I pick a stronger blocker.
Application tips
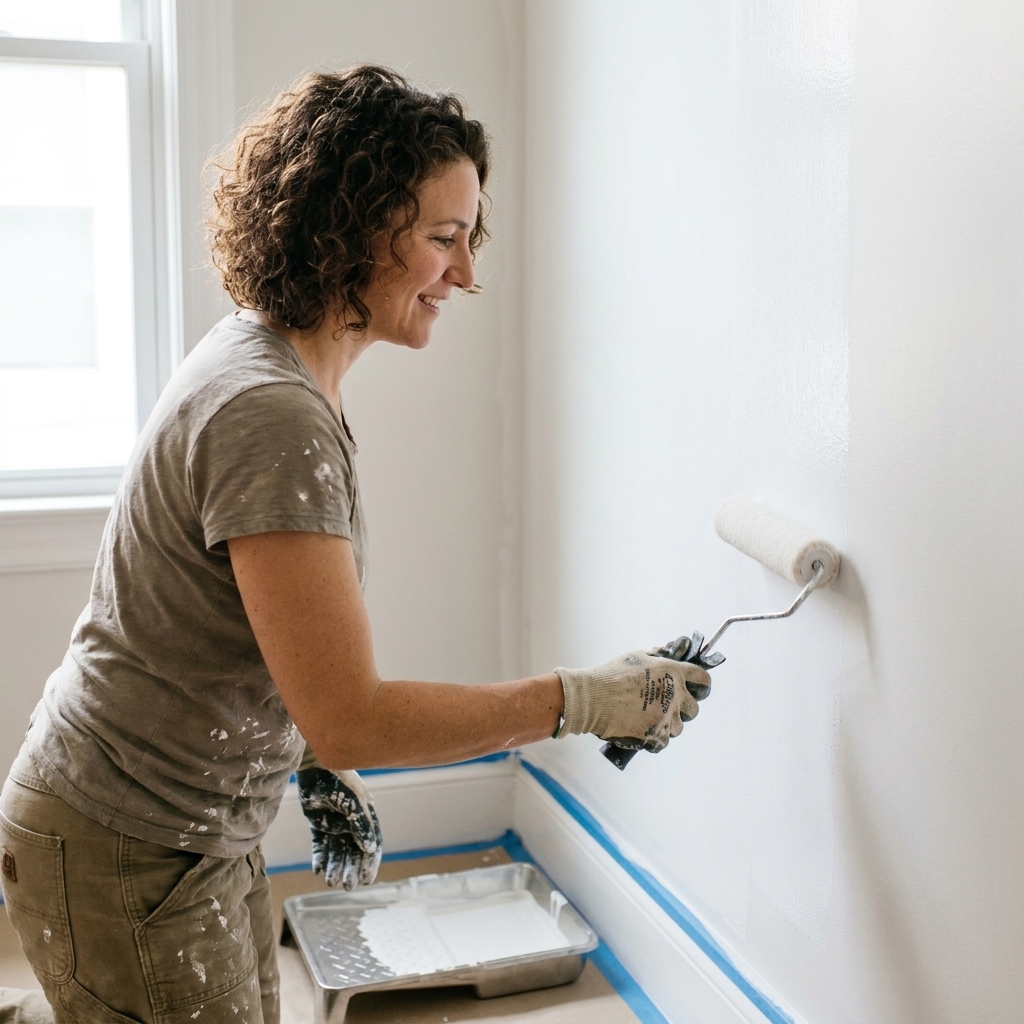
- Cut in first, then roll.
- For walls, a 3/8-inch nap roller cover is a solid default on smooth to lightly textured drywall.
- For trim and doors, use a quality angled brush and a small foam roller if you want a smoother finish.
- Keep a wet edge to avoid lap marks.
- Do not over-roll as primer starts to tack up.
- Let it dry fully, and follow the can for recoat time.
Step 7: Paint with latex
Once the bonding primer has cured, painting feels like any other interior job, with a couple extra details that help durability.
Pick the right sheen
- Flat or matte: forgiving for imperfect walls, great for ceilings and low-traffic rooms.
- Eggshell: my favorite all-around wall sheen for living spaces.
- Satin: wipeable for kids’ rooms and hallways, shows more texture.
If you are painting trim or doors, use a dedicated water-based trim enamel in satin or semi-gloss for a harder finish.
Two coats, almost always
Over primer, two coats of latex gives you even color and a more washable film. Let the first coat dry fully before the second.
Let it cure before you scrub
Latex paint dries fast, but it takes longer to fully cure. Avoid aggressive washing for about 2 to 4 weeks, and check the can for the manufacturer’s full-cure guidance. Be extra gentle on freshly painted doors and trim that get touched constantly.
Troubleshooting
Paint is peeling after I started
Stop and scrape back to sound paint. If it is peeling in wide areas, you likely have adhesion failure from skipping a bonding step, painting over grime, or painting over gloss. Sand to dull, clean thoroughly, prime with bonding primer, then repaint.
The wall feels chalky
That chalky residue can keep primer from bonding. Wash again with a stronger cleaner like a TSP substitute, rinse, let dry, then prime.
The finish looks bumpy
Oil-based surfaces are often smoother and glossier, so roller texture can stand out. Use a quality roller cover, avoid overloading, and keep consistent pressure. For ultra-smooth looks, a shorter nap roller can help on smooth walls.
Fast checklist
- Test paint with alcohol (and a second test if unclear)
- Fix any peeling and address moisture issues
- Clean thoroughly and let dry
- Sand or degloss to remove gloss and create tooth
- Control dust (vacuum plus damp wipe)
- Prime with a bonding primer
- Paint 2 coats of water-based latex
- Allow proper cure time before heavy cleaning
FAQ
Can I paint latex over oil without sanding?
I would not, especially on glossy oil enamel. If you truly cannot sand, a liquid deglosser plus a high-quality bonding primer is your next best route. But sanding is the most reliable way to prevent peeling.
Do I have to use an oil-based primer over oil paint?
No. Many modern water-based bonding primers are designed specifically to adhere to old oil paint. The key is that it must be an adhesion or bonding primer, not just a basic drywall primer.
What if I do not know what primer was used before?
It does not matter as much as the condition of the surface now. Clean, dull the sheen, then use a bonding primer. That system is designed to bridge unknowns.
Is this different for bathrooms and kitchens?
The steps are the same, but cleanliness and moisture control matter more. In bathrooms, run the fan and address any mildew first. In kitchens, degrease thoroughly. Then use a durable, washable wall paint in eggshell or satin.