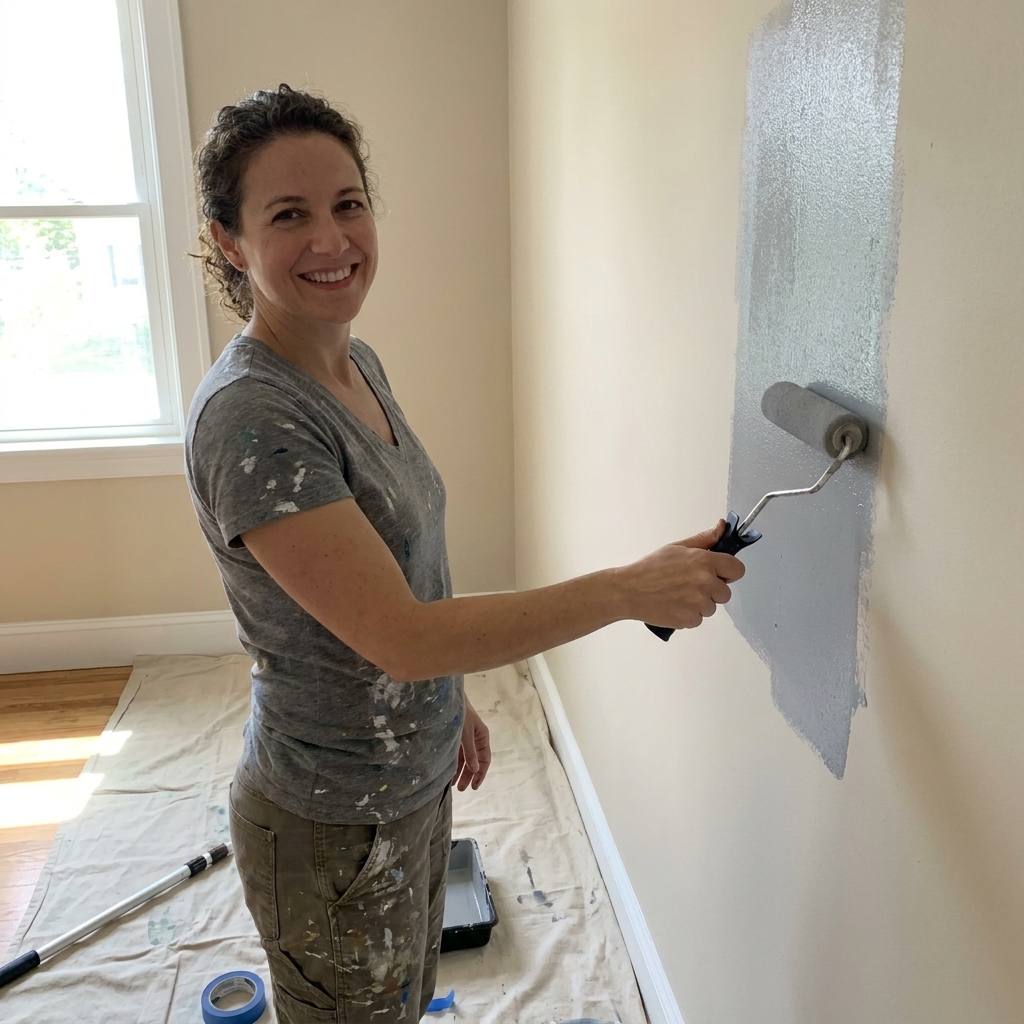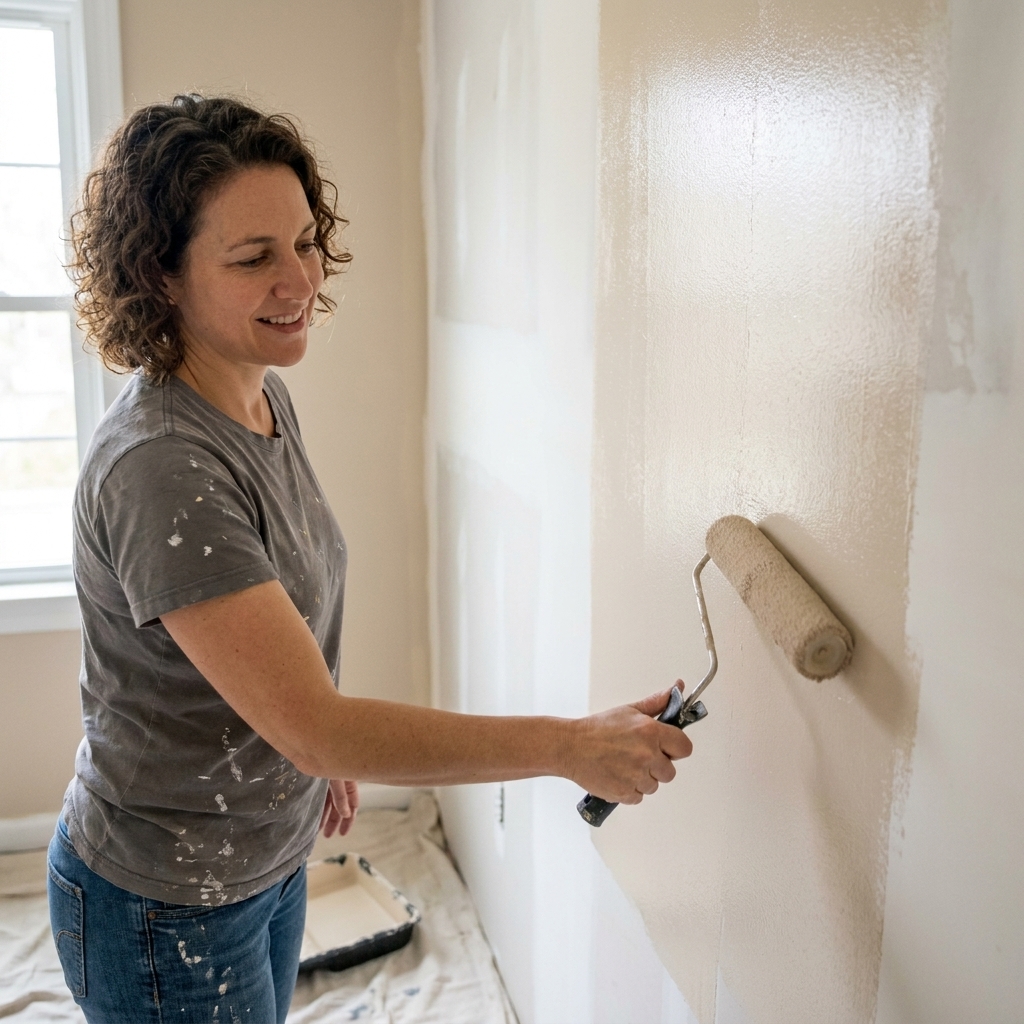
Primer is not the glamorous part of painting, but it is the part that decides whether your finish coat looks velvety and even or patchy and uneven. Over the years, I have learned this the hard way in hallway touch-ups that flashed like a checkerboard and in “quick” kitchen makeovers where old stains reappeared like a magic trick.
If you have ever stood in the primer aisle wondering why there are so many types, here is the simple truth: different primers solve different problems. PVA is made for new drywall. Oil-based primer is a traditional workhorse when you need extra sealing and grip. Shellac is the emergency button for stains and odors that laugh at everything else.
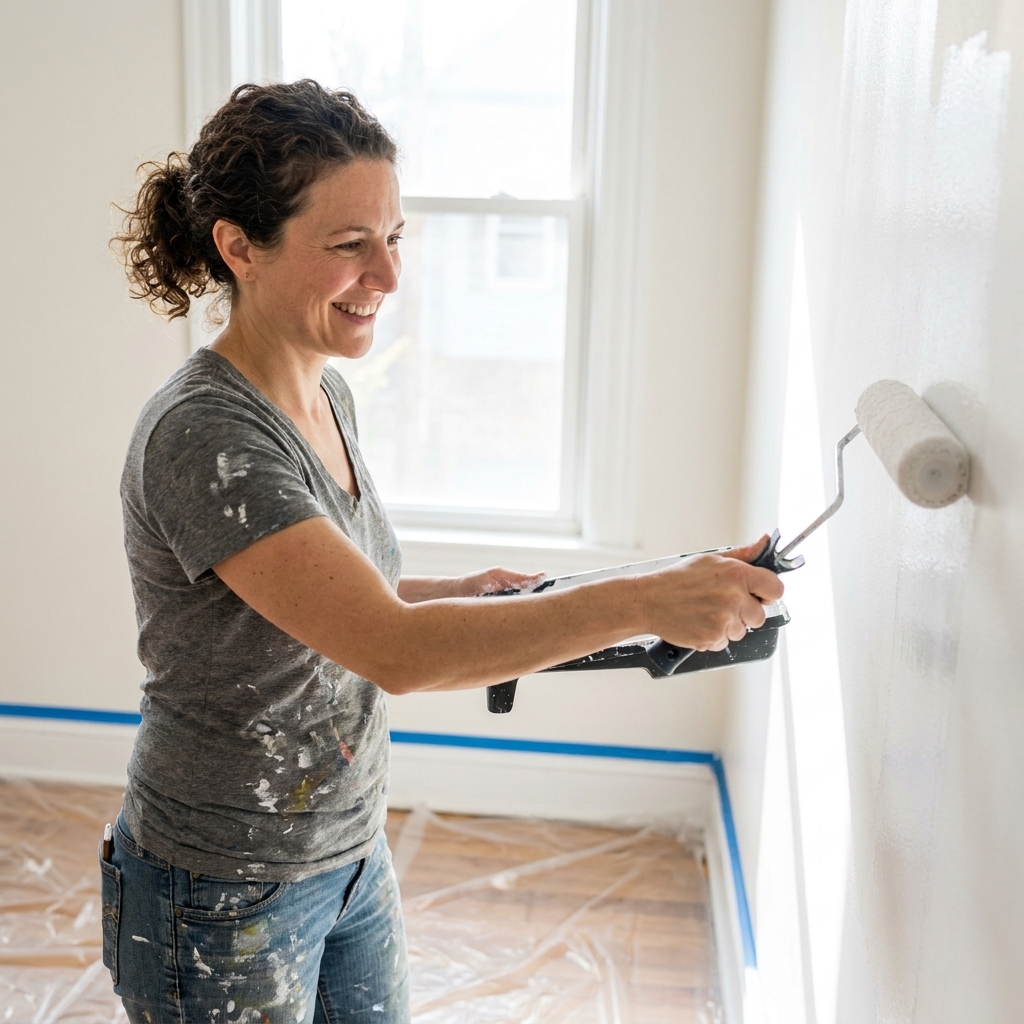
What primer does
Interior primer has three main jobs:
- Seal porous surfaces so your paint does not soak in unevenly (hello, blotches).
- Improve adhesion so paint sticks to slick or previously painted surfaces.
- Block stains and odors so problems do not telegraph through your fresh color.
The “right” primer is the one that targets your wall’s problem. The “wrong” primer is the one that makes you buy more paint later.
Flashing, explained
If you have never heard the term, flashing is when parts of a wall dry with a different sheen or texture than the rest, so patches and touch-ups show up under certain light. It usually comes from uneven porosity (new mud next to old paint), spot priming, or a mismatch in sheen and film build.
Quick picker
If you want the fastest decision, use this cheat sheet:
- Brand new drywall with fresh joint compound: PVA drywall primer.
- Previously painted walls in good shape: often no primer needed, or use a quality acrylic primer for spot repairs and sheen changes.
- Water stains, nicotine, heavy tannin bleed (cedar, knotty pine), marker: shellac primer first, oil-based is second choice.
- Strong odors (smoke, pet, mildew smell that lingers after cleaning): shellac primer, after the source is removed and the area is fully cleaned and dried.
- Glossy surfaces or tricky adhesion (old enamel, cabinets, trim): a modern acrylic bonding primer is often the easiest win; oil-based primer also works well in many cases.
- Covering dark colors with a much lighter color: primer can help, but tinting primer toward your top coat usually matters more than the base type.
PVA primer
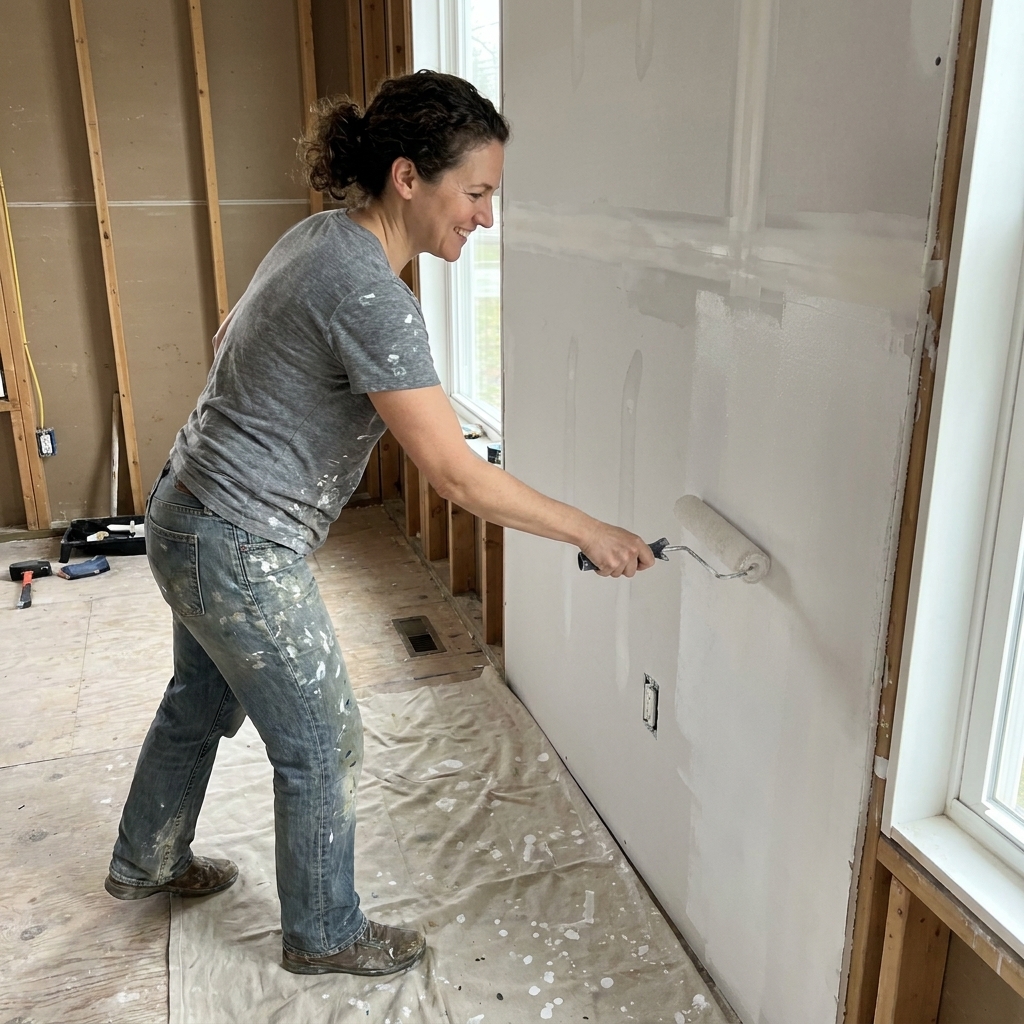
PVA stands for polyvinyl acetate. In real-life terms, it is the primer designed to tame the thirstiness of new drywall and fresh joint compound. It dries fast, sands easily, and helps your paint lay down more evenly on a brand new surface.
When PVA is best
- New drywall installs
- Big patches where you skim-coated or used a lot of joint compound
- New ceilings with fresh drywall and mud
When PVA is not enough
- Stains like water marks, smoke, cooking grease, or tannins
- Odors you can still smell after cleaning
- High gloss, slick surfaces where adhesion is the issue
My PVA tips
- Sand first, then dust. Primer will not hide ridges in joint compound. It will politely spotlight them.
- Use a real roller nap. On fresh drywall, a 3/8 inch nap is usually a sweet spot for smooth to lightly textured walls.
- Prime the whole surface when possible. Spot priming on new drywall often leads to flashing, especially under angled light.
Oil-based primer
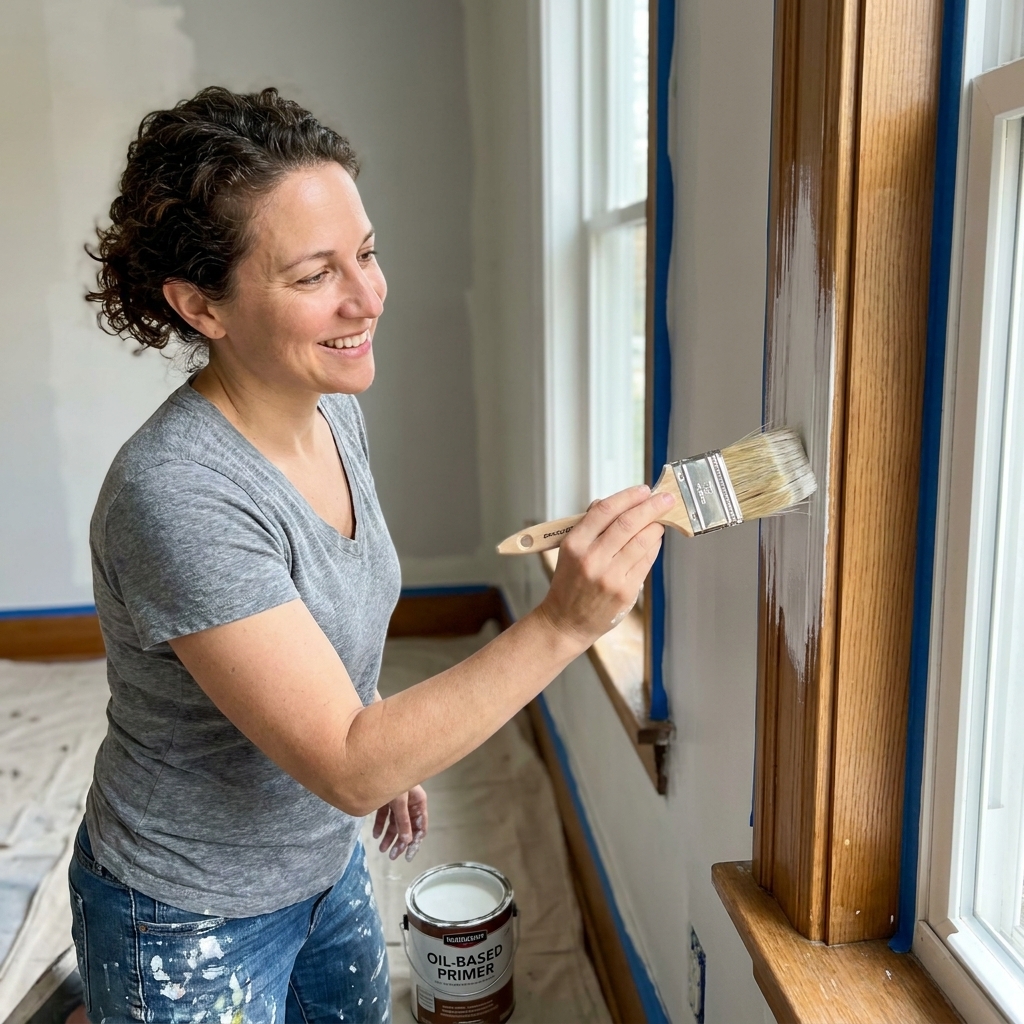
Oil-based primer is the old-school workhorse. It often dries harder than many water-based primers, has a reputation for strong adhesion, and can seal some stains better than typical latex primer. It is also fussier: more odor, longer dry times, and mineral spirits cleanup.
When oil-based is a great pick
- Glossy or slick existing paint (after proper cleaning and a light scuff sand)
- Wood surfaces with tannins when shellac feels like overkill
- Trim and doors that have been abused and need a tough foundation
- Areas that get scrubbed a lot (hallways, around switches, kids zones) where adhesion matters
Where oil primer struggles
- Fast turnaround projects because recoat times and full cure can take longer
- Odor-sensitive homes (small apartments, homes with babies, anyone who gets headaches easily)
- Severe odor blocking like smoke or pet urine, where shellac usually wins
Oil primer success checklist
- Clean first. Degrease kitchens and handprint zones with a mild degreaser or TSP substitute, then rinse and let dry.
- Ventilate like it is your job. Open windows, run fans, and plan for a longer “off limits” period.
- Do not skip sanding glossy paint. Primer helps, but it is not magic. A quick scuff gives it teeth.
Shellac primer
Shellac-based primer is the problem solver you pull out when you are tired of stains reappearing. It dries incredibly fast and, in many common cases, locks down stubborn contamination better than almost anything else. It also has a strong alcohol smell while you work, so ventilation is non-negotiable.
When shellac is worth it
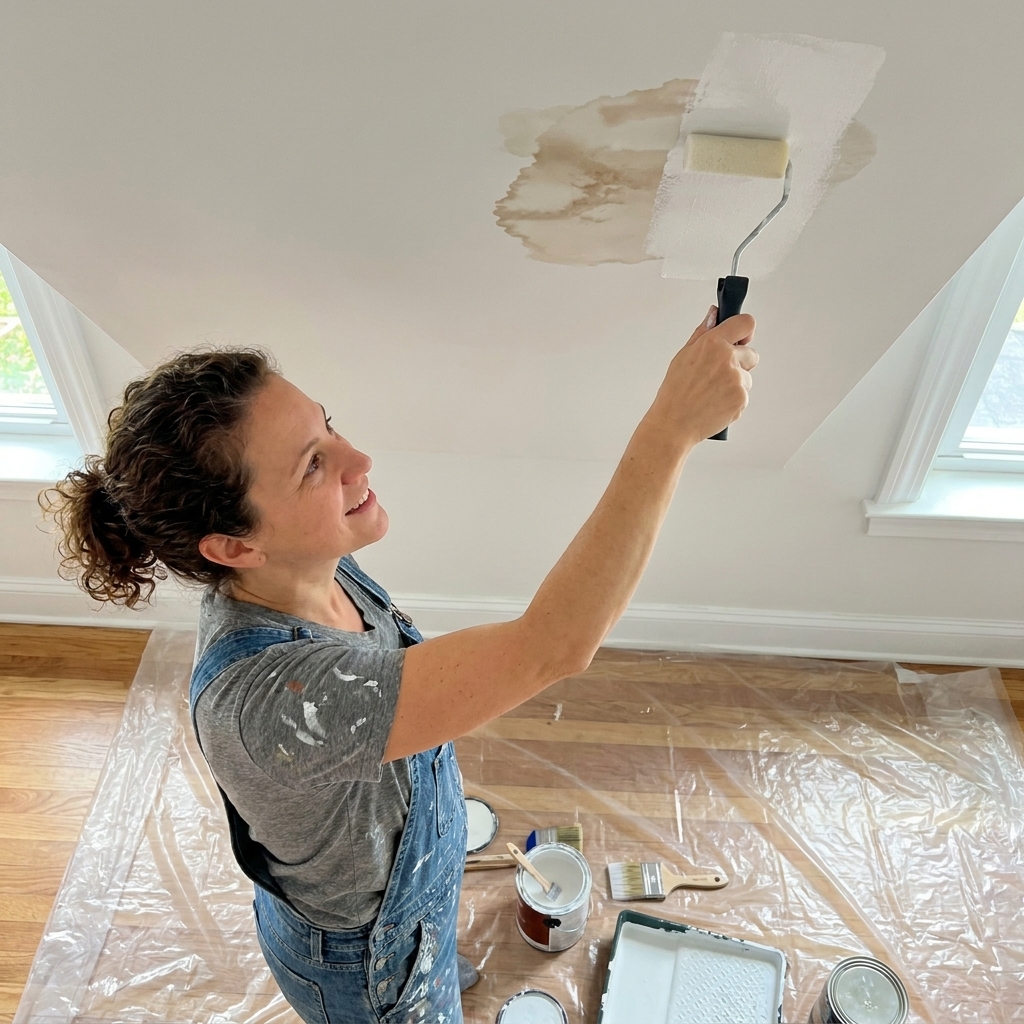
- Water stains on ceilings or walls (after fixing the leak and letting everything dry fully)
- Smoke damage and nicotine
- Pet odors and lingering “mystery smells”
- Marker, crayon, lipstick that keeps bleeding through
- Knotty pine, cedar, redwood with aggressive tannin bleed
Shellac reality check
- It dries fast. This is great, but it means you want to work efficiently and keep a wet edge.
- Cleanup depends on timing and brand. Many shellac primers clean up with ammonia and water while wet, but once they dry, removal usually requires denatured alcohol. Always follow the label on the can.
- Spot priming is common. For isolated stains, you can often spot prime just the problem area, feathering the edges.
- Some stains need two coats. Heavy water damage and strong wood tannins can take more than one pass, even with shellac.
My shellac workflow
- Fix the source. No primer will outsmart an active leak or ongoing moisture problem.
- Dry thoroughly. For water stains, I like to give it extra time, not just “feels dry.”
- Clean and treat first. If you suspect mildew or mold, handle it safely and correctly. Clean the surface, address the moisture source, and follow appropriate health and safety guidance before you prime.
- Seal with shellac. One coat often works, two coats for heavy staining.
- Light sand if needed. If the dried primer feels rough, a quick fine-grit pass helps.
- Finish with your wall paint. Two coats usually for best uniformity.
Bonding and water-based blockers
Two primer categories deserve a quick callout because they can save you from using oil when you do not need it:
- Acrylic bonding primers are modern high-adhesion primers designed for slick surfaces and tough substrates. For many interior jobs like glossy trim, cabinets, and previously painted walls, a bonding primer is often the easiest low-odor path to great adhesion.
- Water-based stain-blocking primers exist and can work well for lighter stains and general “I just want a uniform base” situations. But for serious water marks, nicotine, or heavy tannin bleed, oil-based or shellac is usually more reliable.
Common projects
New drywall in a bedroom
Go with: PVA drywall primer. It will give you an even base so your color reads consistently from corner to corner.
A wall patch that keeps flashing
Go with: A quality drywall primer or acrylic primer over the patch, then repaint the whole wall if the sheen difference is obvious. Flashing is usually an absorption and sheen issue, not just a color issue.
Painting over satin or semi-gloss
Go with: Often no primer if the wall is clean and sound. If you are changing sheen (semi-gloss to matte) or the surface is slick, use a bonding primer. If you are seeing adhesion issues, oil-based primer can help, but cleaning and scuffing are still key.
Kitchen walls with grease
Go with: Clean thoroughly first. If stains persist or paint has trouble sticking, oil-based primer is a strong choice. Shellac is better if odors or severe staining are involved.
Water-stained ceiling spot
Go with: Shellac primer on the stain. It is the most reliable way to stop the “shadow” from coming back through ceiling paint.
Smoker’s room or nicotine
Go with: Shellac primer, then top coat. If you skip shellac here, you are gambling with yellow bleed-through.
Knots bleeding through painted paneling
Go with: Shellac primer on knots or the whole surface, depending on how many knots you have and how aggressive the bleed is.
Prep quick list
Primer works best when the surface is not fighting it. Before you open the can:
- Clean off grease, smoke residue, and hand oils.
- Scrape and repair any loose or peeling paint. Primer is not glue for failing layers.
- Scuff or degloss shiny paint and hard factory finishes so primer has something to grab.
- Patch and sand, then vacuum or wipe dust off.
- Fix moisture issues first. Mildew and water problems will come back through paint if the source is still there.
Compatibility notes
- You can generally paint latex over oil and shellac primers once they are dry and ready for recoat per the label.
- Do not rush recoat times. Primer that feels dry to the touch is not always ready for paint, especially with oil-based products.
- Primer is usually flatter than paint. That is normal. Your final sheen comes from the top coat.
- Tinting primer can help coverage. If you are going from deep navy to soft cream, a tinted primer can reduce the number of finish coats. Ask the paint counter.
Safety and ventilation
I love a transformational paint color as much as anyone, but primers are where you want to be extra respectful of your indoor air.
- Ventilate aggressively. Open windows, use box fans, and keep doors open when possible.
- Consider where you sleep. If you are priming a bedroom with oil or shellac, plan a different sleeping spot that night.
- Use the right respirator. A simple dust mask is not enough for strong fumes. Check product guidance and use an appropriate cartridge respirator if recommended.
- Dispose of oily rags properly. Oil products can pose a spontaneous combustion risk. Lay rags flat to dry outside or store them in a sealed metal container, following local disposal rules.
FAQ
Do I always need primer?
No. If your existing wall paint is clean, dull or lightly scuffed, and in good condition, many modern interior paints will perform well without full priming. Primer becomes important with new drywall, patched areas, stains, strong color changes, glossy paint, or adhesion concerns.
Can I use PVA over painted walls?
You can, but it is rarely the best use of PVA. PVA is designed for porous new drywall. For painted walls, a general-purpose acrylic primer or bonding primer is usually a better match.
Best primer for water stains?
Shellac-based primer is the most reliable stain blocker for water marks. Oil-based primer can work for some stains, but shellac tends to be the sure bet when you want it gone for good.
Best primer for smoke or pet odor?
Shellac-based primer. Clean first, remove odor sources when possible, then seal with shellac. Odors that persist often need sealing, not just cleaning.
Will primer cover dark paint in one coat?
Sometimes it helps, but do not expect miracles. Primer can reduce coats, especially when tinted toward your finish color, but deep colors often still need two finish coats for a smooth, even look.
Why does my wall look blotchy after painting?
Blotchiness is usually a combination of uneven porosity (patches versus old paint), uneven film build, or sheen differences caused by touch-ups and rolling technique. Spot prime patches, feather edges, and when in doubt repaint the whole wall from corner to corner.
The bottom line
If you remember nothing else, remember this trio:
- PVA for new drywall and big mud work.
- Oil-based when you need traditional sealing power and tough adhesion on tricky existing surfaces.
- Shellac for stains and odors that refuse to behave.
Choose primer based on the wall’s problem, not the label’s hype, and your finish paint will look like you hired it out.