If you have ever painted baseboards next to carpet, you know the fear: one tiny slip and you are left with a crunchy paint ridge that never really comes out. The good news is you do not need fancy tools or pro reflexes. You need a smart masking plan, the right brush, and a method that keeps wet paint off the carpet fibers while you work.
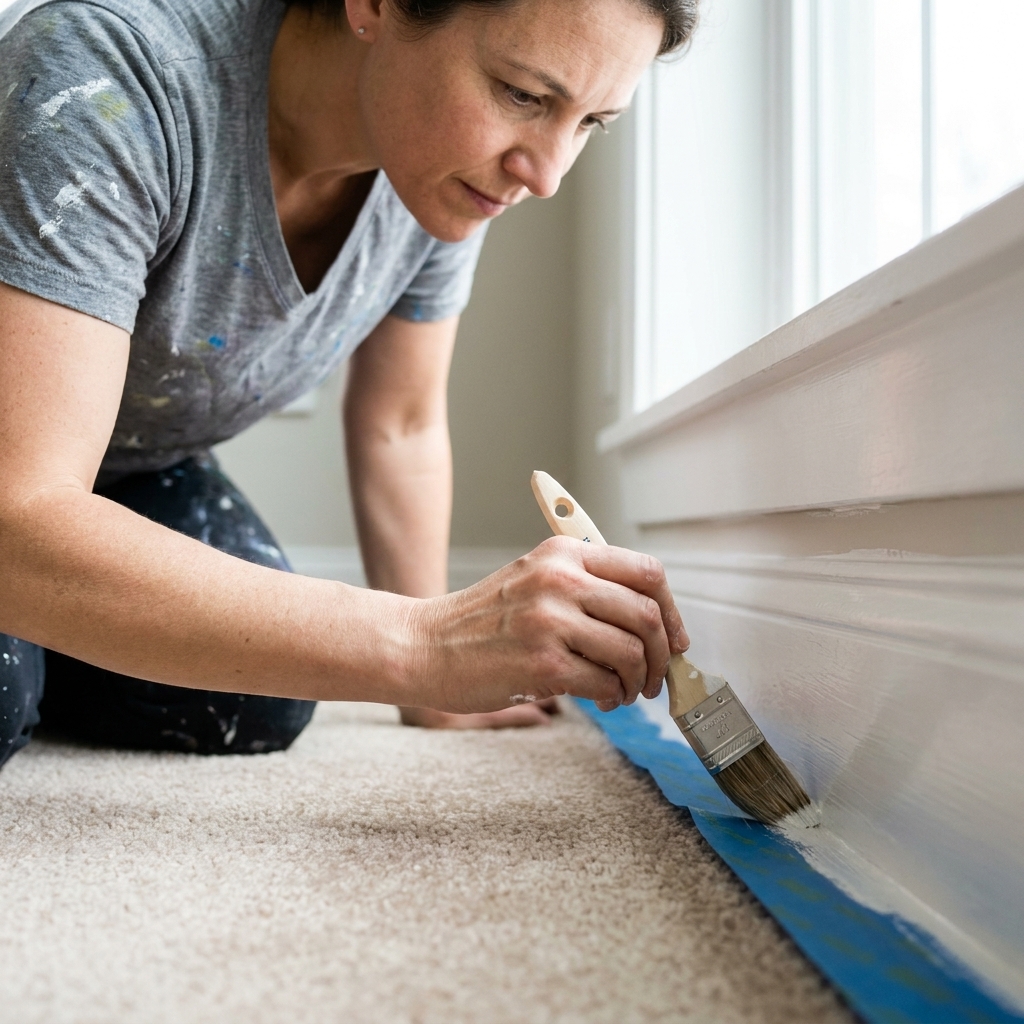
I have painted trim in too many rental bedrooms and starter-home hallways to count, and the same rule always wins: your prep is what protects the carpet, not your ability to paint carefully.
If you only do three things: vacuum the edge, tuck tape into the carpet line (or use a shield), and paint thin, controlled coats.
One more unglamorous tip that helps: crack a window or run a fan for ventilation, and lay a drop cloth or runner on your walking path so you are not stepping in paint and tracking it onto the carpet.
Before you start
What trim do you have?
Most carpeted rooms have either:
- Baseboard only (flat trim touching the carpet), or
- Baseboard + shoe molding (a smaller rounded or rectangular piece at the bottom).
Shoe molding sits closest to the carpet, which makes masking more important. If your shoe molding is beat up, sometimes it is easier to remove and replace it rather than fight it with a brush. But if it is in decent shape, you can absolutely paint it cleanly in place.
Adhesion, stains, and oil paint
Run your fingernail along the current trim paint. If it chips easily or feels rubbery, scuff sand and plan on a bonding primer.
If you see yellow or brown bleeding, use a stain-blocking primer. This matters because extra coats mean extra chances to bump the carpet edge.
Many older homes have oil-based trim paint. If you are not sure what is on your baseboards, test before you commit. Dab a little denatured alcohol on a rag and rub an inconspicuous spot. If paint comes off, it is likely latex. If it stays put, it may be oil or a tougher enamel. Either way, a light sand or deglossing step plus a bonding primer is the safest bridge when you are switching products.
Tools that help
You can do this with basics, but the right couple of items are the difference between “good enough” and “how did you get it that crisp?”
- 2-inch angled sash brush (nylon/polyester for water-based trim paint)
- Painter’s tape (quality brand, 1 to 1.5 inches wide)
- Wide putty knife (6-inch is perfect) or a dedicated carpet shield
- 5-in-1 tool or flat screwdriver (for gently tucking carpet down)
- Vacuum with a hose attachment
- Drop cloth or runner for the walkway
- Caulk (paintable acrylic latex) and a damp rag
- Fine sanding sponge (180 to 220 grit)
- Trim paint (usually satin or semi-gloss)
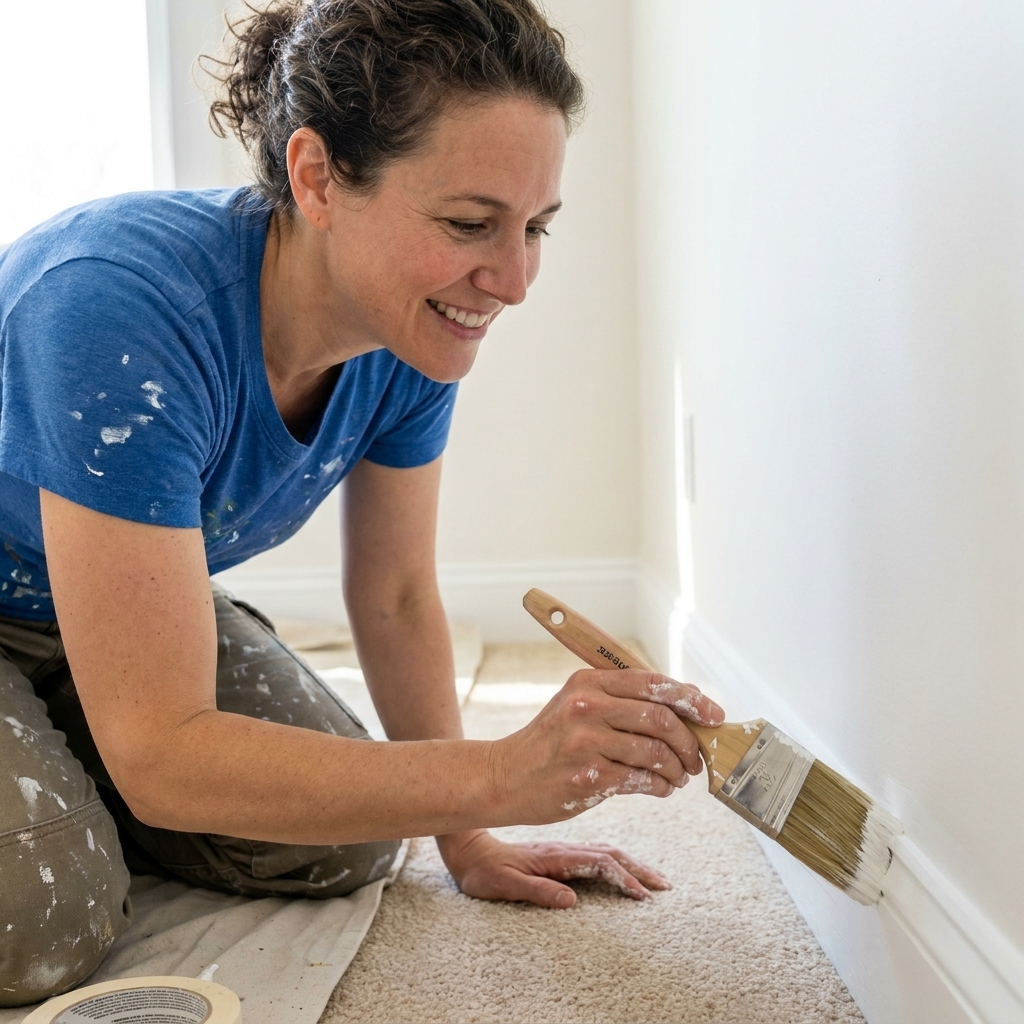
Protect the carpet
Pick one of these. Both work. The best choice depends on your carpet and your patience level.
Method 1: Tucked tape (my go-to)
This is the most reliable method when the carpet is not super plush and there is a visible line where trim meets carpet.
- Vacuum first. Paint loves to glue dust and lint to the carpet edge.
- Create a tiny gap. Gently press the carpet down right at the baseboard line with a 5-in-1 tool. You are not tearing fibers, you are just making space.
- Slide painter’s tape into that gap. Aim for the tape edge to sit slightly under the baseboard lip. Press it down with the putty knife.
- Burnish the tape edge. Run a putty knife or your thumb along the tape where it meets the trim so paint cannot creep under.
Why this works: the tape is not sitting on top of fluffy carpet fibers. It is tucked down, so you are masking the edge that actually gets hit.
Method 2: Moving shield (fast and clean)
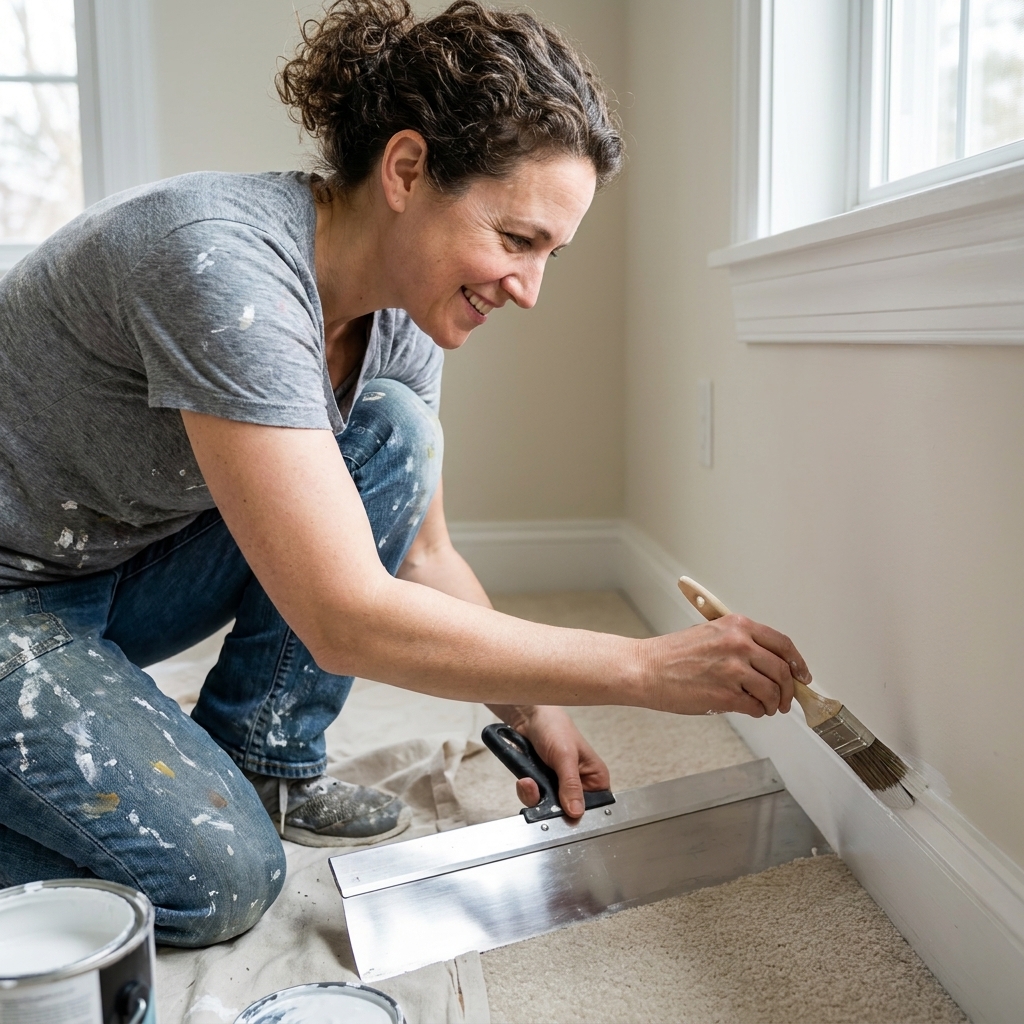
If you hate taping, a wide putty knife can be your best friend. Hold it tight against the carpet edge while you paint, and move it along as you go.
- Wipe the blade often. If it has wet paint on it and you set it down on carpet, you just made your own problem.
- Keep it flat and snug. Gaps are how paint sneaks onto fibers.
- Work in short sections. Paint a foot or two, move the shield, repeat.
Prep that prevents mess
Clean the baseboards
Trim near floors collects dust, mop splash, and mystery smudges. Wipe with a damp cloth and a little mild soap if needed. Let it dry fully.
Scuff sand glossy spots
You do not need to sand to bare wood. You just want to dull the sheen so your new paint grips. A sanding sponge is easier than folded paper because it follows trim profiles.
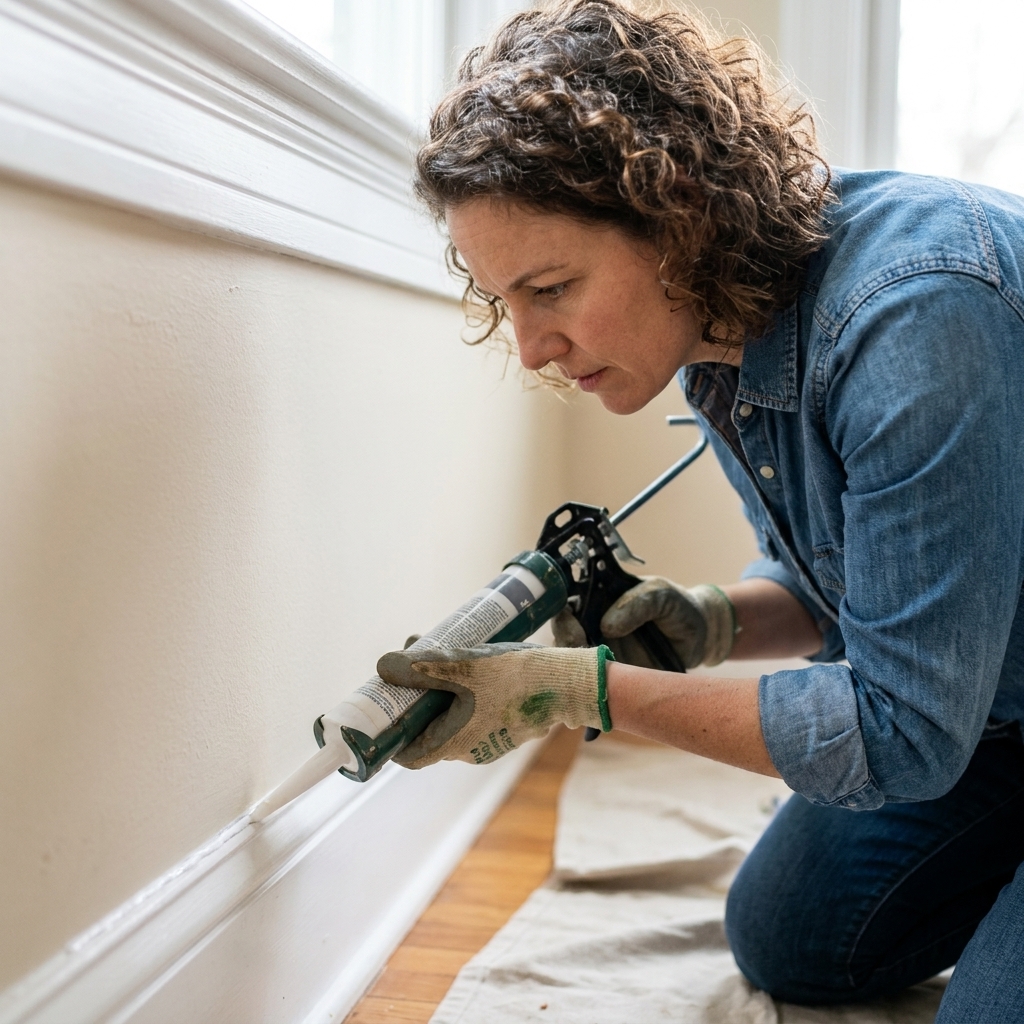
Caulk the top edge (skip the bottom)
If there is a gap between the baseboard and the wall, caulk it. It makes the trim look cleaner and keeps your wall paint line crisp.
Skip caulk where trim meets carpet. That seam moves with foot traffic and seasonal changes, and caulk there tends to crack, grab lint, and look grimy fast.
Paint step by step
Step 1: Prime where needed
If you have raw wood spots, heavy stains, or peeling areas, spot-prime. If you suspect the trim is oil-based or a slick enamel, a bonding primer after a light sand is the safest way to avoid peeling later. Follow the primer label for dry time before paint.
Step 2: Load the brush the right way
Dip about a third of the bristle length into paint, then tap (do not wipe) on the inside of the can or pail. You want the brush full but not dripping. Drips are what fall into carpet.
Step 3: Paint the bottom edge first
This sounds backward, but it keeps you calmer. Use your tucked tape or shield and get the carpet-side edge done while your hand is steady and your focus is fresh.
Step 4: Use long strokes and keep a wet edge
Work in 2 to 3 foot sections. Lay paint on, then lightly smooth it out with the tip of the brush. Over-brushing creates ridges, and ridges show up under angled light.
Step 5: Thin coats beat thick coats
Thin coats are less likely to run or sag at the bottom edge, and they tend to cure more evenly. Plan on two coats for a clean, durable finish instead of trying to make one heavy coat do everything.
Step 6: Mini roller optional (for tall baseboards)
If you have taller baseboards with a wide flat face, a small foam mini roller can speed things up and reduce brush marks. Roll the flat section, then “tip off” lightly with your angled brush to smooth and blend.
Step 7: Pull tape at the right time
Pull painter’s tape when the paint has set but is not fully hardened. That window depends on the product, humidity, and temperature, so follow the label and use the touch test. Pull slowly at a 45-degree angle.
If the paint feels like it is bridging from tape to trim, score the edge lightly with a sharp utility knife before you pull. Keep the blade on the trim face and take your time.
Clean-line hacks
Tuck and lift for plush carpet
For thicker carpet, I tuck tape down as much as possible, then gently lift the carpet edge with the putty knife as I paint. You are creating a temporary shadow line so the brush does not mash fibers into wet paint.
Wrap your shield with a damp cloth
If you are using a putty knife as a shield, wrapping it in a slightly damp rag helps keep paint from drying on the blade mid-project. Just make sure it is not wet enough to drip.
Keep a small cleanup kit nearby
- Clean damp rag
- Small cup of warm water (for latex paint)
- Soft toothbrush
- Paper towels to blot
If you catch a mistake while it is wet, you can usually save the carpet completely.
Paint and sheen
Best sheen for trim
In most homes, satin or semi-gloss is the sweet spot. Satin hides minor scuffs and brush marks better. Semi-gloss wipes cleaner and looks a bit more traditional on trim.
Water-based vs oil-based
Today, a quality water-based trim enamel is my default. It dries faster, yellows less, and cleans up with water. Oil-based can still be beautiful, but the longer open time means more chances for accidental contact with carpet, and the cleanup is fussier.
If paint hits the carpet
Wet latex paint
- Blot, do not rub. Rubbing pushes paint deeper into fibers.
- Use warm water on a rag and blot from the outside in.
- Use a soft toothbrush to gently lift paint off the tips of fibers.
Dried latex paint
- Flex the carpet fibers with your fingers to crack the paint film.
- Use a stiff plastic scraper gently. Avoid metal blades that can cut fibers.
- If there is residue, try a tiny amount of warm soapy water and blot.
- If it still will not budge, spot-test isopropyl alcohol on an inconspicuous area first, then dab sparingly. For stubborn spots, a specialty carpet paint remover may be your best bet.
Oil-based paint
If you used oil-based trim paint and it hits the carpet, be cautious with solvents. Test any cleaner in an inconspicuous spot first, and consider calling a professional carpet cleaner for larger spots. Solvents can remove dye or damage backing.
Dry time and vacuuming
Trim can feel dry quickly, but it stays tender for a while. I avoid vacuuming right along the baseboard edge for at least 24 hours. If you used a harder-drying enamel or your room is cool or humid, give it 48 hours before doing aggressive cleaning near the trim. Always follow the paint label for recoat and cure times.
Troubleshooting
Paint bled under the tape
This usually happens when the tape was sitting on carpet fibers instead of being tucked, or the edge was not burnished. Let the paint dry, then clean up the line on the trim face with careful blade control. A razor scraper or a sharp utility blade works, but keep the blade flat on the trim and pointed away from the carpet. Slow is fast here.
The carpet edge feels crunchy
If paint hardened on the tips of fibers, gently flex the fibers to break the paint film, then vacuum. A soft toothbrush can help separate fibers. It is not instant, but it improves a lot once the paint fractures and releases.
Brush marks look heavy
Either the coat was too thick or the paint started drying before you leveled it. Next coat, use a lighter hand and consider a small foam mini roller for the flat face of taller baseboards, then tip off with the brush.
FAQ
Tape or shield?
If you want the safest option, tape tucked into the edge wins. If you are confident and working fast, a shield is quicker and still very clean. In high-traffic rooms, I tape because it gives me one less thing to juggle.
Can I paint without lifting the carpet?
Yes. You are not lifting the whole carpet, just pressing it down slightly to create a tiny working gap. A putty knife or 5-in-1 tool is enough.
Do I need to remove shoe molding?
Not usually. Remove it only if it is badly damaged or if you are replacing it anyway. Painting in place is totally doable with the tape-tuck method.
How do I get the crispest line?
Vacuum, tuck and burnish tape, paint controlled thin coats, and pull tape at the right time. If the edge wants to tear, score it lightly before removing the tape.