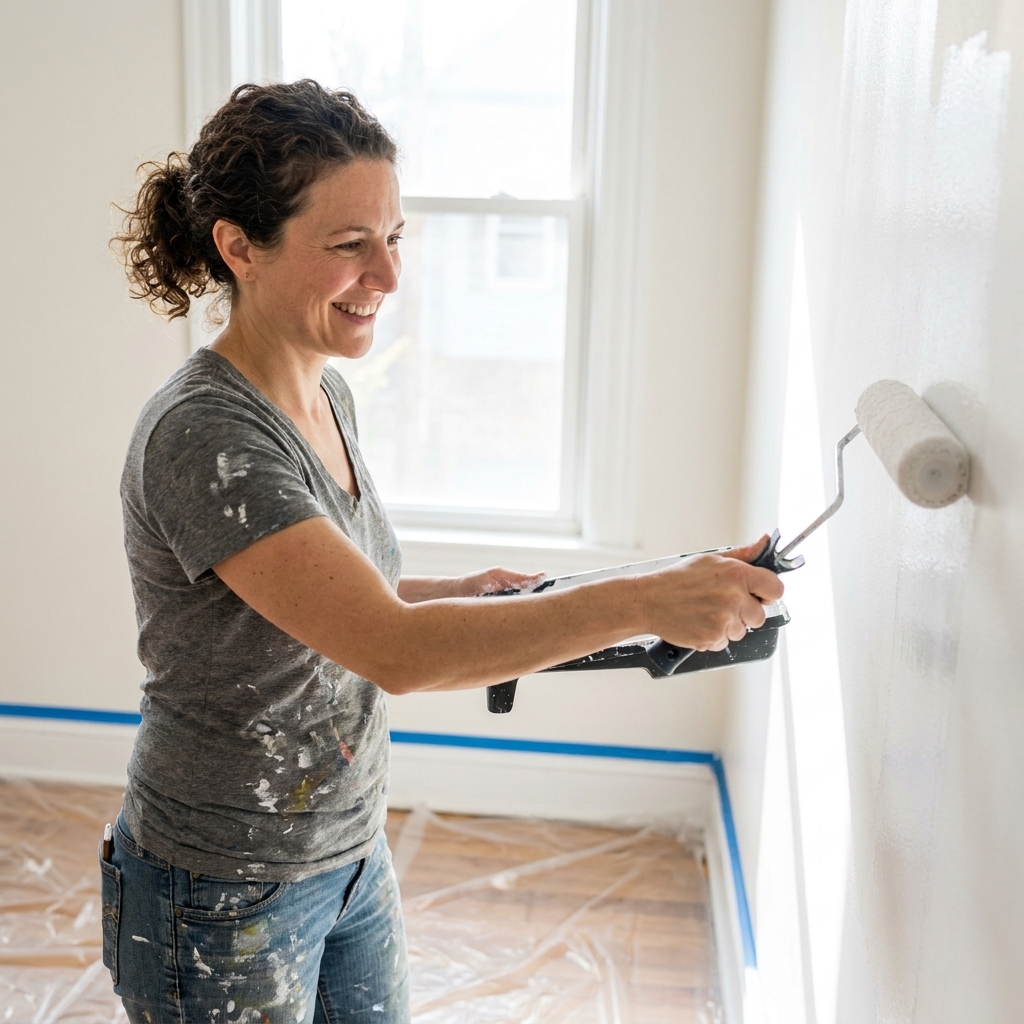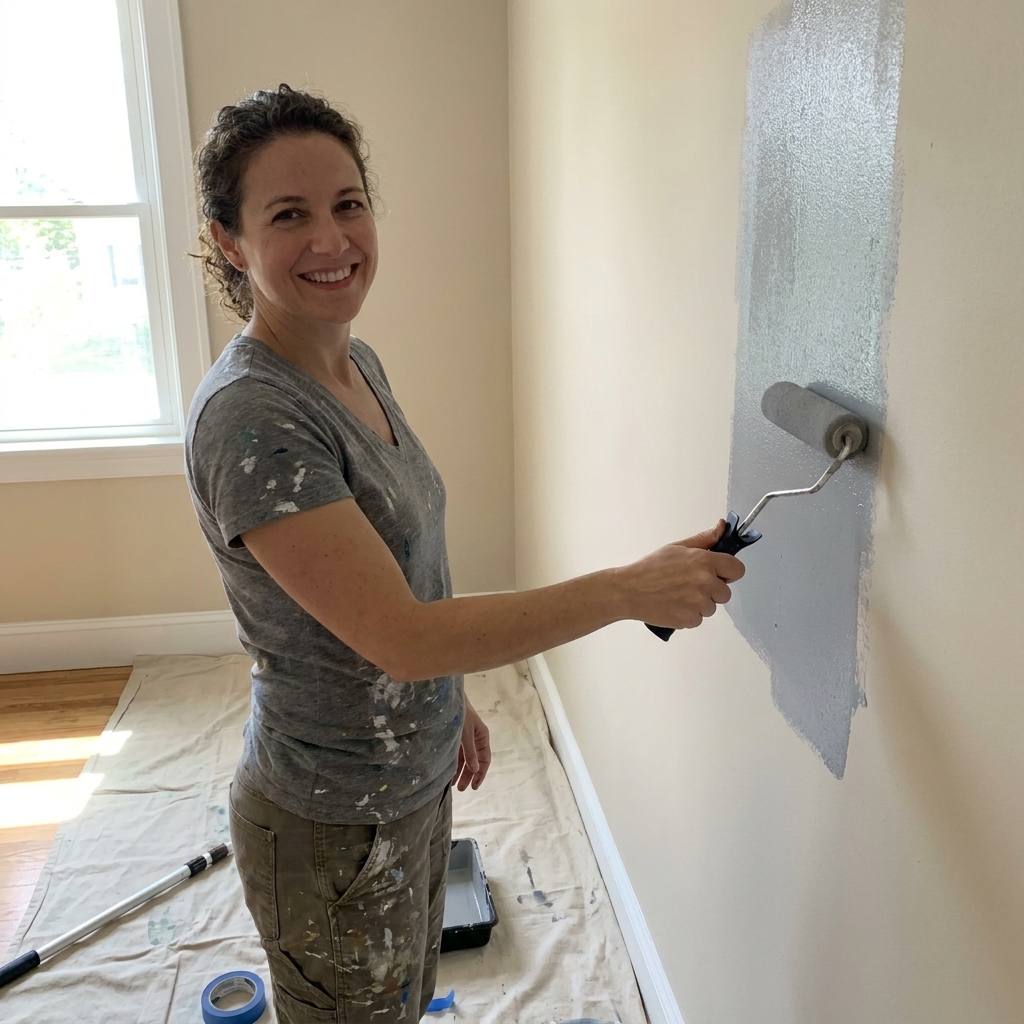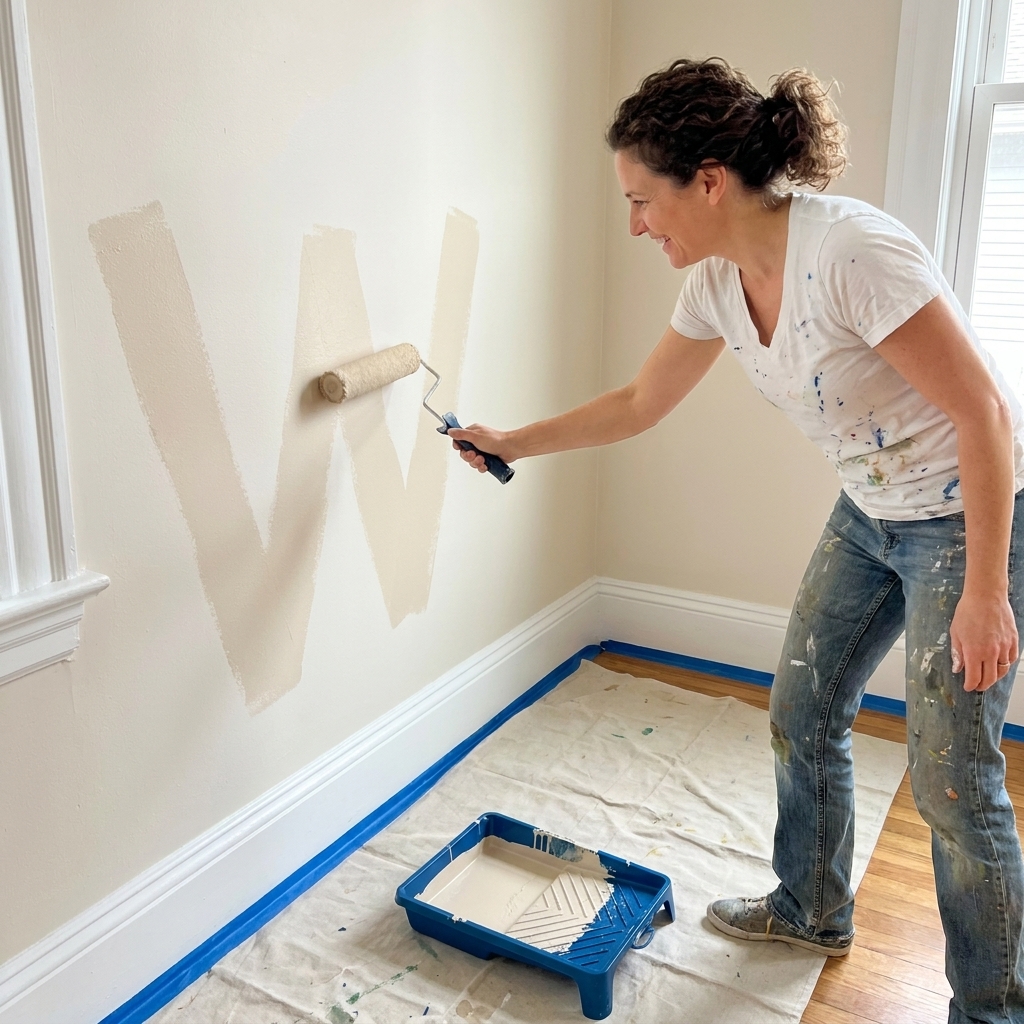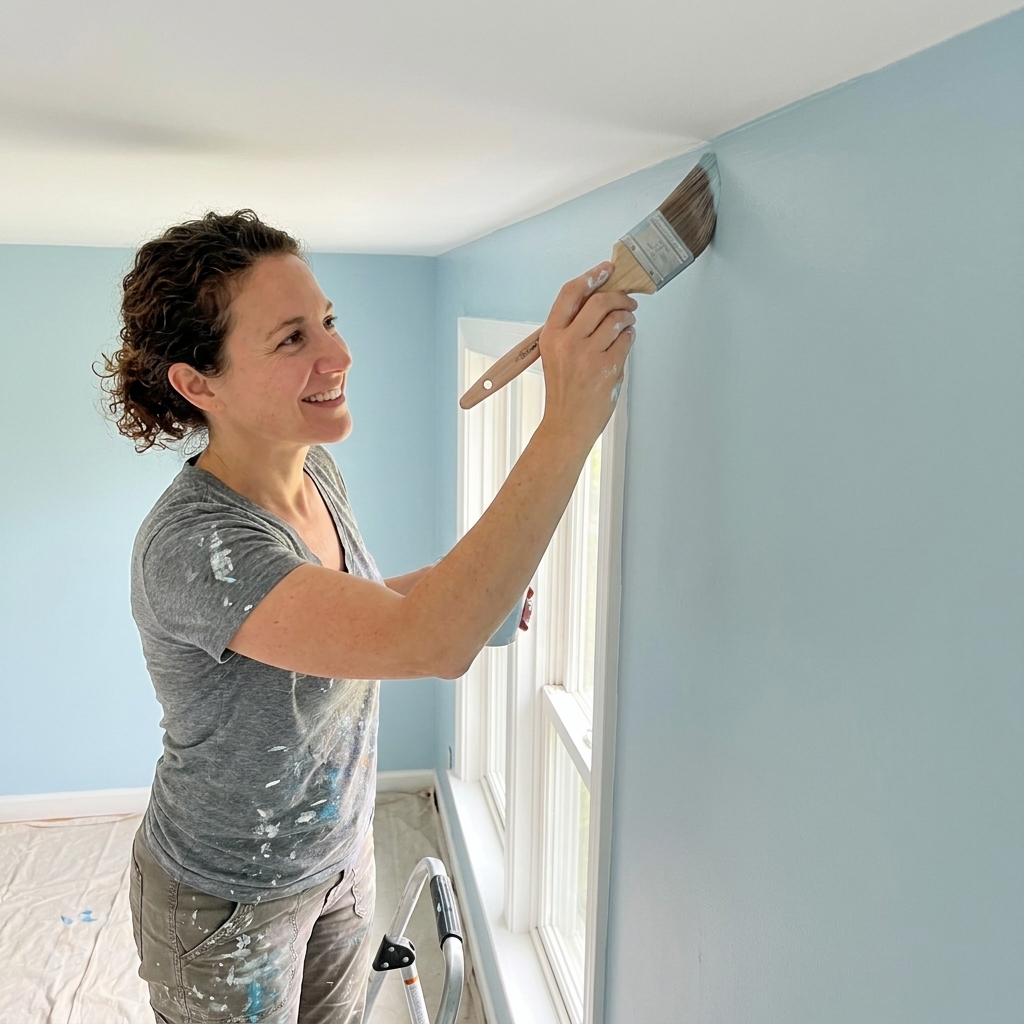
Painting a room from deep charcoal, navy, or burgundy to a soft white or pale greige is one of those projects that looks simple until you hit coat three and you can still see the old color smirking through. The good news is you do not need magic paint. You need the right primer (not always the same thing as “paint-and-primer-in-one”), solid prep, and a game plan that prevents bleed-through, patchy coverage, and those weird dark “shadows” that show up as the paint dries.
I have painted over plenty of dramatic colors in my time, including a nearly-black teal that made my living room feel like a cozy cave until I decided I wanted it to feel like, you know, daytime again. This guide walks you through the exact steps to get a bright, even finish without burning a whole weekend on extra coats.
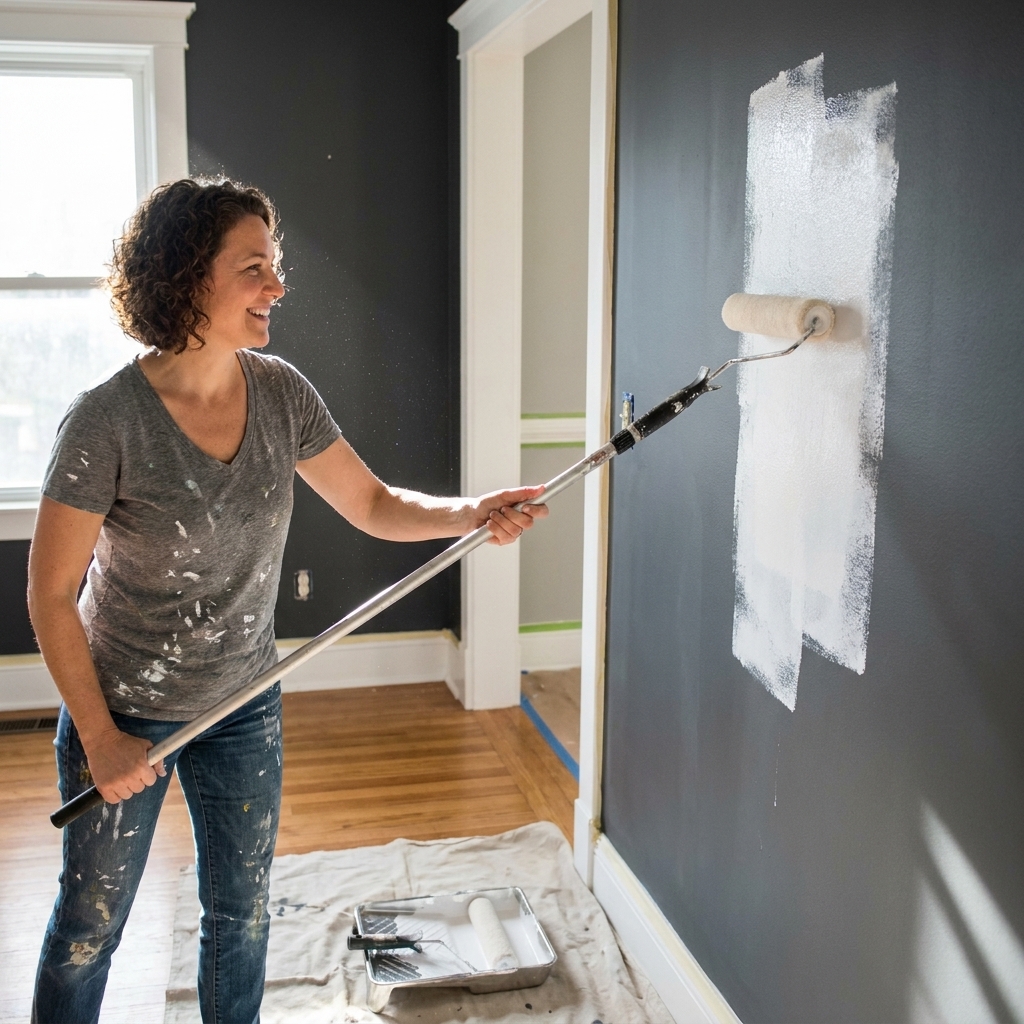
Before you start: why dark-to-light is tricky
Dark colors are loaded with pigment. When you cover them with a light color, you are fighting two things at once:
- Color show-through: the old color shifts how your new paint reads, especially with pale colors that are more transparent by nature.
- Uneven absorption: flat dark paint, patched spots, and shiny areas absorb or repel paint differently, which can cause flashing (those dull or shiny patches that appear when light hits the wall).
The solution is almost always: clean, scuff, patch carefully, then use a true blocking primer before your topcoats.
Tools and materials (what actually matters)
You can absolutely do this with basic tools, but a couple of upgrades make a dark-to-light repaint dramatically easier.
Primer and paint
- Bonding or high-hide primer: Choose based on what is currently on the wall (more on this below).
- Quality interior wall paint: For most walls, eggshell or satin is the sweet spot for cleanability without highlighting every bump.
- Optional: tinted primer (gray or your target color family) if you are covering very saturated walls.
Prep supplies
- Drop cloths (canvas is best if you have it) and plastic for furniture
- Painters tape (use it selectively, not as a substitute for careful cutting-in)
- Degreaser or wall cleaner (especially for kitchens and around switches)
- Sanding sponge (fine 180 to 220 grit) and a medium 120 to 150 grit for rough spots
- Spackle or joint compound, plus a putty knife
- Caulk for trim gaps (paintable acrylic latex)
- Microfiber cloths (dry and slightly damp) for dust
Painting tools
- 9-inch roller frame with a quality cover
- Roller nap: 3/8-inch for smooth walls, 1/2-inch for light texture, 3/4-inch for heavier texture
- 2-inch angled sash brush for cutting in
- Paint tray and liners or a bucket with a roller screen
- Extension pole (your shoulders will thank you)
Step 1: Figure out what finish you are painting over
This is the step people skip, and it is the one that determines whether your primer bonds or peels.
If the wall is latex paint (most homes)
You can usually proceed with cleaning, scuff-sanding, and a high-quality primer.
If the wall is glossy (semi-gloss or high-gloss)
Glossy surfaces need help with adhesion. Plan on a thorough scuff-sand and a bonding primer.
If you suspect oil-based paint
Oil paint is less common on walls but can show up in older homes. A quick test is rubbing an inconspicuous spot with denatured alcohol on a cloth. If color comes off, it is likely latex. If not, it may be oil, or you may be dealing with a tougher coating or surface grime.
If the results are unclear, do not gamble. Use a bonding primer designed to stick to hard, glossy surfaces, or ask your local paint store to help you identify what is on the wall.
Step 2: Clean like you mean it
Paint hates grease, hand oils, and mystery kitchen film. Even if the walls look fine, clean them. Focus on areas around:
- Light switches and door frames
- Behind trash cans
- Near vents
- Kitchen and dining walls
Use a wall cleaner or a mild degreaser solution, then rinse with clean water if the product calls for it. Let the walls dry fully before sanding or priming.
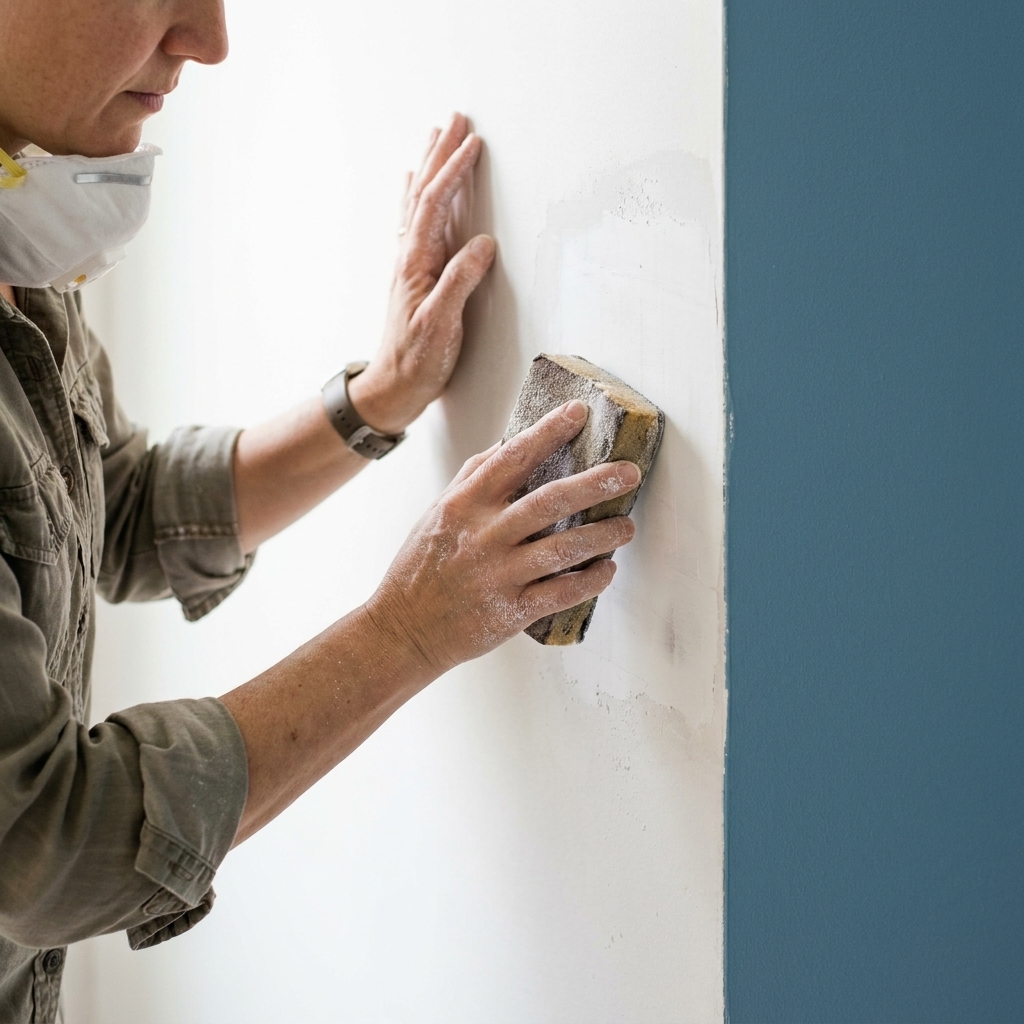
Step 3: Patch and sand for a smooth wall
Light paint is less forgiving than dark paint. Every little bump, divot, and roller ridge suddenly becomes visible the minute you go brighter.
Quick safety note on sanding
If your home was built before 1978, assume there is a chance of lead paint under newer layers. Before you sand, follow lead-safe practices and consider getting the surface tested. If you are not sure, a local paint store or a certified pro can point you in the right direction.
Patch
- Fill nail holes and dings with spackle or lightweight compound.
- Feather the edges wide. A small patch with a sharp edge will flash under light paint.
- Let it dry fully. If you rush, it will pill when you sand.
Sand
- Sand patches smooth and feathered into the wall.
- Lightly scuff the whole wall if it is slick or glossy.
- Remove dust thoroughly. Vacuum with a brush attachment, then wipe with a slightly damp microfiber cloth and let it dry.
If you have shiny spots, old drips, or rough roller texture, knock them down now. Primer and paint will not hide them; they will underline them.
Step 4: Pick the right primer
For dark-to-light projects, a dedicated primer is the closest thing to an insurance policy. Can you sometimes get away without it if you are moving from medium-dark to a slightly lighter color with a high-hide paint? Sure. But if you want predictable coverage and an even finish, primer earns its spot.
When a high-hide water-based primer is enough
Use a quality acrylic primer when:
- The existing paint is in good shape
- You do not have stains, smoke, or heavy odor issues
- You mainly need color blocking and a uniform surface
This is the most common scenario for “dark accent wall to light neutral” makeovers.
When to use shellac-based primer
Use a shellac-based (alcohol-solvent) stain and odor blocker when you are dealing with:
- Nicotine or smoke staining
- Water stains (after fixing the leak)
- Tannin bleed from wood knots or wood paneling
- Crayon, marker, or mystery stains that keep coming back
These primers are powerful, but they smell and dry fast. Ventilate well and follow the label closely.
When to use an oil-based primer
Oil-based primers can also block tough stains and help with adhesion over tricky surfaces. They take longer to dry and have more odor. I reach for them when I need a little more working time than shellac, or when I am dealing with a surface that makes me nervous about bonding.
Should you tint primer?
Sometimes, yes. If you are going from almost-black to off-white, tinting primer to a medium gray can help you get more even coverage with fewer finish coats. Some brands prefer tinting toward your topcoat color or using a specific undercoat shade, so ask the paint desk what they recommend for your exact paint system. Do not DIY tint primer with random leftover paint unless the manufacturer allows it.

Step 5: Spot-prime patches, then prime the walls
This one small step saves you from flashing later.
Spot-prime
- Prime patched areas first (especially if you used joint compound).
- Let those spots dry, then lightly sand any raised texture if needed and wipe away dust.
Cut in
- Use your angled brush to paint primer along ceilings, corners, trim, and around outlets.
- Work in manageable sections so the cut-in does not dry completely before you roll. This helps everything blend.
Roll primer
- Load the roller generously, spread primer evenly across the wall, then lightly back-roll to even out the film.
- Keep a wet edge and overlap slightly into the brushed areas.
- Avoid pressing too hard. Pressure causes thin spots, and thin spots are where the dark color will haunt you.
Let the primer dry the full time on the can. If it says recoat in 2 hours, do not paint in 45 minutes because it feels dry. Dry to the touch and ready to topcoat are not the same thing.
Room conditions matter: Aim for the temperature and humidity range listed on the can. In general, moderate temps and lower humidity make life easier. Use airflow (fans, open windows) as allowed by the product, especially with shellac or oil-based primers.
Step 6: Check coverage before paint
Once the primer is dry, do a quick reality check under good light.
- If the old color is still very obvious or looks blotchy, do a second coat of primer.
- If it looks evenly dulled and consistent, move on to paint.
Two primer coats can feel like a lot, but it is often faster than fighting four finish coats that still look uneven.
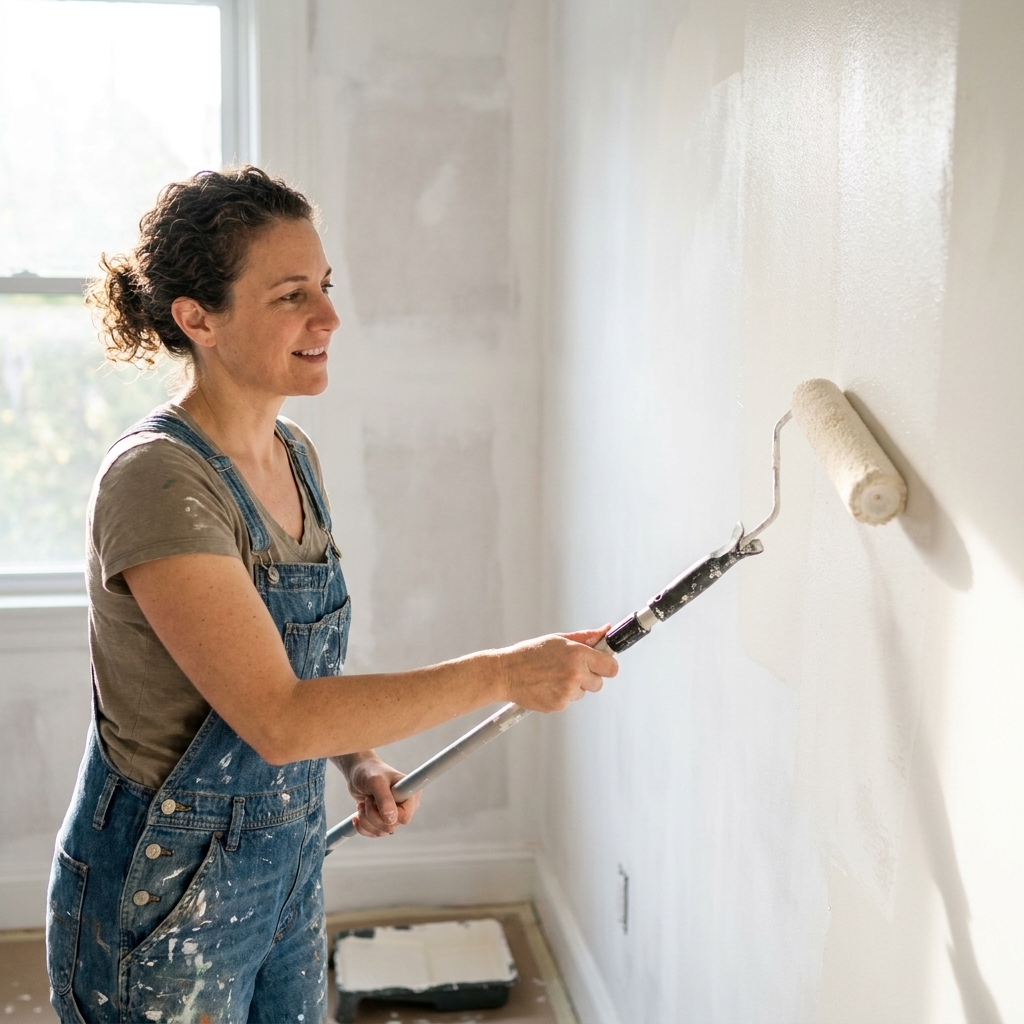
Step 7: Paint two finish coats
Even with great primer, most light colors look best with two finish coats. That is not failure, that is how you get depth, washability, and an even sheen.
First coat
- Cut in, then roll, working in sections from top to bottom.
- Keep the roller loaded to avoid dry rolling, which can leave texture and streaks.
- Let it dry fully before judging the color. Light paint can look patchy mid-dry.
Second coat
- Repeat the same method.
- Use consistent pressure and overlap.
- Do a final light back-roll in the same direction to even out texture if needed.
Step 8: Remove tape, touch up, and cure
If you used painters tape, pull it off while the last coat is still slightly tacky, pulling back on itself slowly. This reduces the chance of peeling.
Then do touch-ups with a small brush or mini roller. Keep in mind that touch-ups can flash if you dab thick paint in one spot. Feather the edges and do a couple of light passes.
Your walls will be dry in hours, but curing takes longer. Be gentle with washing, scrubbing, and pushing furniture against the wall for about 2 to 4 weeks, depending on the paint, humidity, and temperature. Some paints cure faster, so check your label if you need a specific timeline.
How many coats will you need?
This is the question everyone wants answered, so here is my honest, real-world expectation setting.
| Scenario | Primer coats | Paint coats |
|---|---|---|
| Dark matte wall, no stains, going to a light greige | 1 | 2 |
| Very dark saturated color (navy, burgundy), going to soft white | 1 to 2 | 2 |
| Dark glossy wall, going to light color | 1 (bonding) or 2 if needed | 2 |
| Stains or smoke odor present | 1 (blocking) plus 1 if bleed-through appears | 2 |
If you are trying to skip primer, add at least one extra paint coat to your estimate, and know it still may not look as even.
Common problems (and fixes)
The dark color still shows after two coats
- Cause: insufficient primer coverage or thin paint application.
- Fix: add another coat of primer (yes, even now), then one more paint coat. High-hide primer is cheaper than another gallon of finish paint.
I see streaks or roller marks
- Cause: dry rolling, low quality roller cover, painting in patches, or too much pressure.
- Fix: use a better roller cover, keep a wet edge, and work in full wall sections. Consider a paint extender if your room is hot or very dry, as long as the paint manufacturer allows it.
Shiny and dull patches show up in the light
- Cause: flashing from uneven porosity (patches) or uneven film build.
- Fix: spot-prime patches before your final coat, or prime the whole wall if patching is widespread. Then apply a full, even finish coat.
Yellow or brown stains bleed through
- Cause: tannins, smoke, water stains, or residues that water-based primer did not lock down.
- Fix: spot-prime with a shellac-based (alcohol-solvent) or oil-based stain blocker, then repaint that area.
Paint peels when I remove tape
- Cause: tape too aggressive, pulled too late, or poor adhesion under layers.
- Fix: score the tape edge lightly with a utility knife, pull slowly, and touch up. Next time, scuff-sand glossy walls and use bonding primer.
My go-to system for an accent wall
If you are just painting over one dramatic accent wall, here is the fast, reliable approach I use:
- Clean and degloss (especially near hands and corners).
- Patch and sand.
- Spot-prime patches.
- One coat high-hide primer, tinted gray if the wall is almost-black.
- Two coats finish paint, rolled with a quality 3/8-inch or 1/2-inch nap (depending on texture).
It is boring. It works. It looks like the wall was always light.
FAQ
Do I really need primer to cover dark paint with light paint?
If you want predictable results, yes. Primer creates a uniform base and helps block the old color from shifting your new one. If you are only going a shade or two lighter and your finish paint is truly high-hide, you might get away without primer. Very dark to very light is where primer earns its keep.
Is paint-and-primer-in-one enough?
Sometimes, but it depends on what you mean by “enough.” Those products can be great finish paints, but they are not the same as a dedicated high-hide, bonding, or stain-blocking primer. For dark-to-light transitions, I still prefer a true primer coat first.
What primer is best for covering dark colors?
Look for a high-hide interior primer for most situations. If you also have stains or odor, step up to a stain-blocking primer like shellac-based (alcohol-solvent) or oil-based.
Should I use white primer or gray primer?
White is fine for many jobs. Gray-tinted primer can help when the wall is extremely dark or saturated and you are painting it a very light color. The goal is fewer finish coats and more even coverage.
How long should I wait between primer and paint?
Follow the can, and err on the longer side if your room is humid or cool. Rushing can cause adhesion issues or weird texture.
Final pep talk
Going dark-to-light is not hard, but it is a little more methodical than a simple refresh. If you do the cleaning, sanding, and priming up front, your finish coats become the fun part. And nothing, truly nothing, beats the moment you turn on the lights at night and the room suddenly feels twice as open because those walls are finally reflecting light again.