Textured walls are a little like a waffle: they have peaks and pockets, and paint has to reach both to look even. If you have orange peel or knockdown texture and you have ever finished a wall only to spot tiny holidays (those unpainted specks, also called misses or skips) when the sun hits it sideways, you are not alone. The good news is you do not need pro magic. You need the right roller nap, the right loading technique, and a couple of small habits that keep paint from skipping across the high spots.
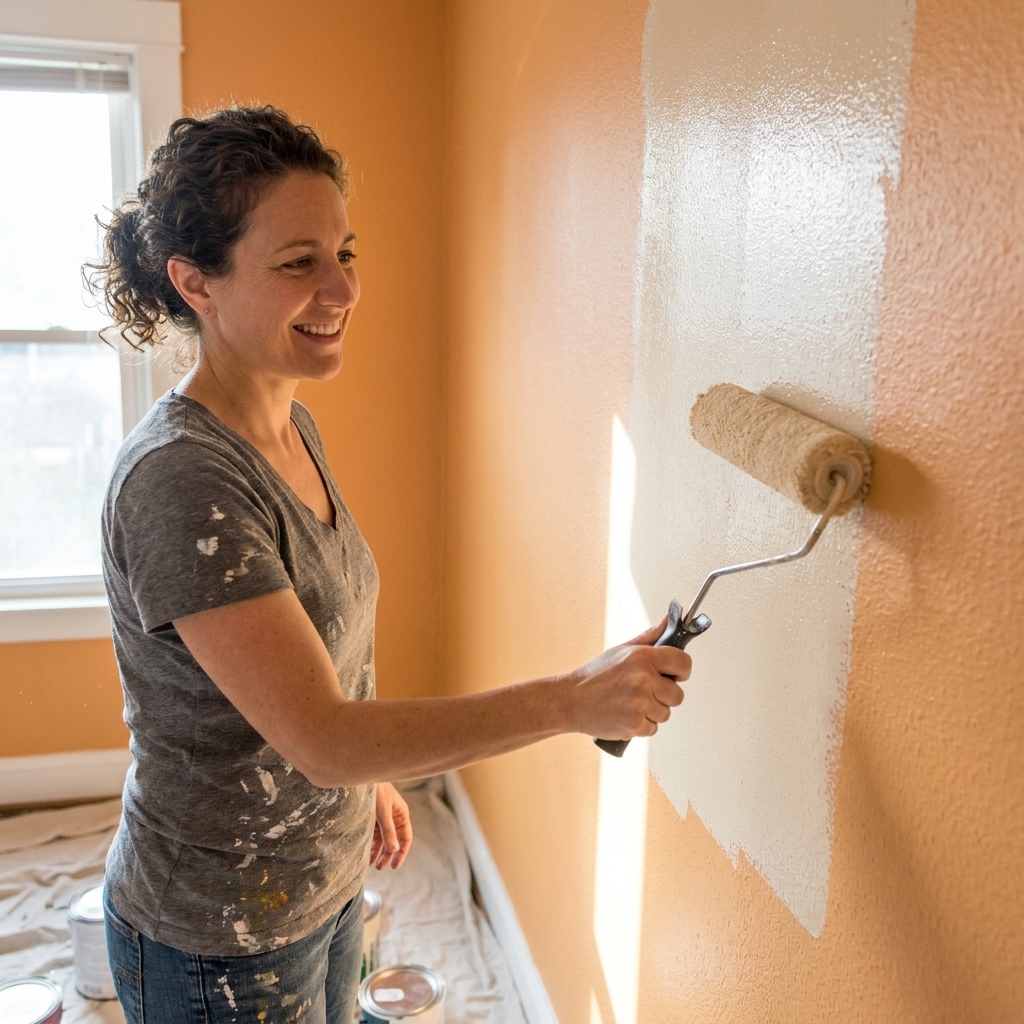
Below are my go-to tools and the techniques I use when I want textured walls to look intentionally finished, not accidentally patchy.
Know your texture
Before you buy anything, take 30 seconds to identify what you are painting. It changes which roller nap makes your life easier.
- Orange peel: looks like a lightly bumpy surface, usually uniform. It has lots of small dimples that like to stay unpainted if your roller is too smooth.
- Knockdown: looks more like flattened islands or splats. It has wider low areas and taller ridges, so paint can bridge over the valleys unless you use enough nap and consistent pressure.
If you are unsure, run your hand over it. Orange peel feels consistently pebbly. Knockdown feels like raised patches with flatter areas in between.
Roller naps that work
This is the decision that makes or breaks coverage. A nap that is too short leaves pinholes. A nap that is too long can create a stipple pattern that is louder than your existing texture. Paint and roller brands vary, so I still glance at the roller label and the paint can for any specific guidance, but these ranges work well in real life.
Quick nap guide
- Orange peel: 1/2 inch is often my starting point. Use 3/8 inch only if the texture is very fine and you are picky about minimizing roller stipple.
- Knockdown: 1/2 inch for lighter knockdown, 3/4 inch when ridges are pronounced or the wall is thirsty (new drywall, patched areas, or a flat paint that soaks in).
- Heavier texture (borderline skip-trowel): 3/4 inch is usually the sweet spot, and sometimes 1 inch is warranted, but only if you accept a more noticeable roller texture.
My rule of thumb: If you can see unpainted specks after the first coat even though you are applying plenty of paint, bump up the nap before you blame the paint.
Cover material
- Microfiber roller covers: great for holding more paint and releasing it evenly into texture. This is my top pick for orange peel and knockdown.
- Woven covers: durable and fine, but can hold a little less paint than microfiber. Still a solid choice.
- Foam rollers: generally not the tool for textured walls. High-density foam can handle very light texture, but for orange peel and knockdown, a nap cover is easier and more forgiving.
Tools that help
You can absolutely paint texture with basic tools, but a few upgrades prevent the most common headaches: splatter, lap marks, and missed pockets.
- Roller frame: a sturdy 9-inch frame with a smooth-rolling cage. Cheap frames create a chattery roll that skips across high spots.
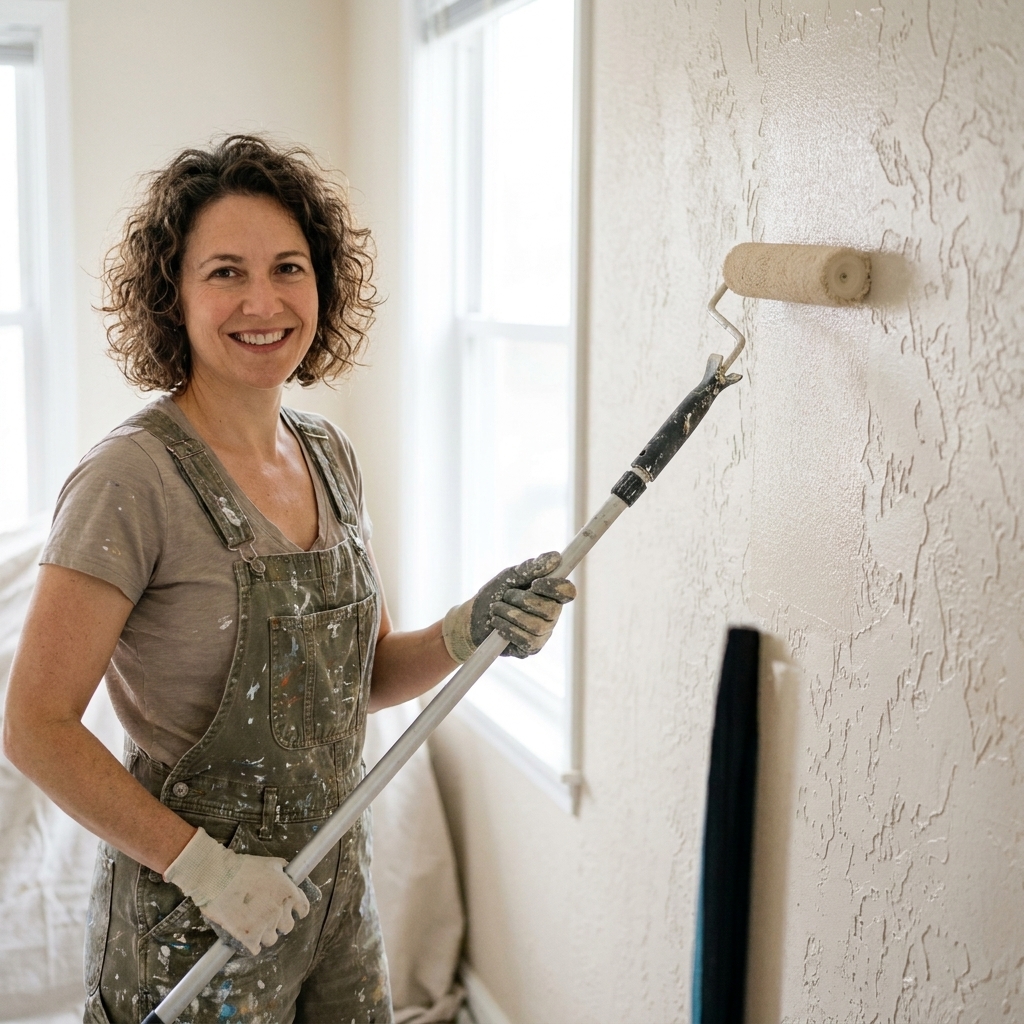
- Extension pole: even for standard walls. A pole helps you keep consistent pressure and a straighter path, which matters on texture.
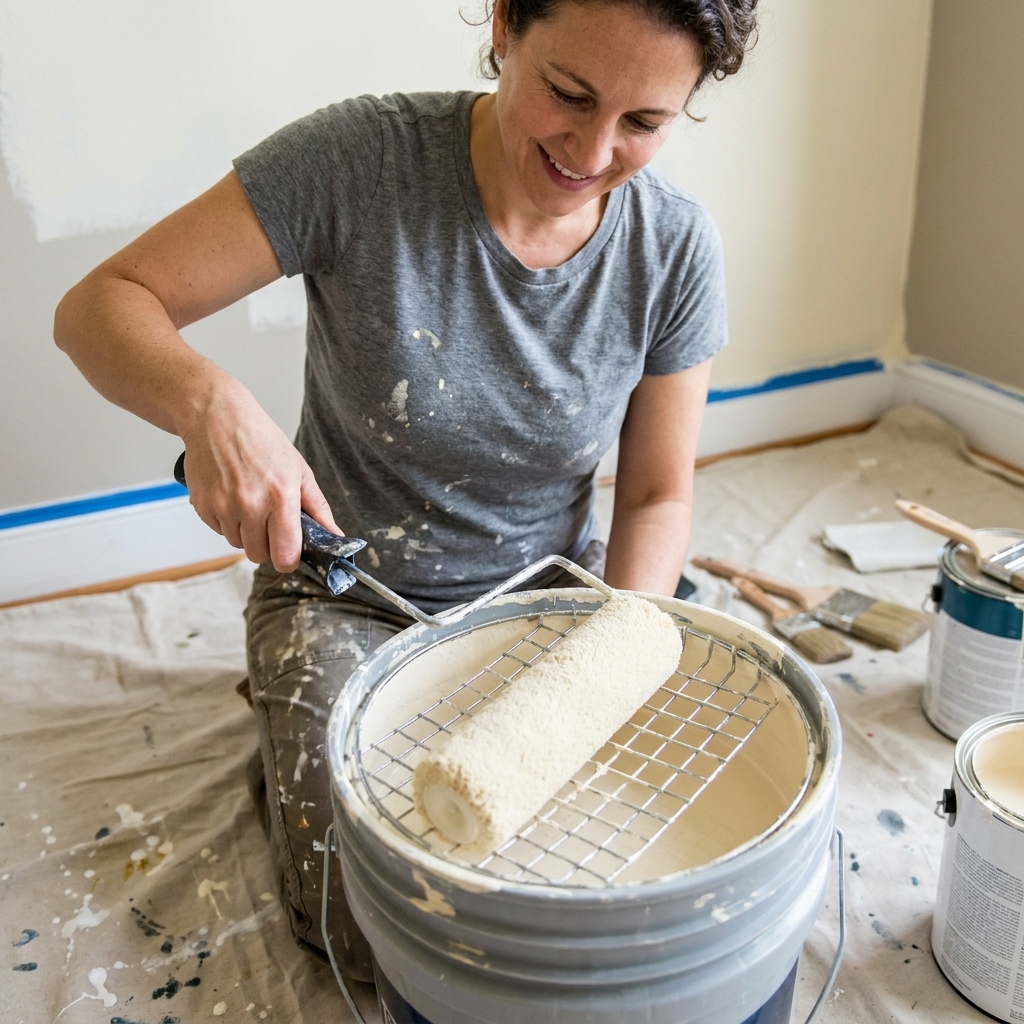
- Paint grid in a bucket: better than a tray for thick-nap rollers. It loads the cover evenly and reduces drips.
- Quality angled brush (2 to 2.5 inch): for cut-in and getting paint into texture near ceilings and trim.
- Mini roller (1/2 inch nap): for tight spots, behind toilets, around radiators, and near cabinetry.
- Bright work light: a plug-in LED work light aimed along the wall helps you see misses while the paint is still wet enough to fix.
Prep that matters
Texture hides small dings, but it also hides dust, and dust is what makes paint look rough or fail early. My prep priorities for textured walls are simple.
1) Protect the room
Use a real drop cloth, remove outlet covers, and tape only where you need a crisp line. Open a window or run a fan for ventilation. If you are sanding, wear a dust mask and vacuum up the mess instead of pushing it into the texture.
2) Clean first
For most living spaces, a quick wash with warm water and a small amount of mild dish soap is enough. In kitchens and near switches, use a degreasing cleaner and rinse well. Let it dry fully.
3) Knock down sharp bits, not the whole wall
You are not trying to flatten texture. You are just removing spikes and loose crumbs that will telegraph through paint.
- Use a sanding sponge lightly over obvious rough patches.
- Scrape drips or old roller fuzz with a putty knife.
- Vacuum dust off the wall and baseboards.
4) Patch with texture in mind
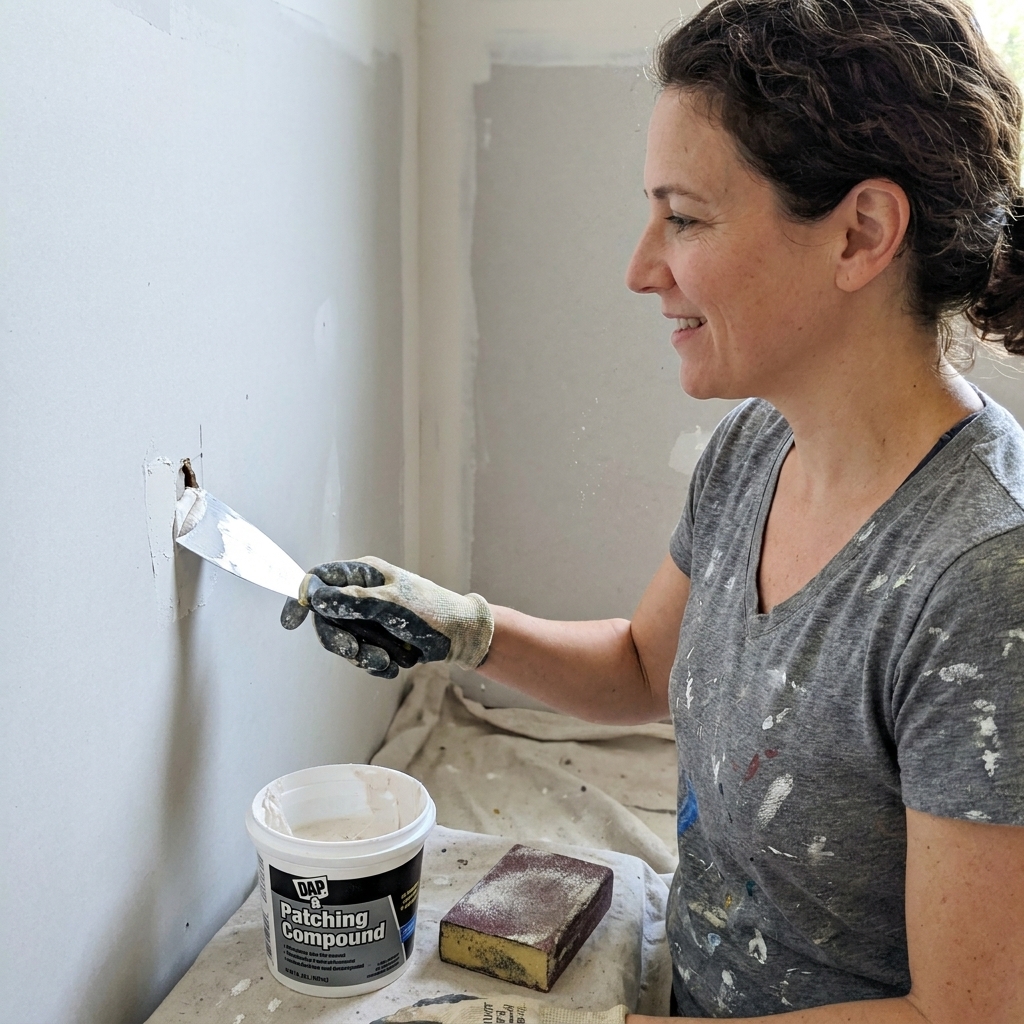
If you have dents, patch them, then match the texture as best you can before painting. Texture repairs tend to show more after a fresh coat of paint because the sheen becomes uniform and highlights shape differences.
5) Prime when the wall is unevenly porous
Primer is not always mandatory, but it is the easiest way to prevent flashing (those dull and shiny blotches) on textured drywall.
- Prime if you have new drywall, big patches, water stains, or you are painting over flat, chalky paint.
- Drywall primer is great for new drywall and broad, uniform porosity.
- Bonding primer is helpful when you are going over a slick surface or a questionable old finish.
- Stain-blocking primer is for water marks, smoke, and tannin bleed. Do not try to “power through” those with regular wall paint.
Technique that fills pockets
The biggest mistake on textured walls is rolling like you are painting a smooth wall: too dry, too fast, and too little back-rolling. Here is the approach that consistently fills in texture without leaving weird roller marks.
Step 1: Cut in wider
Texture makes cut lines look wobbly if you try to cut in super tight and then roll right up to the edge. I like to cut in a 3 to 4 inch band, then overlap with the roller while the cut-in is still wet.
Tip: When cutting in on texture, use a slightly wetter brush and tap the bristles into the texture instead of dragging hard. You want paint in the dimples, not just on the peaks. When you roll near the edge, feather into the cut-in zone instead of parking the roller right on the corner and building a ridge.
Step 2: Load the roller like you mean it
A thick nap needs more paint than your instincts think is reasonable.
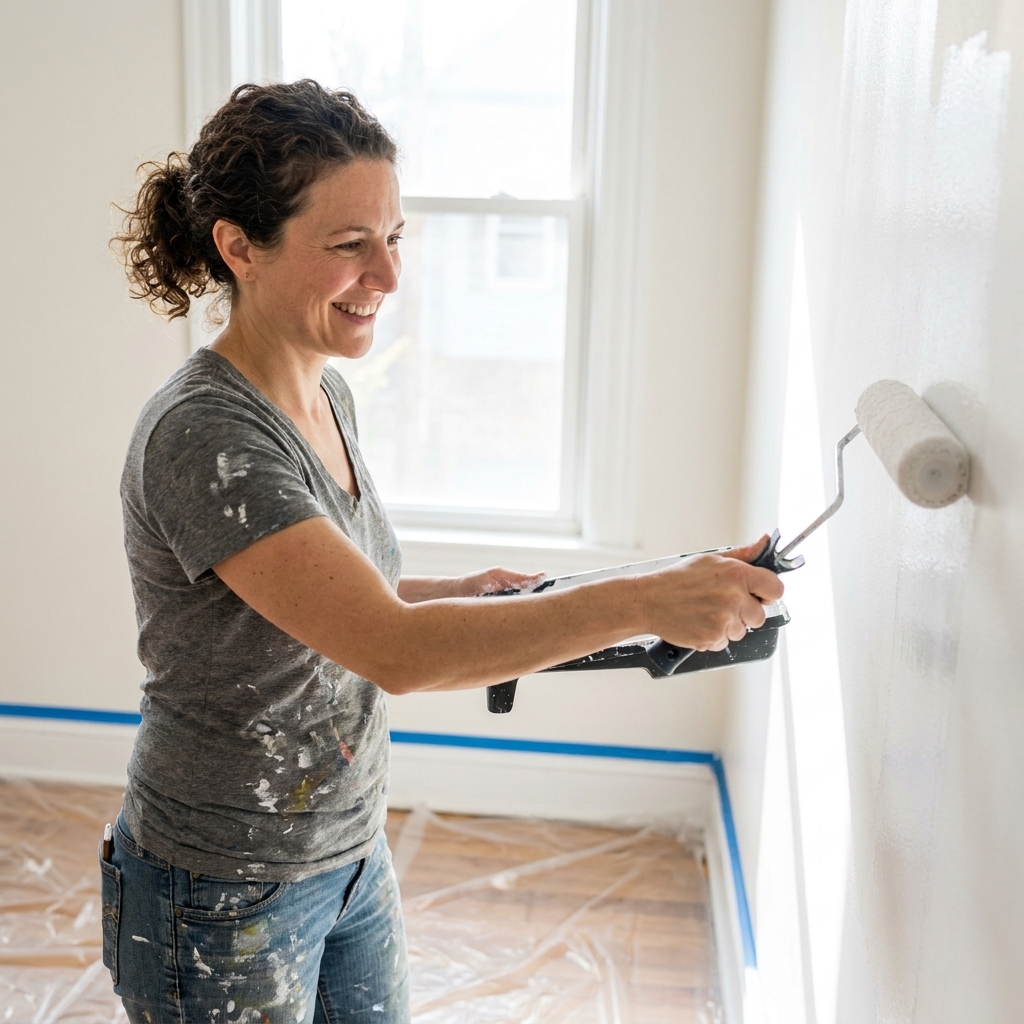
- Dip the roller and roll it up and down the grid several times until the cover looks evenly saturated.
- If the roller sounds crunchy or looks patchy, it is too dry.
- If it is dripping, it is overloaded. Roll it on the grid until it stops dripping, not until it feels dry.
Step 3: Work small and keep a wet edge
I work in 3-foot by 3-foot or 3-foot by 4-foot areas. Texture can make paint feel like it tacks up faster, so smaller sections help prevent lap marks, especially with warm temps, airflow, or low humidity.
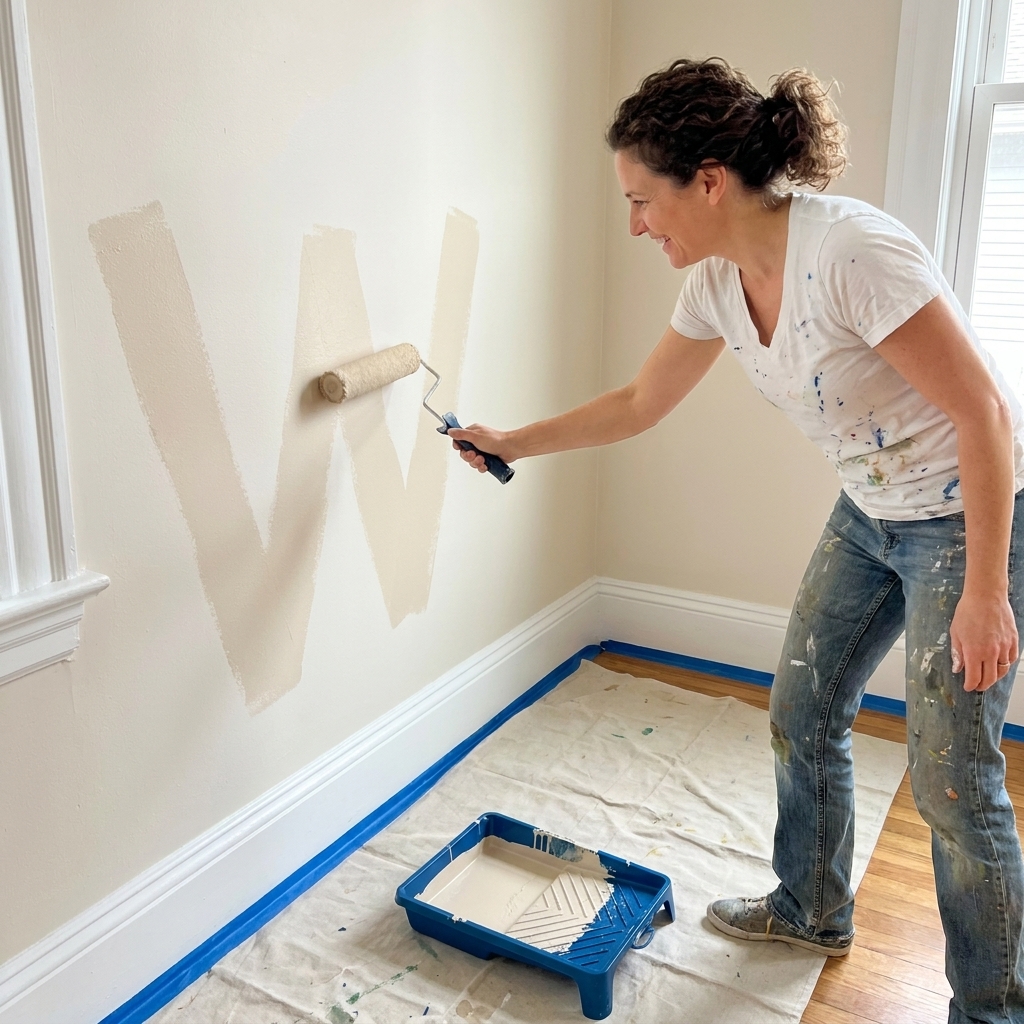
Step 4: Use a crosshatch roll pattern
Instead of only rolling up and down, do this:
- Roll in a large W or M to distribute paint.
- Fill it in with overlapping passes.
- Lightly roll the section in one direction at the end to even out the finish.
That gentle final pass matters. It helps align the roller stipple so the wall looks consistent from different angles.
Step 5: Back-roll before it flashes
If you see tiny pinholes or specks, do not just add more paint on top like frosting. Lightly roll over the area again with a loaded roller and moderate pressure so the nap pushes paint into the low spots. On knockdown, I often do one extra back-roll pass compared to orange peel.
Step 6: Do not overwork drying paint
This is the hardest habit to learn. Once paint starts to tack up, repeated rolling can pull it off the peaks and leave a rough, gummy look. If you missed a spot and it is starting to dry, let it dry fully and catch it on coat two.
How many coats?
Most textured walls need two coats, even when you use high-quality paint. Texture increases surface area, so you are covering more wall than you think.
- Same-color refresh: often still two coats for uniformity, especially in raking light.
- Color change: two coats minimum, sometimes three when going from deep to light or vice versa.
- Over fresh patches: prime, then two coats.
If you are trying to talk yourself into one coat, do a test patch in the harshest light in the room first. Texture is unforgiving when the sun hits it.
How much paint to buy
Textured walls are paint-hungry. A gallon that might cover a smooth wall can go noticeably less far on orange peel and knockdown. I like to buy a little extra up front so I am not stuck trying to match a batch mid-project. The best planning move is simple: use the coverage range on the can as a guide, then assume texture pushes you toward the lower end of that range.
Finish and sheen tips
Sheen is not just a vibe. It changes what you see on textured surfaces.
- Flat or matte: best at hiding texture irregularities and patch differences. Great for living rooms, bedrooms, and ceilings.
- Eggshell: my favorite all-around choice for textured walls. It wipes better than matte but does not spotlight every bump.
- Satin: workable, but it will highlight texture more. I use it in busy hallways only when durability is the priority.
- Semi-gloss and gloss: generally not ideal for textured drywall walls because it emphasizes every ridge and repair.
One more nuance: Deep colors in higher sheen can make knockdown look extra dramatic. If you want a moody color but not a spotlight on texture, choose matte or eggshell.
Orange peel method
Orange peel is usually consistent, so the goal is simple: fill the dimples without leaving a heavy roller pattern.
- Roller nap: 1/2 inch microfiber (or 3/8 inch for very fine orange peel).
- Apply paint generously, then do a light finishing pass in one direction.
- Use a work light to catch pinholes while wet, especially near corners.
Knockdown method
Knockdown has higher peaks and wider valleys, so you need more paint and a roller that can bridge the shape without skipping.
- Roller nap: 1/2 inch for mild knockdown, 3/4 inch for pronounced texture.
- Use a bucket and grid so the roller stays loaded.
- Crosshatch, then back-roll once more than you think you need.
- Do not press so hard that you squeeze paint out of the roller and create ridges at the edges.
Dry time basics
Follow the dry and recoat times on the can. Humidity, cold rooms, and low airflow can slow drying, and rushing a second coat can drag paint off the high spots. If you are unsure, wait. Texture is not where you want to force it.
Common problems and fixes
Problem: Speckling or tiny unpainted dots
- Cause: nap too short, roller too dry, or moving too fast.
- Fix: increase nap to 1/2 inch or 3/4 inch, load heavier, slow down, and back-roll before flashing.
Problem: Lap marks and darker stripes
- Cause: letting edges dry between sections.
- Fix: work in smaller sections, keep a wet edge, and maintain consistent roller pressure.
Problem: Drips from the high spots
- Cause: overloaded roller or pushing too hard near edges.
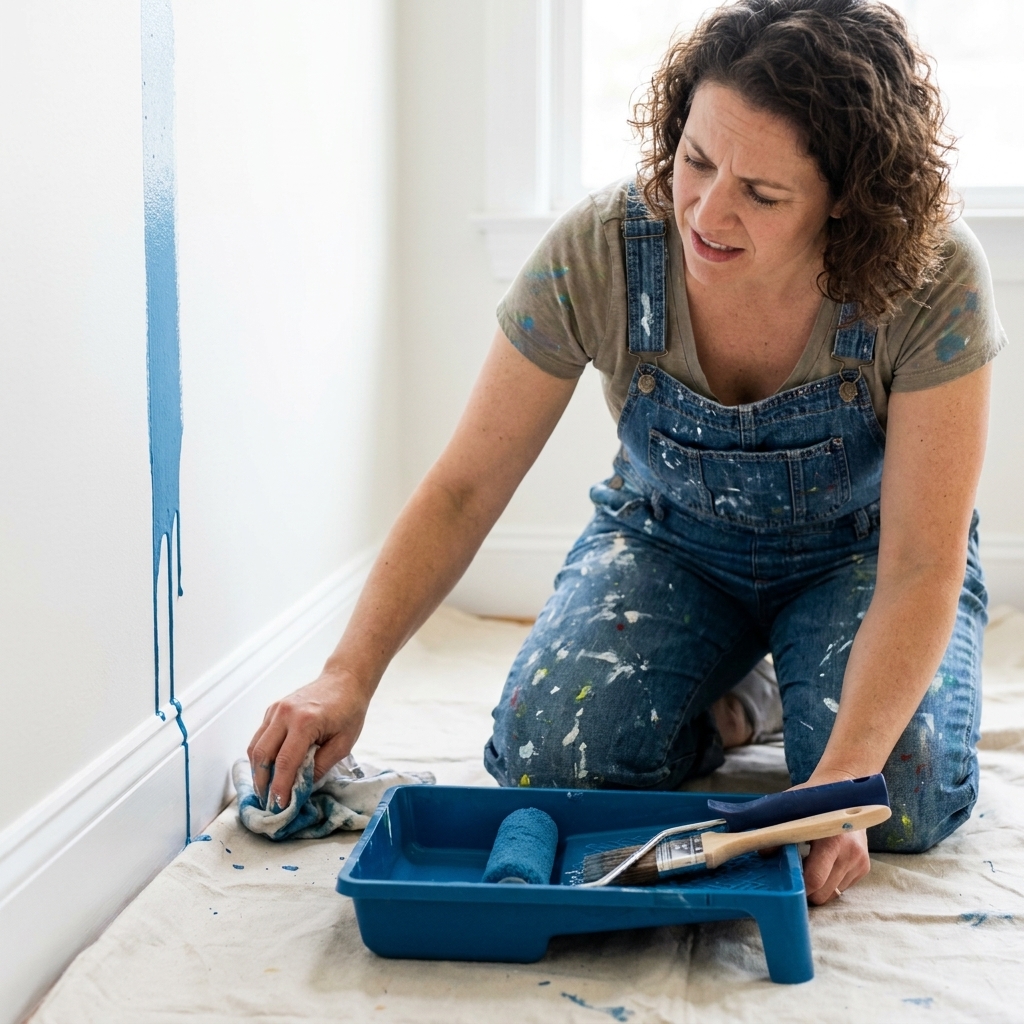
- Fix: roll off on the grid, use lighter pressure, and catch drips immediately with a quick re-roll.
Problem: Flashing over patches
- Cause: patch compound and paint absorbing differently.
- Fix: spot prime patches, or prime the whole wall if there are lots of repairs.
Shopping list
If you want the short version of what to buy for orange peel and knockdown, this is my repeatable kit:
- 9-inch roller frame + extension pole
- Microfiber roller covers: 1/2 inch (plus 3/4 inch if knockdown is heavy)
- 5-gallon bucket + metal roller grid
- 2 to 2.5-inch angled sash brush
- Mini roller + 1/2-inch nap covers
- Painters tape (only where needed) and a good drop cloth
- Work light for inspection
FAQ
Can I paint textured walls with a 3/8-inch nap roller?
Sometimes. If your orange peel is very fine, 3/8 inch can work, but it is more likely to leave tiny misses. For most orange peel and basically all knockdown, 1/2 inch is a safer starting point.
Should I spray textured walls instead of rolling?
Spraying can be beautiful on texture, but it requires serious masking and a sprayer setup that many weekend DIYers do not want to wrangle indoors. Rolling with the right nap and a bucket grid gets you excellent results with far less prep time.
How do I avoid getting paint on the peaks only?
Use enough nap, load the roller fully, crosshatch, and back-roll before the paint flashes. Peaks-only coverage almost always comes from rolling too dry.
Do I need to thin paint for textured walls?
Usually no. Good interior wall paint is formulated to roll well. If paint is thick because it is cold, warm it to room temperature and stir thoroughly. Thinning can reduce hiding and lead to extra coats.
Final tip
Textured walls love to hide missed spots until the worst possible moment, like right after you put the furniture back. Set up a work light or use a bright lamp aimed along the wall while the paint is still wet. If you catch misses early, you fix them with one gentle back-roll instead of an annoying third coat later.
Once you have the roller nap dialed in, textured walls are honestly forgiving. They just want enough paint, delivered patiently, so every pocket gets invited to the party.